Managing Comments
As you have seen in the Display Object Types > System section, Mura offers a convenient way for content managers to collect comments from visitors to their site on various pages and sections of your site. However, the more popular your site and content become, the more comments will begin pouring in.
The Comments Manager is the place to go to manage comments submitted on your site. If your organization does not allow comments to be posted without approval, you'll be able to approve or unapprove comments. In addition to that, you can delete comments and even flag comments as spam. These actions can also be done in bulk, meaning that you can delete or approve multiple comments at once. This is extremely useful for those times a spammer or bot targets your site and manages to get several comments submitted, in spite of the safeguards to combat them.
Just in case you're wondering, even though Mura includes some anti-spam measures, and your development team may have even tweaked some of those settings, spam can, and will get through.
To learn how to enable and/or disable the Comment Manager, force comments to go through an approval process, or apply permission to the Comments Manager, please visit the Comments Permissions section.
How to Manage Comments via the Front-End, Public Facing Side of Your Site
- Navigate to a content item where comments have been submitted, and scroll to the comments section. For example, a blog or news article.
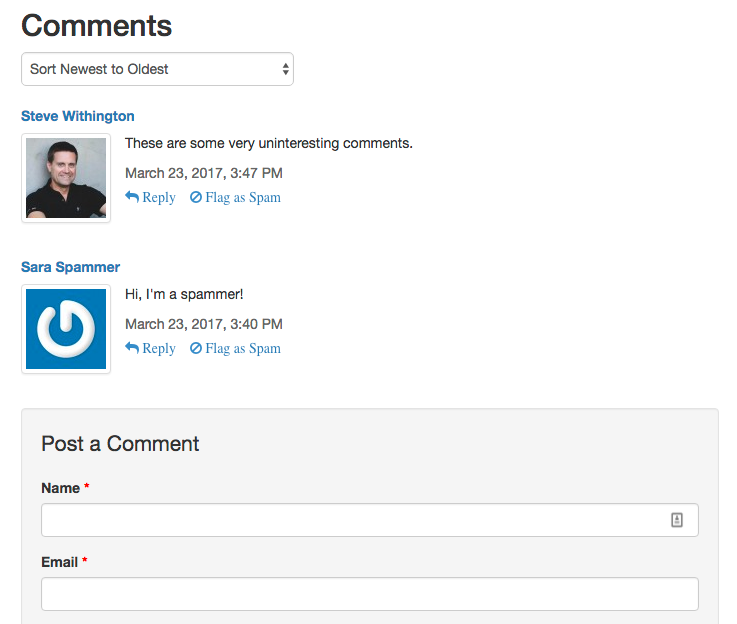
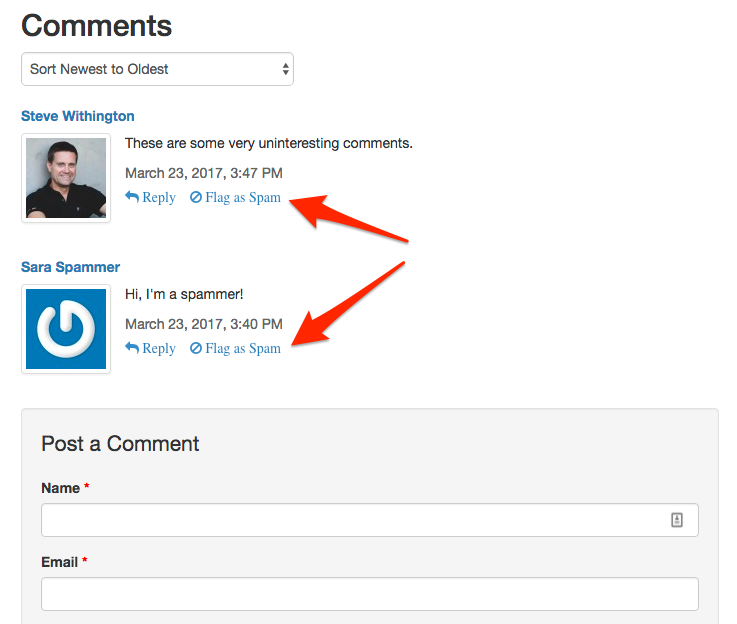
- Mura offers the ability for visitors to your site to help identify spam by including a "Flag as Spam" link.
- When logged into Mura, additional options will appear to assist in managing each comment. For example, you should be able to see additional buttons that appear in the top right area of each comment.
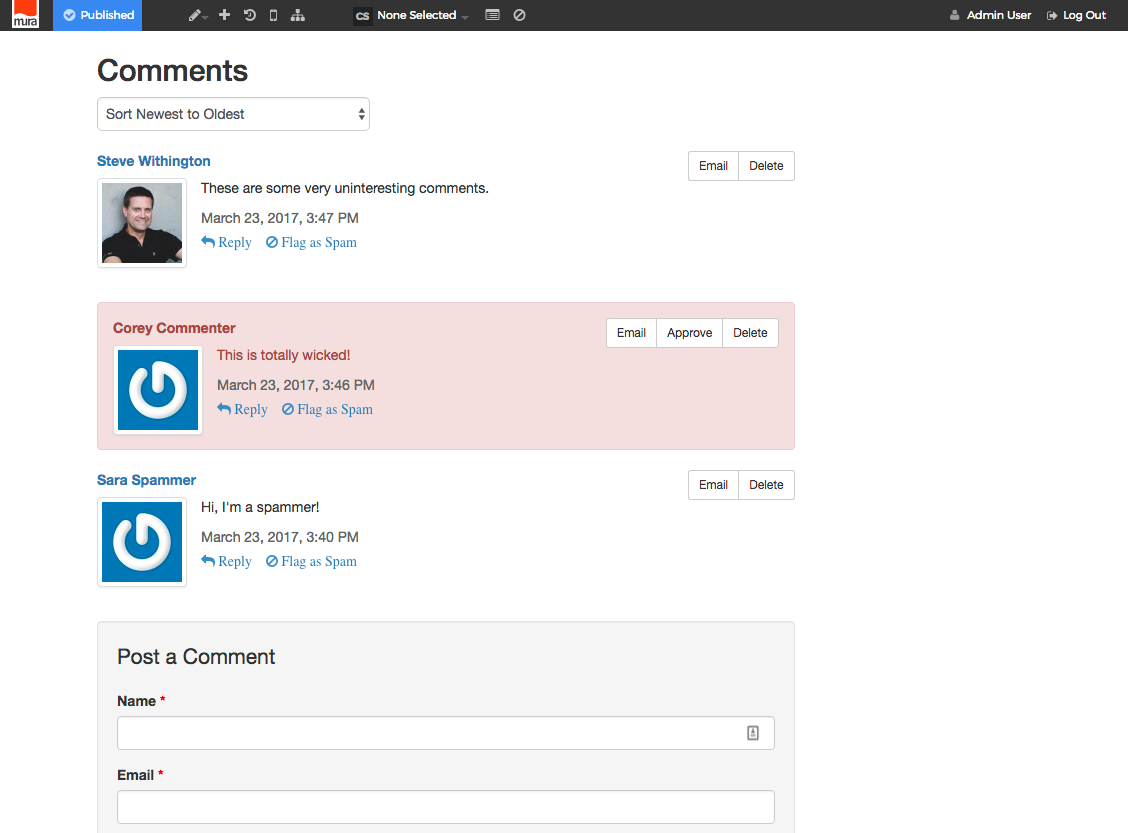
- If you do not allow comments to be posted without approval, comments pending approval will appear with a red-tinted background, and an additional button to approve the comment. If you are logged out, comments pending approval will not appear.

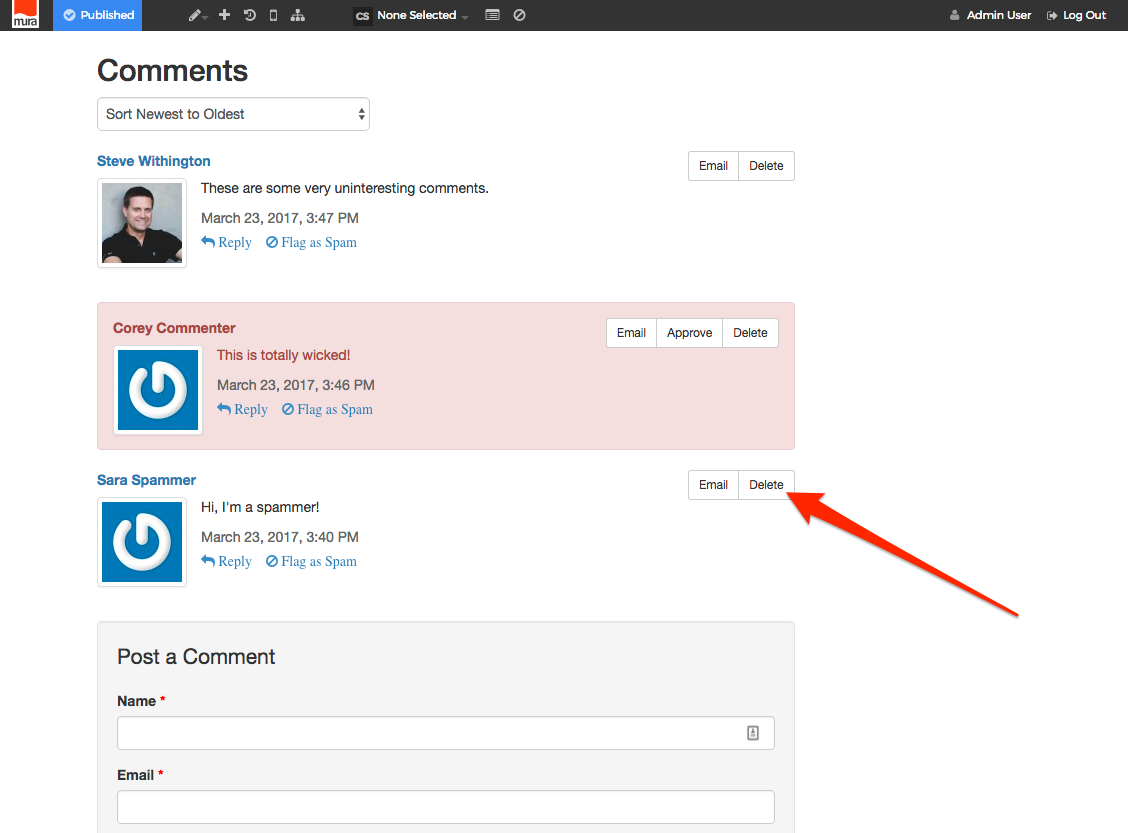
- If you wish to delete a comment, simply click the delete button next to any comment, then click "OK" on the confirm dialog box when it appears.
How to Manage Comments via the Back-End Administration Area
Managing comments from the back-end administration area is much easier on sites that receive a fair number of comments. As you'll see in the steps below, you can perform bulk operations on comments such as approving, deleting, or flagging them as spam.
- From the back-end administration area of Mura, click Comments on the main navigation.
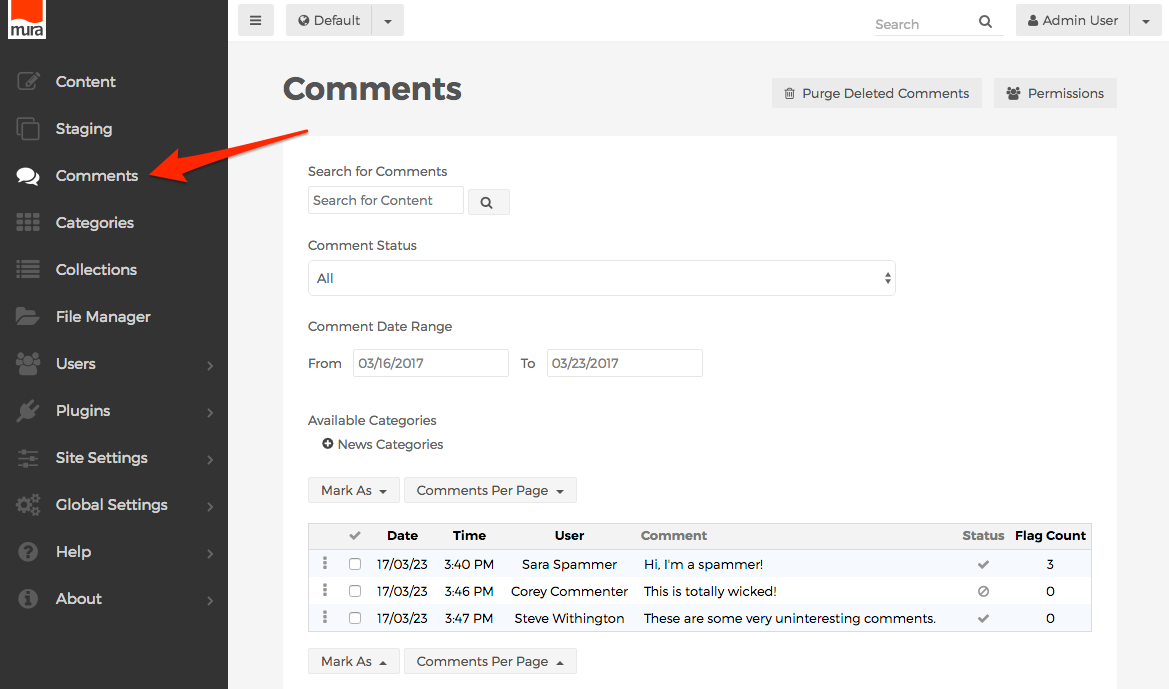
- From the Comments screen, you can search comments by using the Search for Comments field.
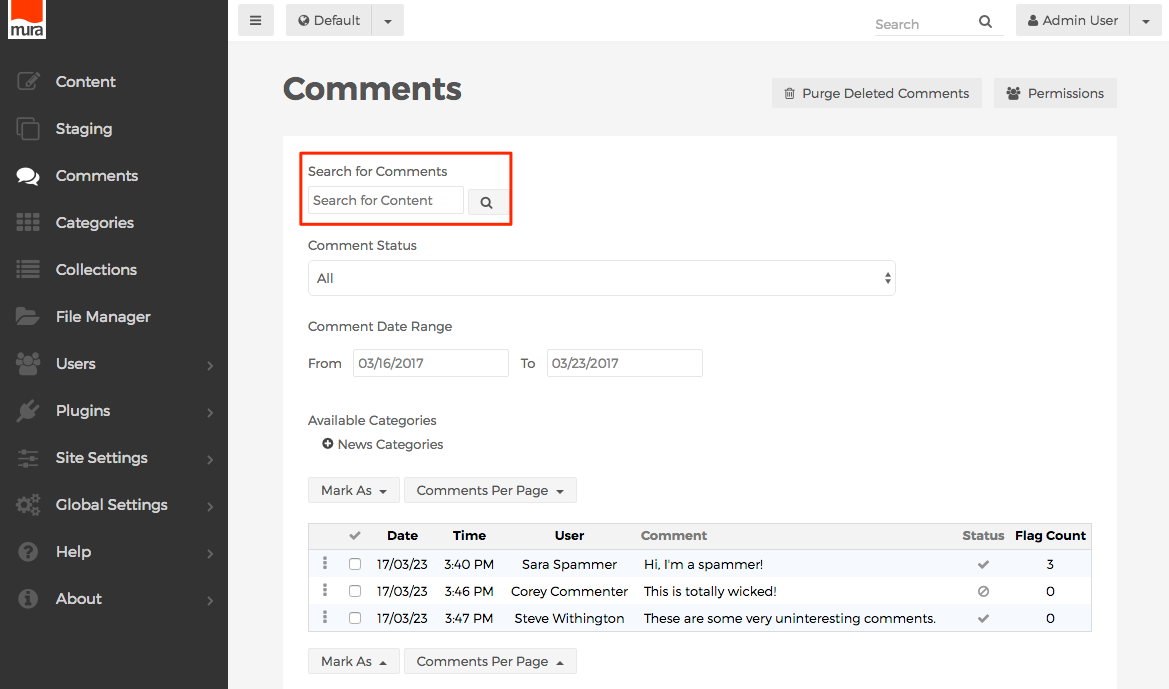
- You can also filter comments by using the Comment Status select menu, then clicking the spyglass next to Search for Comments.
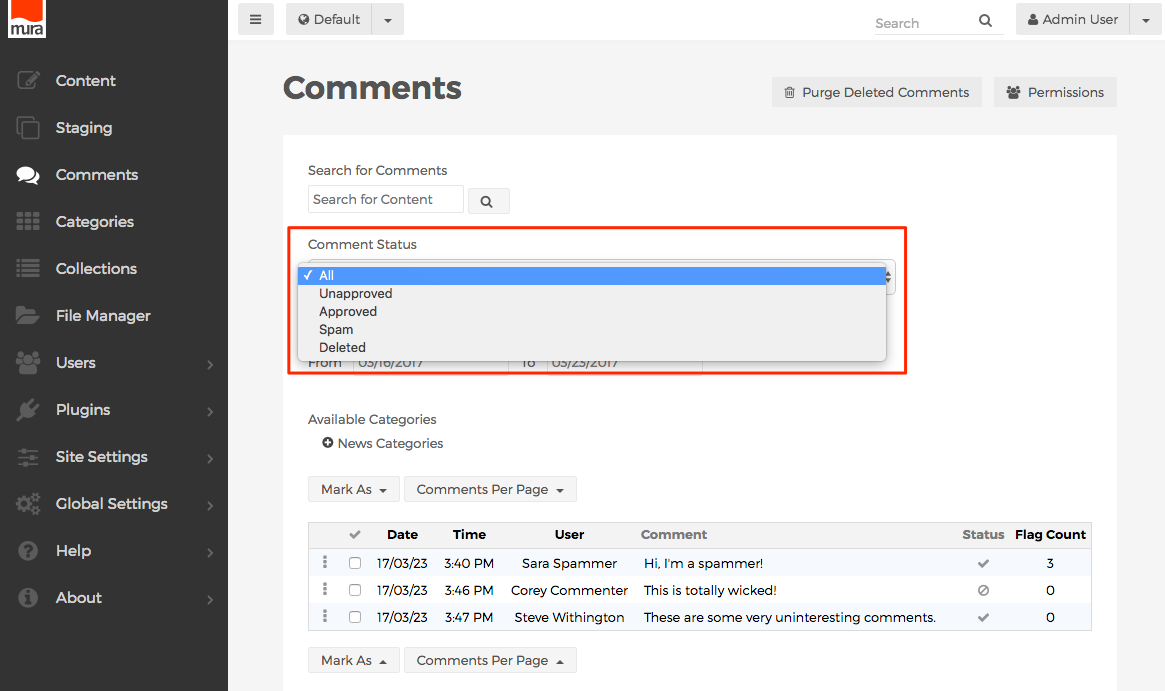
- Or, you can filter comments by selecting your desired Comment Date Range, then clicking the spyglass next to Search for Comments.
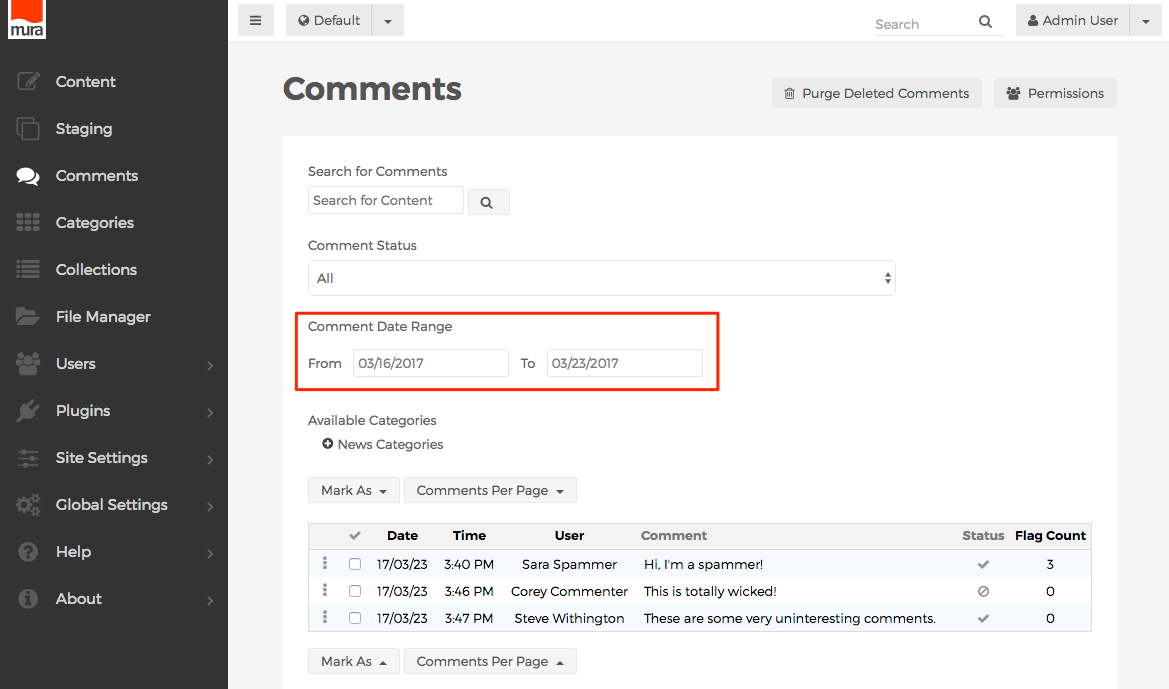
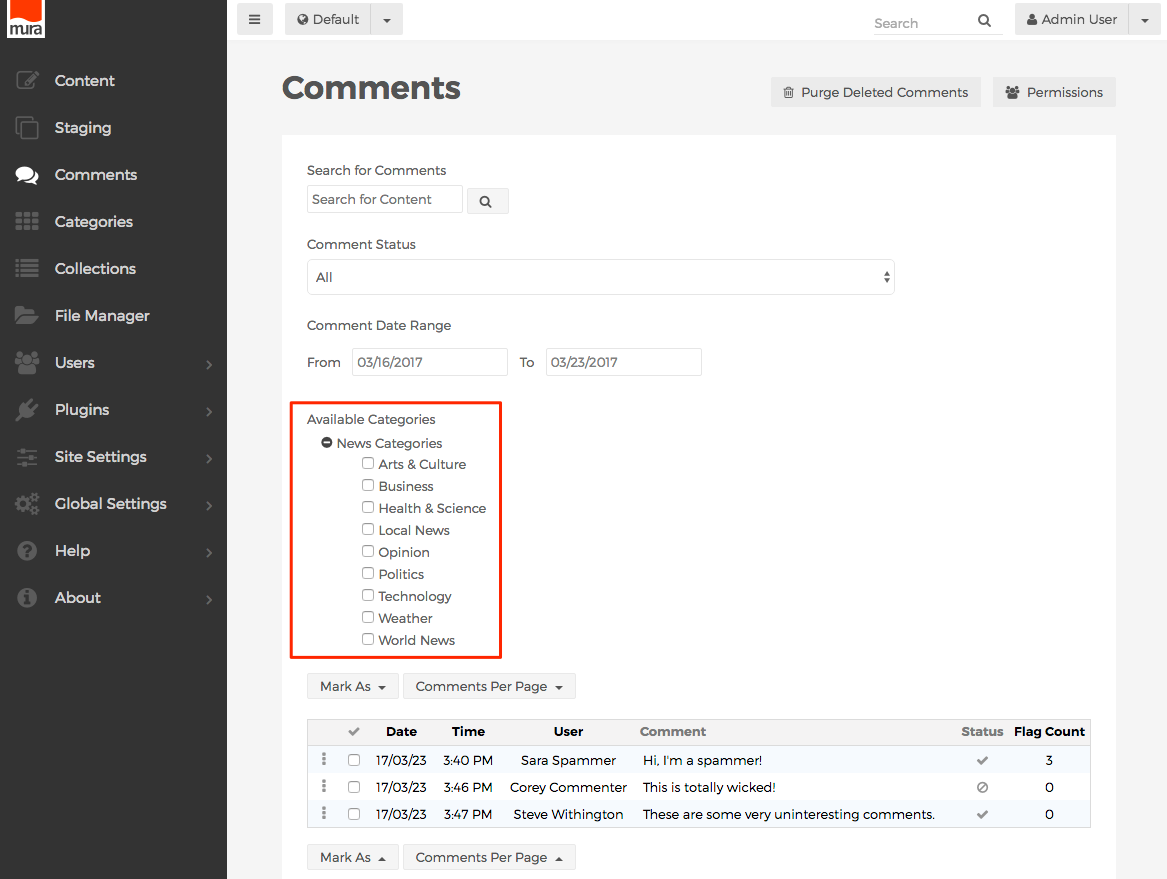
- You may also filter comments based on Available Categories, then clicking the spyglass next to Search for Comments.
- Click the three-dot menu next to a comment in the list, to reveal a menu of options.
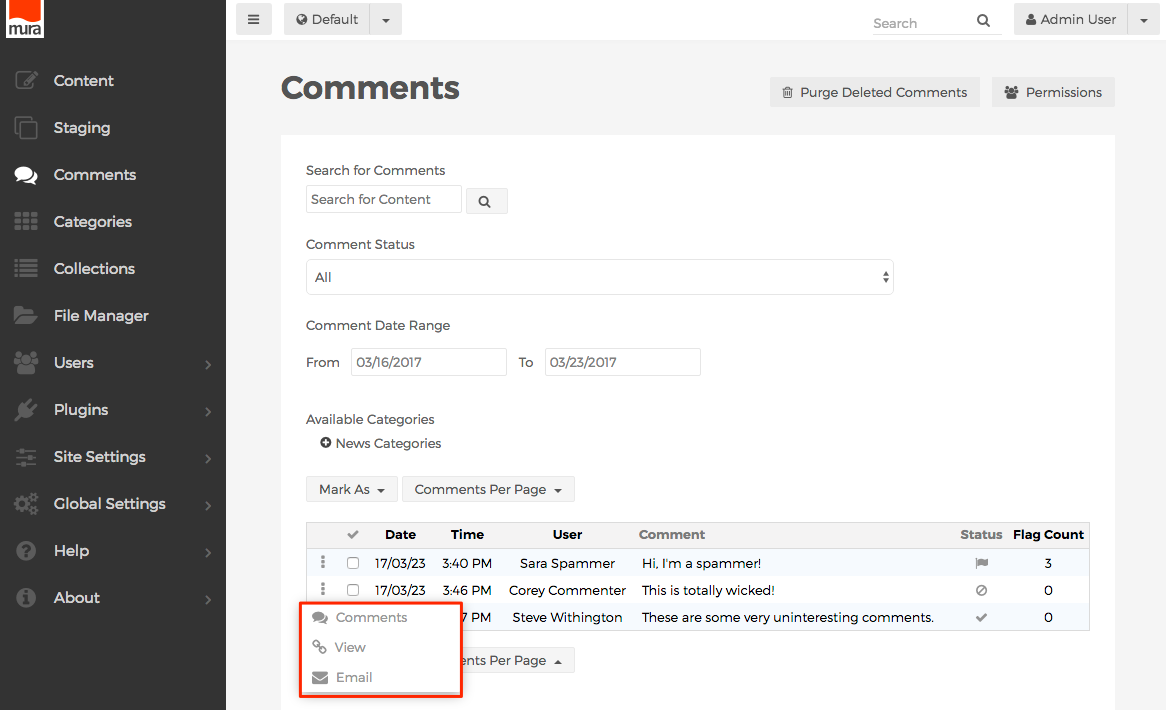
- Comments
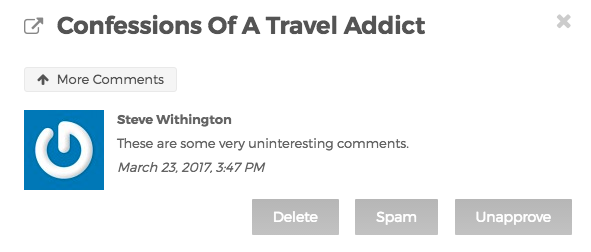
- Select this option to open a dialog window to delete, approve, unapprove, or flag the comment as spam. If you flag the comment as spam, it will not appear on the front-end, public facing side of your site.
- Click the icon next to the title of the content item that was commented on, and a new tab should open, with the URL of the content item as seen from the front-end, public facing view of your site.

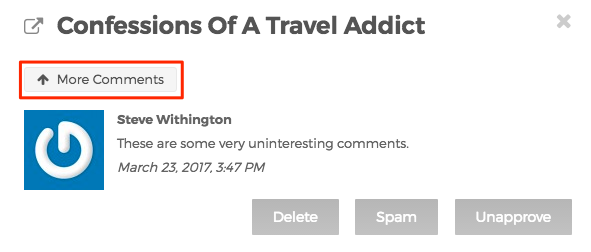
- If comments preceded the comment you're currently viewing, a button will appear to provide you a way to view the preceding comments. Conversely, if any comments have been posted after the comment you're currently viewing, another button will appear below the currently viewed comment to view additional comments.
- View
- If the "View" option appears, it will link to the URL the user entered when submitting their comment. For example, many commenters enter the URL of their personal or business website.
- Email
- Select this option to launch your default email program to send an email to the submitter.
- Comments
- If you click the Date, Time, User, or Comment itself, the behavior is the same as clicking the three-dot menu next to the comment, and selecting the Comments option, as described above.
- To perform bulk operations such as Approve, Spam, Delete, select the checkbox next to each comment you wish to include in the operation. You may also click the checkmark at the top of the column to "select all" or "deselect all."
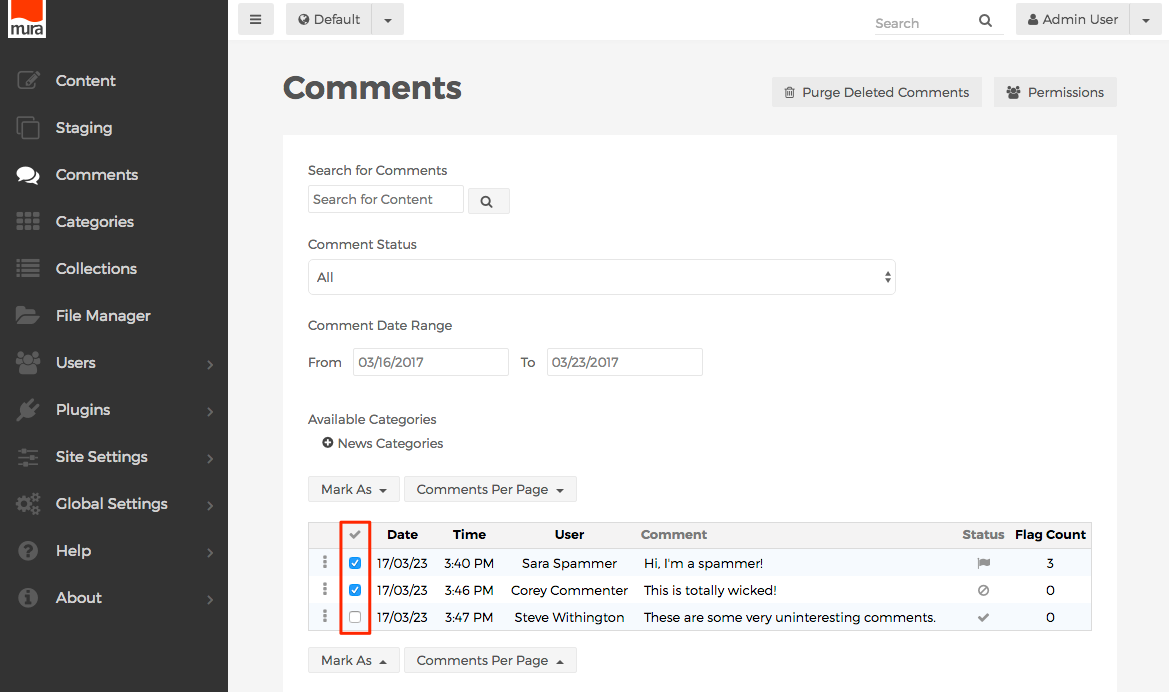
- Then, click the "Mark As" button, and select your desired operation.
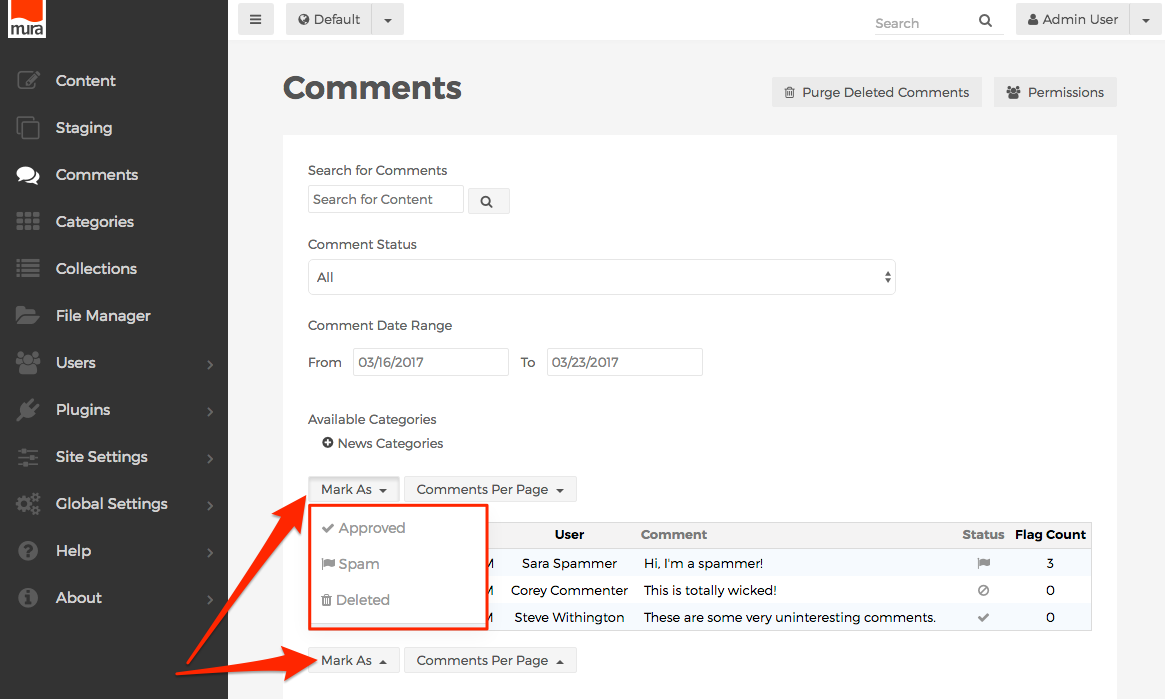
- Lastly, comments that have been "deleted" will still appear in the back-end administrator. If you wish to permanently delete comments that have been marked as deleted, you may use the Purge Deleted Comments button to do so.
