Submitting Content for Approval
Groups require Editor privileges in order to submit content for approval. If a group has only been granted Author privileges, they will have to notify an Editor, who in turn, may follow the steps outlined below to submit content for approval.
- Whenever a content item is either edited or added to a section which has an Approval Chain applied, the Publish button is replaced with a Send for Approval button. If Change Sets are enabled, the Save to Change Set button is replaced with Save to Change Set & Send for Approval. Keep in mind, only groups with Editor privileges will see these buttons. Groups with Author privileges will only see the Save Draft, and Preview buttons.
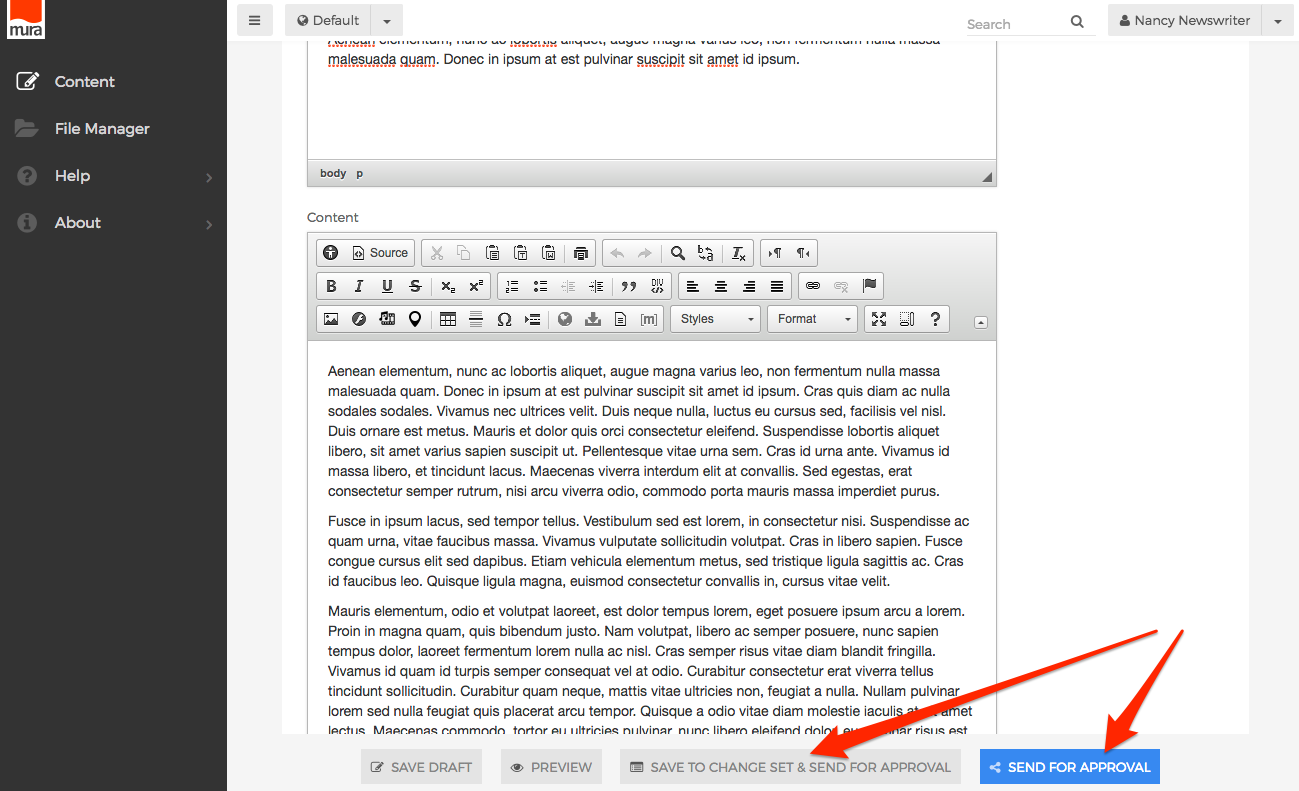
- Clicking any of the Send for Approval buttons triggers the Approval Chain process.
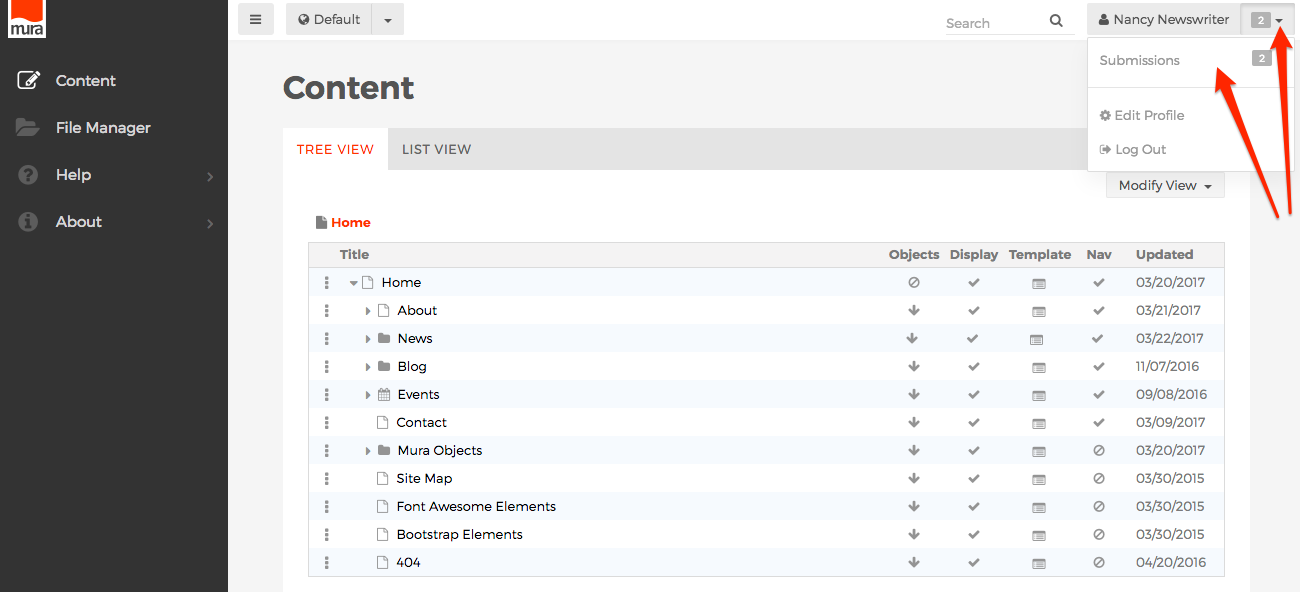
- To view your "submissions" for approval, click the down arrow of the user menu in the upper right corner of the screen, in the back-end administration area of Mura.
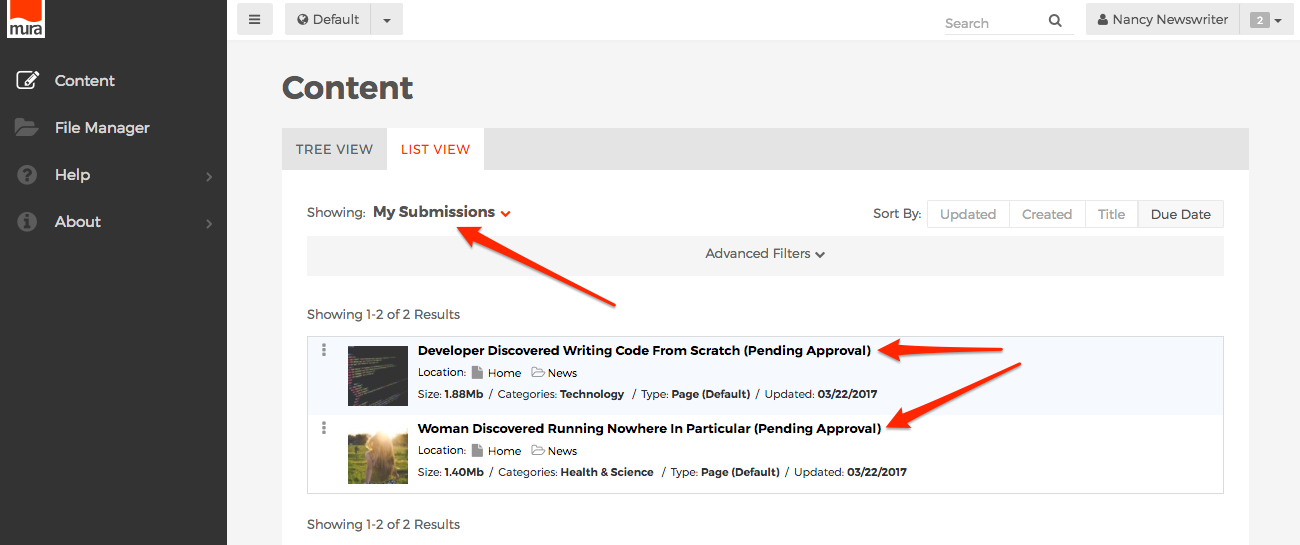
- You should then be taken to the Content > List View tab. The "Showing" filter will be preset to My Submissions, and all submitted content items in "Pending Approval" status will be listed.
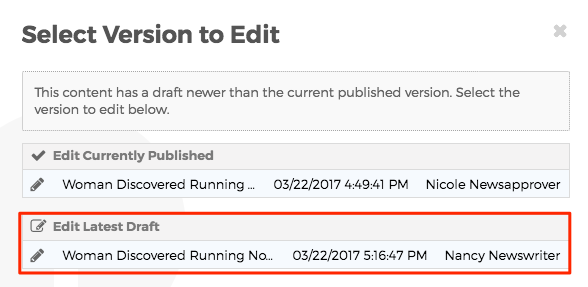
- If you wish to edit a content item in "Pending Approval" status, you can still do so, since it's technically in a "Draft" state. Attempting to edit the content item will invoke a Select Version to Edit dialog window. Select the "Edit Latest Draft" to edit the content item.
- When you edit the content item, an alert will appear above the tabs, with a link to View Details.
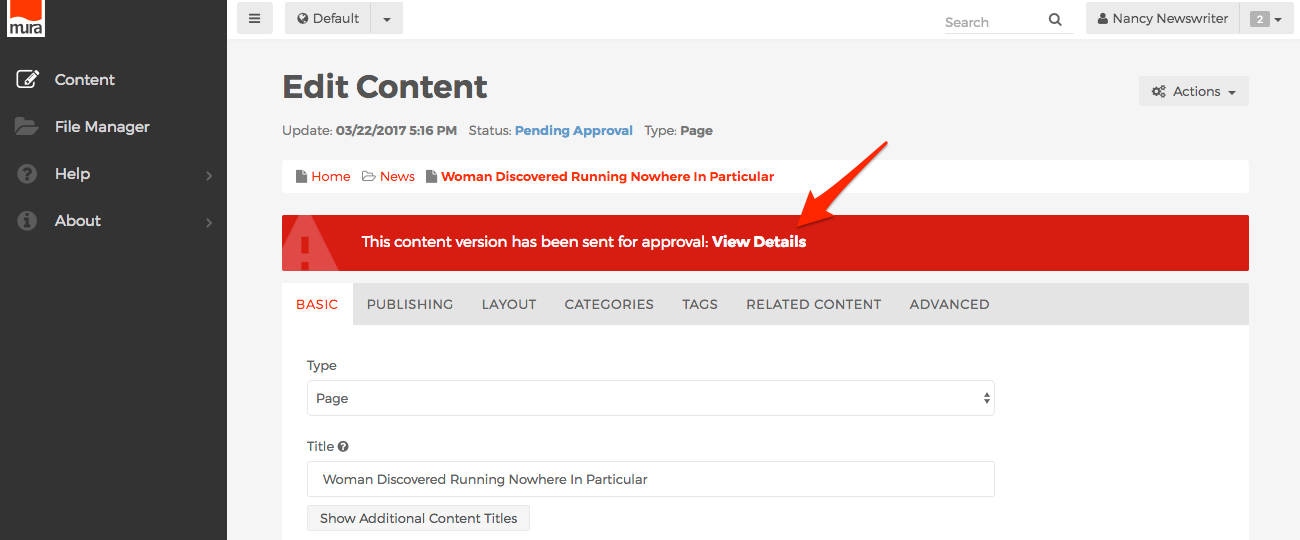
- Clicking the View Details link will launch the Status dialog window. You can see who created the content item, and which group the approval is waiting on.
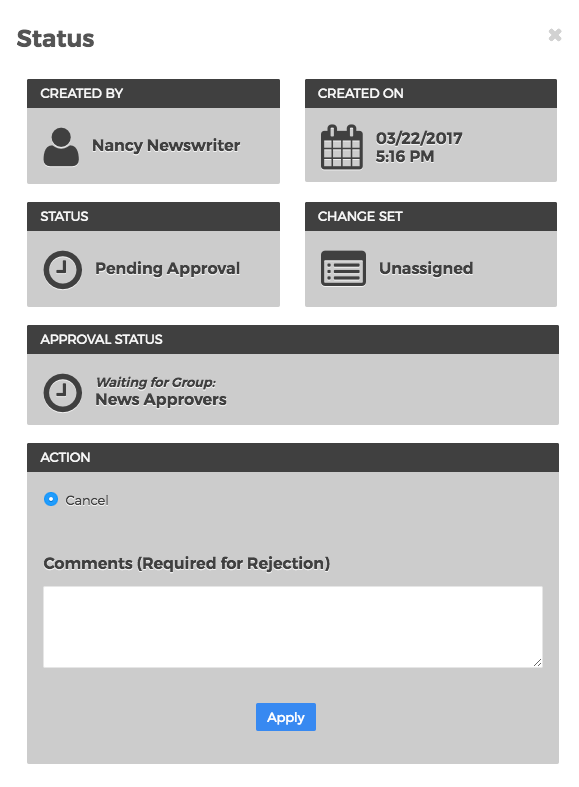
- If you wish to cancel your request, simply click the Apply button. Otherwise, click the "X" at the top right of the window to close the dialog window.