Related Content
The Related Content tab is where you manage a content item's Related Content. The content can exist either on the same site as the content item itself, or on a completely different website altogether.
The information collected here is used when outputting the "Collection" display object, if the content source is set to "Related Content." See the Collection section for information on how to output the a listing of Related Content.
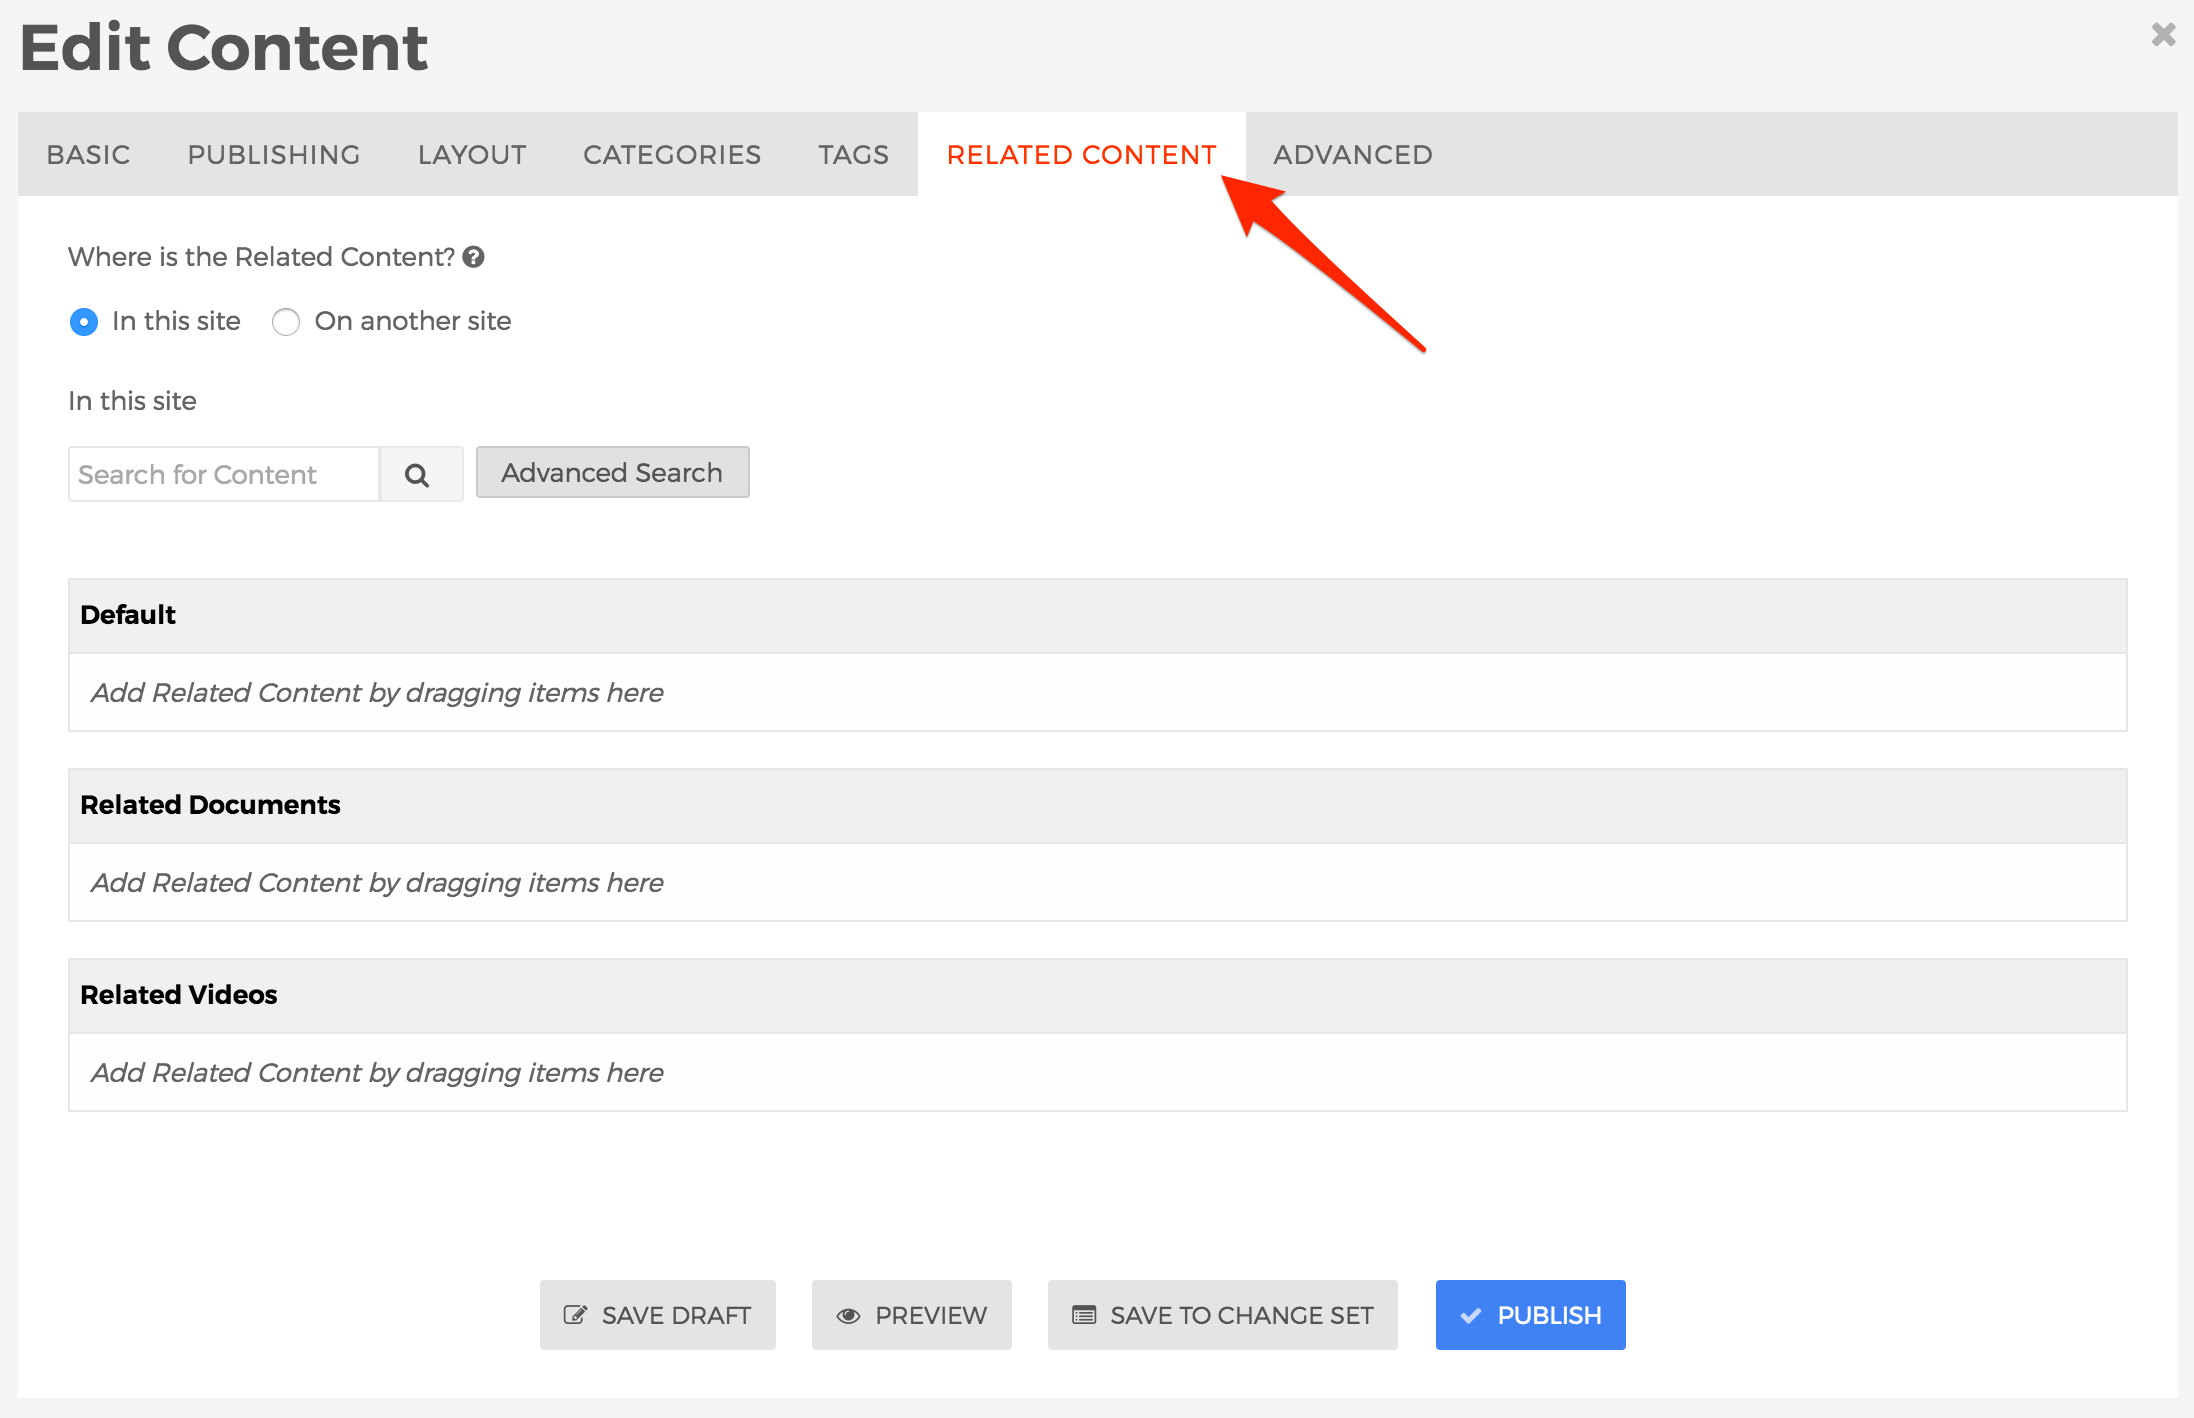
- Where is the Related Content?
- You may select content from either "In this site" or enter a link to content located "On another site."
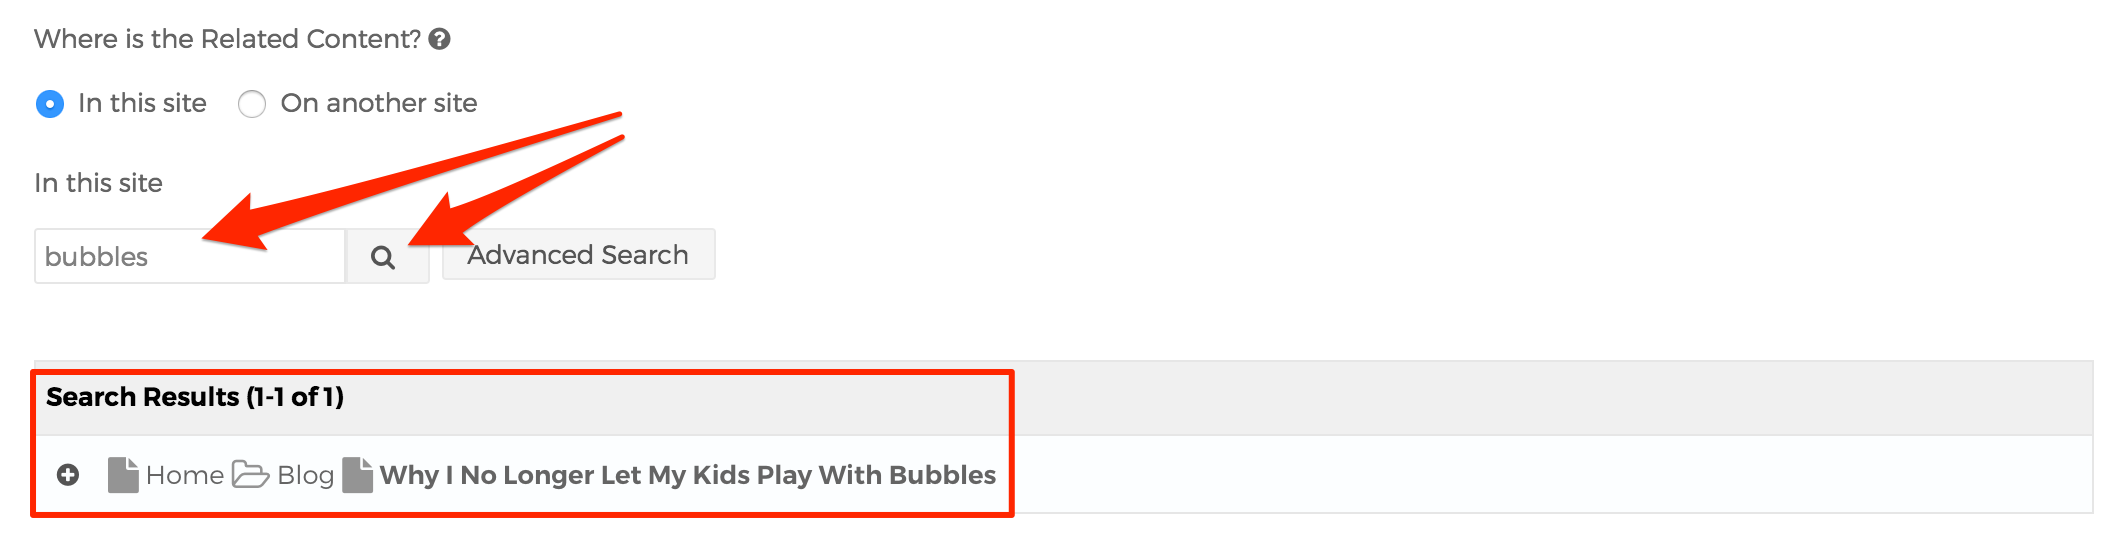
- In this site
- Enter text into the search field, then click the spyglass to obtain a listing of search results.
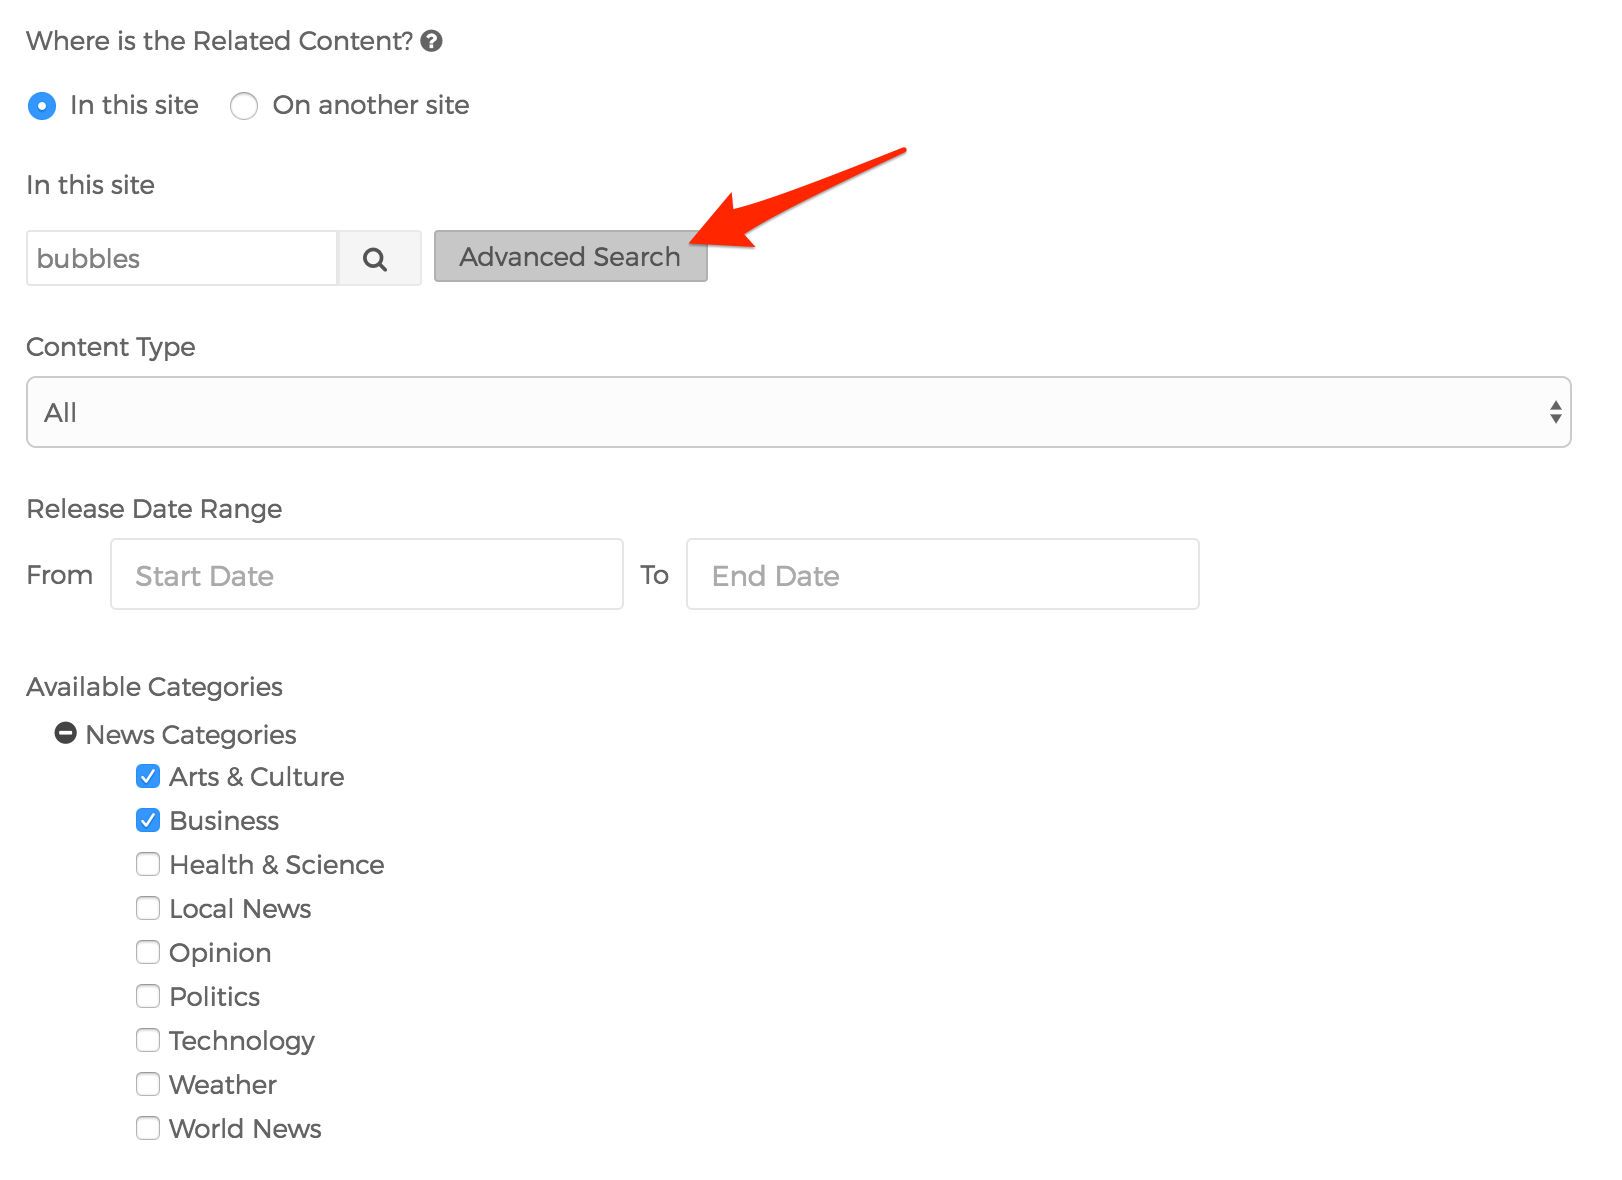
- Optionally, select the "Advanced" button to filter your search results to specific Content Types, Official Release Date Ranges, and Categories.
- Enter text into the search field, then click the spyglass to obtain a listing of search results.
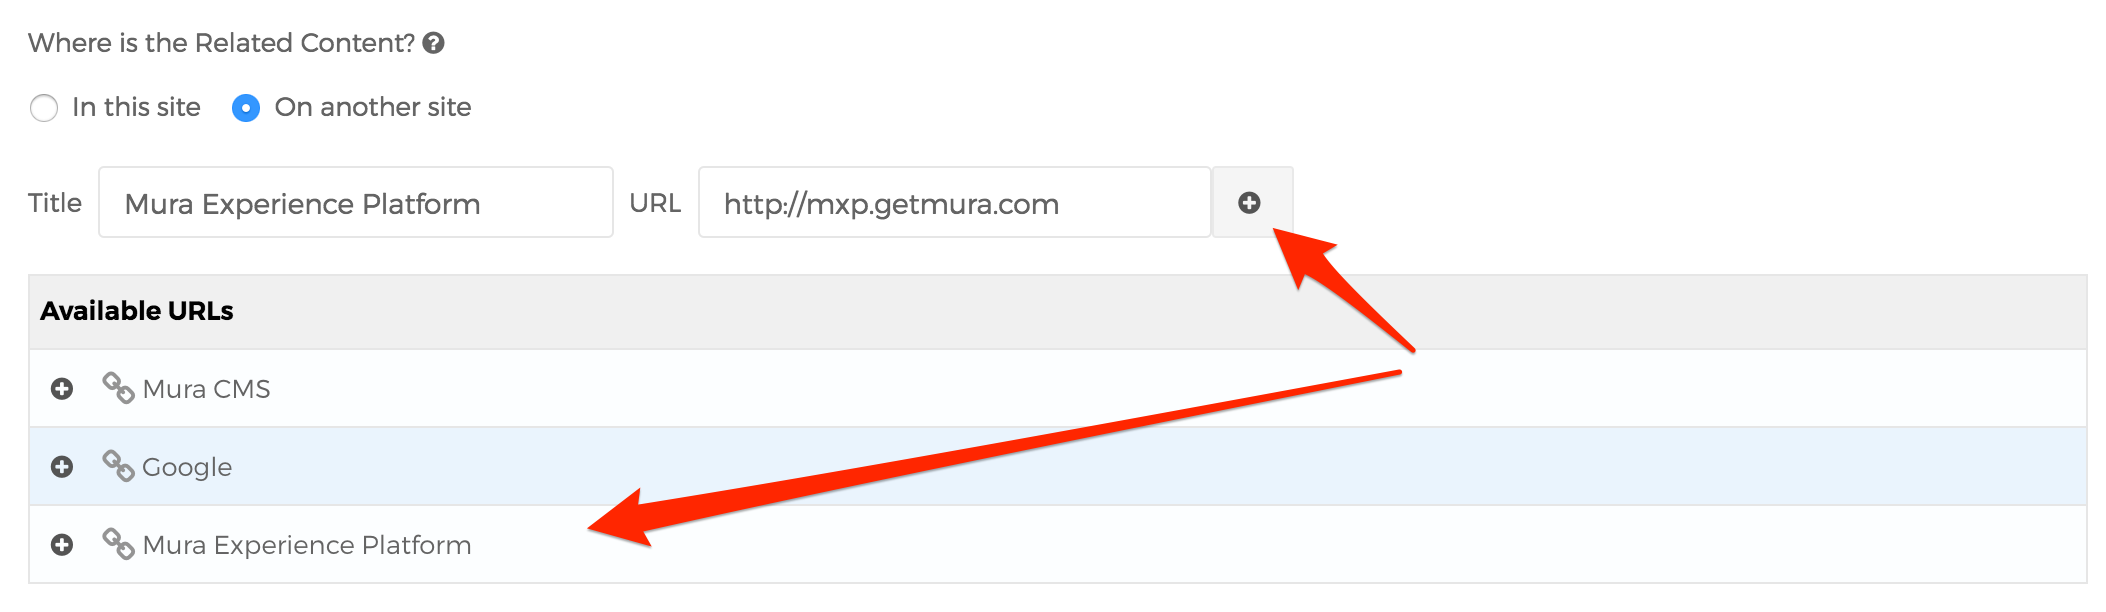
- On another site

- Title
- Text entered in the "Title" field will appear wherever a link is generated or displayed by Mura CMS.
- URL
- The "URL" entered here will be the link used to direct a user if/when they click the "Title" entered above.
- Click the plus sign located next to the URL to generate a list of "Available URLs"
- Title
- In this site
- You may select content from either "In this site" or enter a link to content located "On another site."
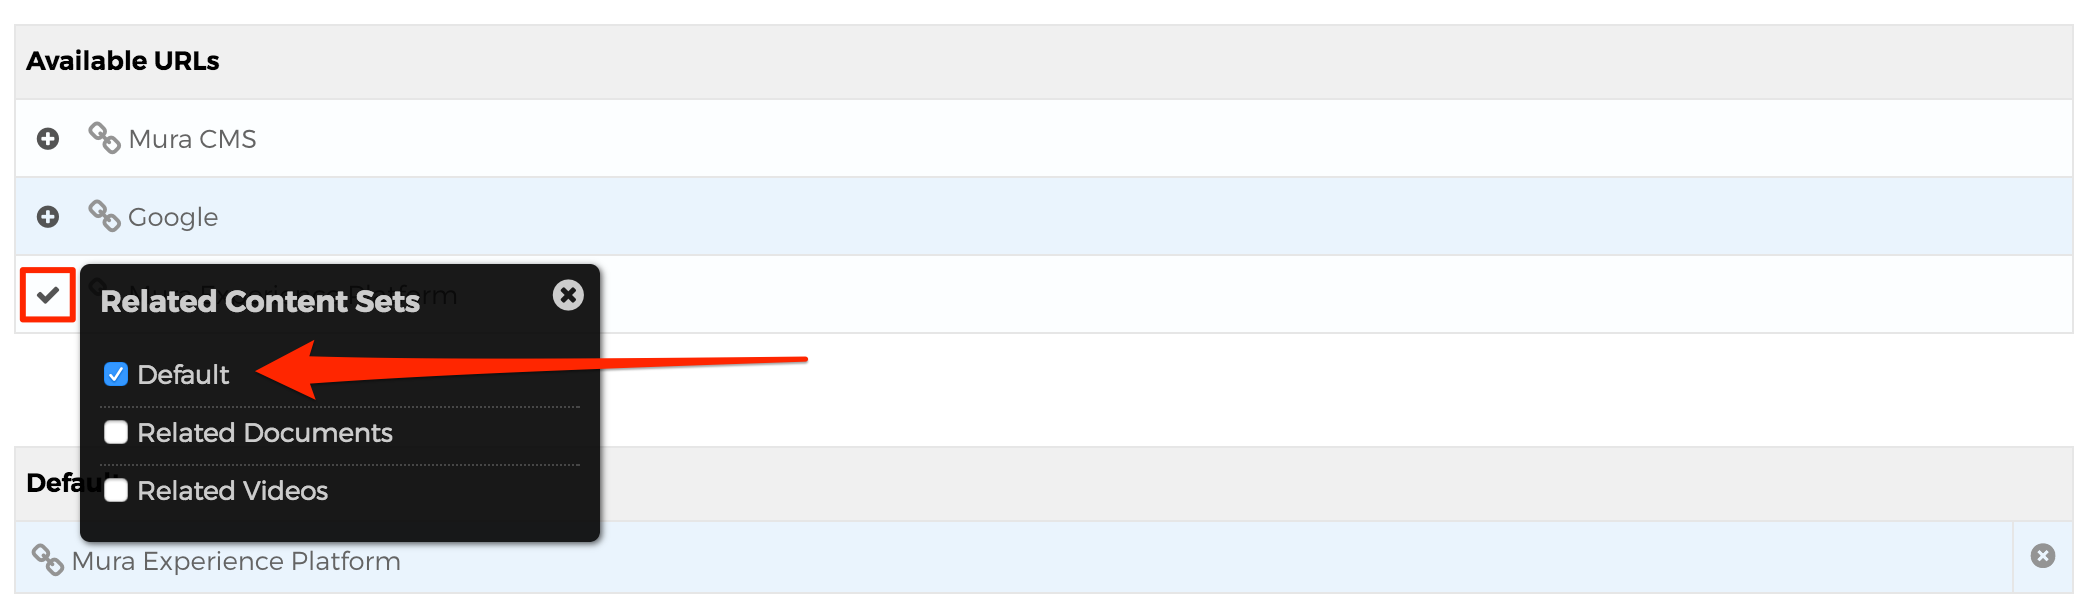
- How to assign an item to Related Content Set
- Once you've either located content you wish to use as "Related Content" via "In this site" or "On another site," you can either click, drag, and drop the item to your desired Related Content Set, or click the plus sign located to the left of the item, and then click the checkbox next to your desired Related Content Set to assign it as related content.
- Once you've either located content you wish to use as "Related Content" via "In this site" or "On another site," you can either click, drag, and drop the item to your desired Related Content Set, or click the plus sign located to the left of the item, and then click the checkbox next to your desired Related Content Set to assign it as related content.
- How to sort items in a Related Content Set
- You can also control the sort order of the related content items by dragging and dropping the items into your desired order.

- You can also control the sort order of the related content items by dragging and dropping the items into your desired order.
- How to remove an item from a Related Content Set
- To remove an assignment, locate the item you wish to delete under the Related Content Set, and click the circle with the "x" at the far right of the item's row.

- To remove an assignment, locate the item you wish to delete under the Related Content Set, and click the circle with the "x" at the far right of the item's row.
- Select your desired publishing option to save your changes.
Note: Relationships created using this method are one-way by default. This means that if "Content Item A" is related to "Content Item B," then "Content Item B" is not necessarily related to "Content Item A." If you want to make the relationship both ways, you'll need to edit the other content item, and repeat the process to complete the two-way relationship.