Creating Categories
To create categories, you need to go to the Categories section of the back-end administrator and follow the instructions below.
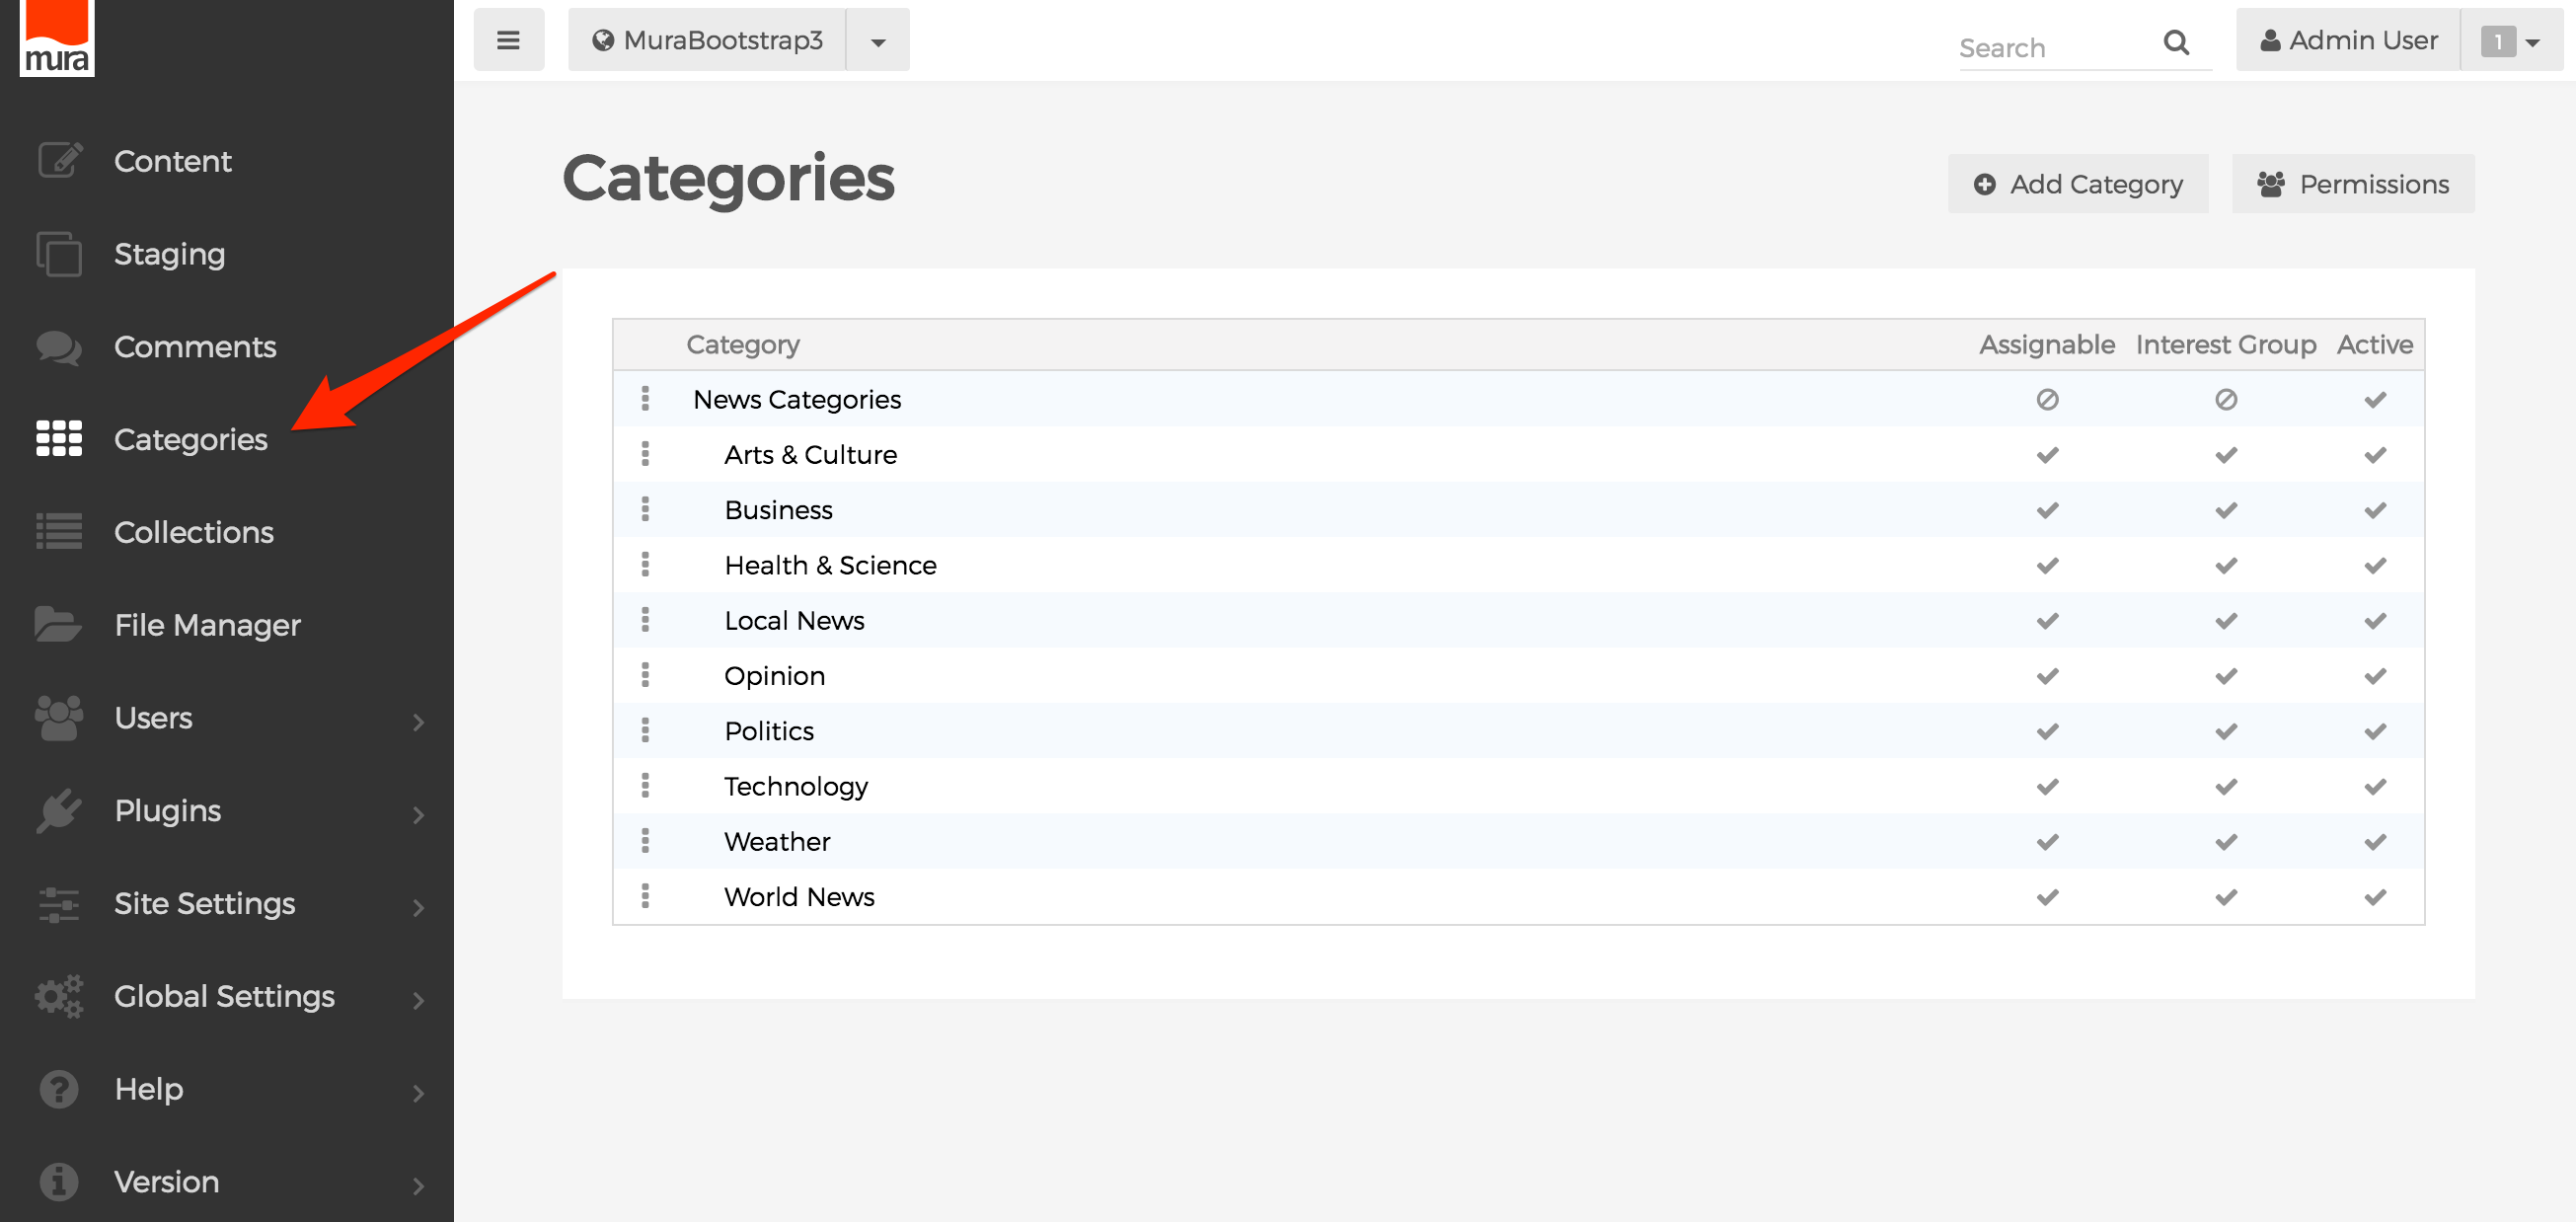
- From the Categories section, select "Add Category"

- You should now see the "Add Content Category" screen

- Name: This will be the name of the category
- URL Title: Leave this blank to have Mura automatically generate your category a URL title based on the name you chose. Or, feel free to enter your own unique URL title.
- Parent Category: The select menu will display all existing categories. If you prefer the category be assigned as a subcategory, simply select the desired parent category. Otherwise, select "Primary."
- Is this an interest group?: Select "Yes" to allow Site Members to choose it when completing/editing their profile.
- Allow Content Assignments?: If "Yes" then content can be assigned. If "No," it will simply show as a heading on the Categorization tab under "Available Categories. This is useful when you want to group some categories together, but not necessarily allow content to be categorized as such. For example, you might have a category called "News Categories" that contains several subcategories, and you wouldn't really want someone to assign content to this specific category.
- Allow Content Features?: If "Yes" the content can be featured under the specified category.
- Active?: If "Yes" then the category will appear as an option for content managers to assign content to, otherwise it will be hidden.
- Restrict ability to assign content to this category?: If utilized, only the group(s) selected will be allowed to assign content to this specific category.
- Notes: Enter any notes pertinent to the category, if desired. It's not used for any display purposes.
- Complete the fields as desired, then click "Add" to create your desired category.