How to Create/Export a Site Bundle
When you create a site bundle with Mura, a .ZIP file will be generated. There's no need to unzip it. The file will contain data that has been exported from the database, as well as all of the assets used for the site such as images, CSS, JavaScript, and of course, any layout templates used by the originating site.
Note: Depending on the size of your site, as well as the size of your assets, site bundle files can get quite large, rather quickly. If your bundles are in the 2Gb+ range, we highly encourage you to use more traditional backup and deployment strategies.
To create a site bundle, follow the steps below.
- From the back-end administration area of Mura, select Site Settings from the main navigation, then click Create Site Bundle.
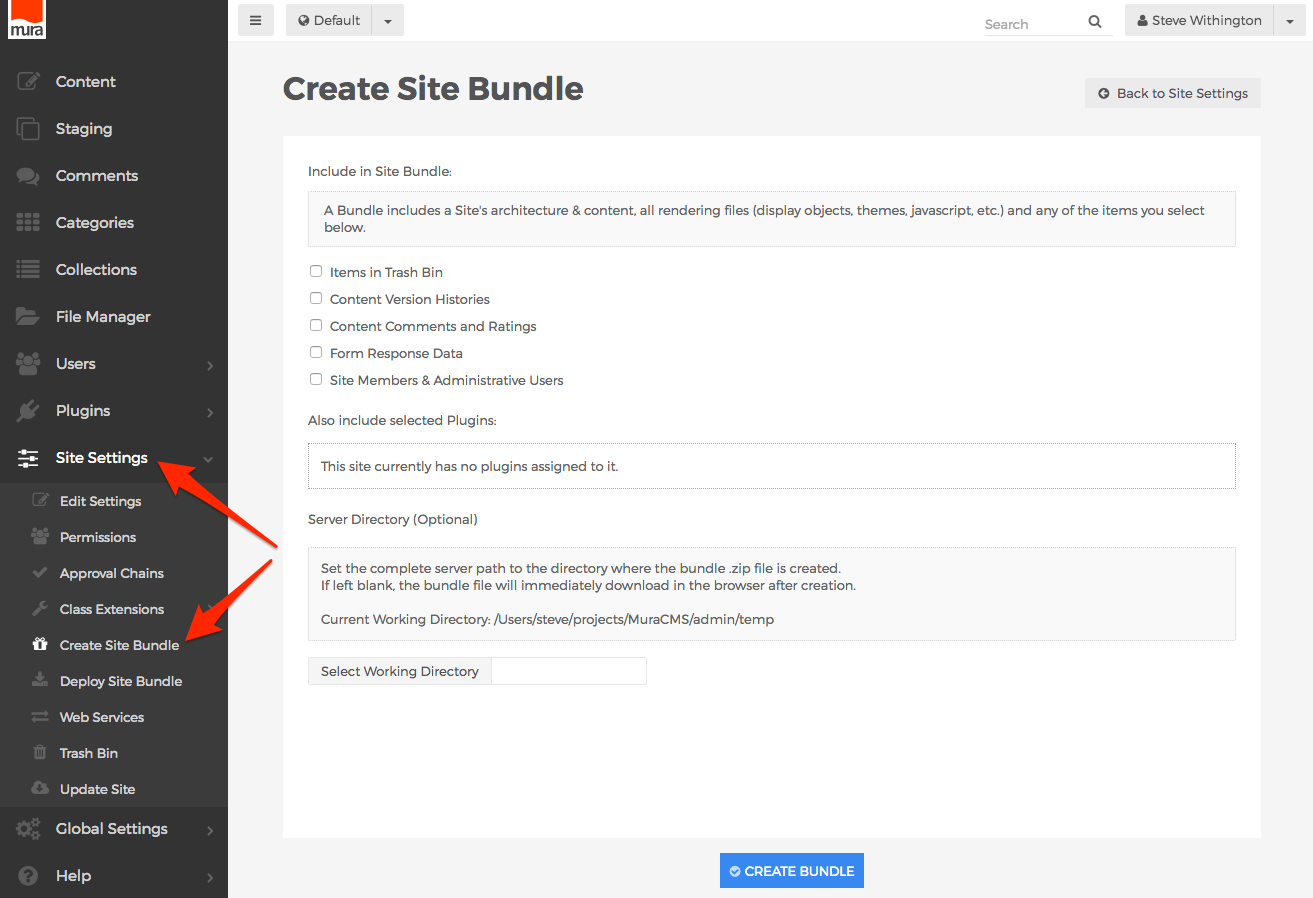
- The Create Site Bundle screen should appear.
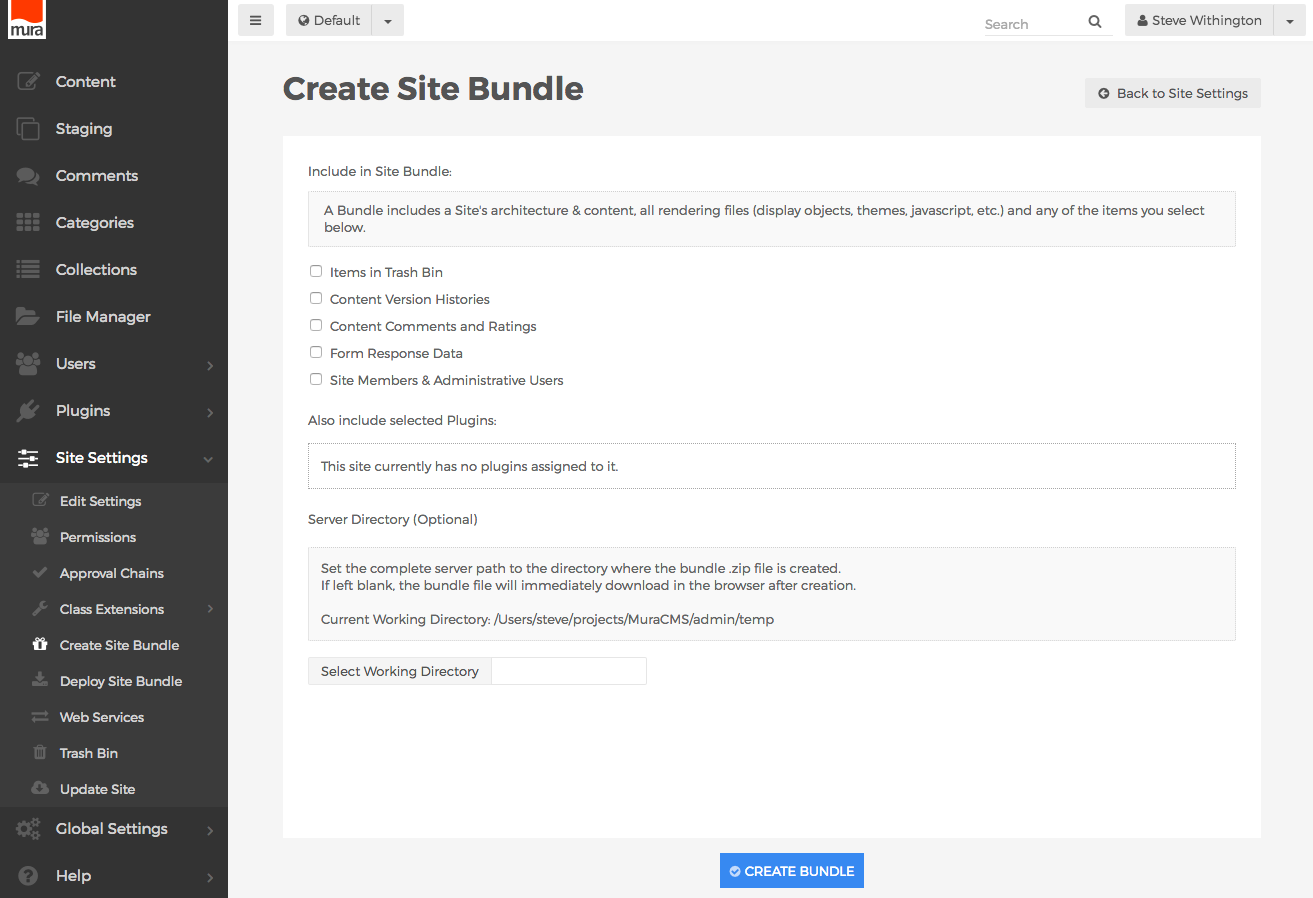
- Include in Site Bundle
- Items in Trash Bin
- Select this option if you wish to include deleted items still remaining in the Trash Bin.
- Content Version Histories
- Select this option if you wish to include all available version histories.
- Content Comments and Ratings
- Select this option if you wish to include comments and ratings submitted by site visitors.
- Form Response Data
- Select this option to include any form submissions.
- Site Members & Administrative Users
- Select this option if you wish to include the current groups and users associated with your site.
- Items in Trash Bin
- Also include selected Plugins:
- If any plugins are enabled for your site, a listing of those plugins will appear with a checkbox next to each of them. You may select any plugins you wish to be included in the bundle file.
- Server Directory (Optional)
- You can choose where you would like the bundled .ZIP file to be stored on the server. If you choose to leave it blank, Mura will package up the .ZIP file, and will prompt you to download the file when its finished.
- If you wish to use the "Current Working Directory" as listed on the screen, you may simply click the Select Working Directory button, and Mura will auto-populate the text area with the information.
- Include in Site Bundle
- After making your desired selections, click the Create Bundle button.
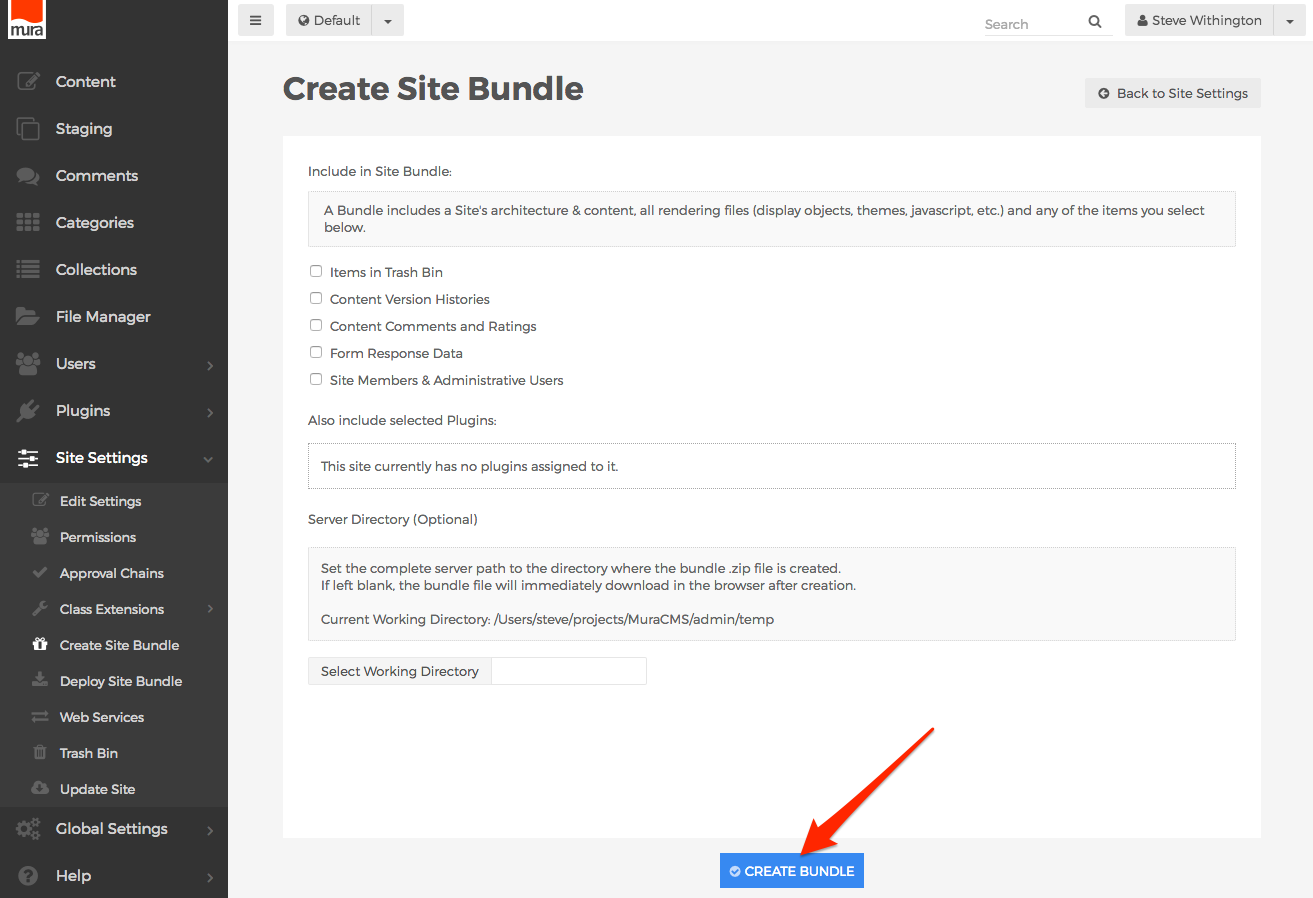
- An Alert dialog window will appear to confirm your decision to create a bundle file. Select Yes to continue, or No to abort the process.
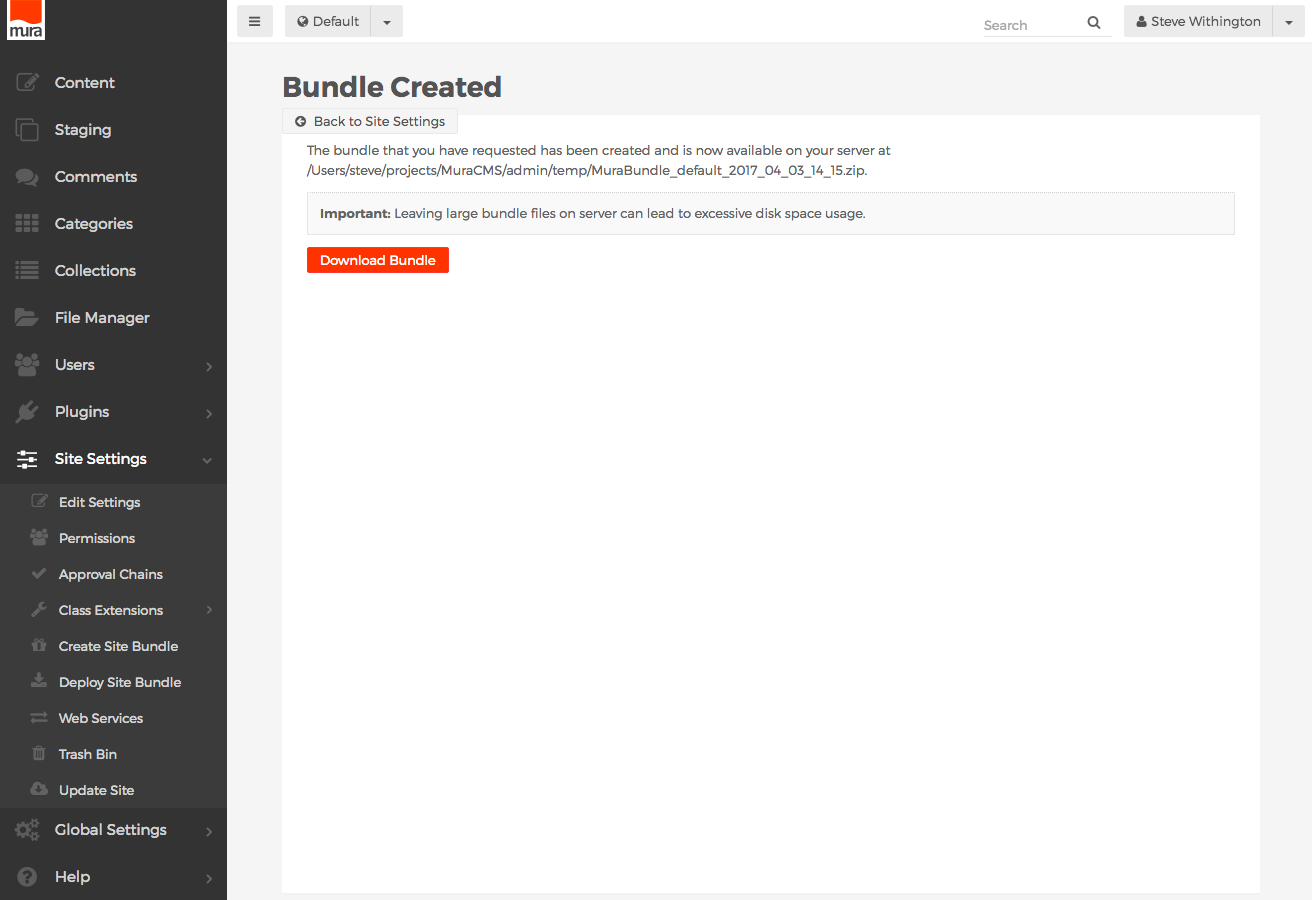
- Depending on your choice for Server Directory, you will either be prompted to download the file (if you left it blank), or you will be redirected to the Bundle Created screen, when the file is saved on the server and ready to be retrieved.