Local Content Indexes
A Local Content Index is essentially a collection of content which has been indexed and aggregated from either the entire site or specified areas of the site based on desired filter criteria. Once created, these Local Content Indexes can be used to display a number of built-in display objects in one or more areas of the site.
These built-in, customizable display objects are generally a listing of content items which typically include the title, associated image thumbnail, summary text, content release date, author, and a hyperlink to the full version of the page.
Mura CMS also enables you to publish a Local Content Index as a RSS feed (http://en.wikipedia.org/wiki/RSS) to syndicate content automatically.
Create a Local Content Index
To create a Local Content Index, follow these steps:
- From the primary admin navigation, click Modules > Content Collections.
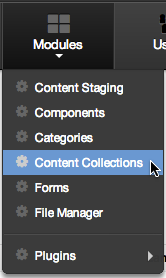
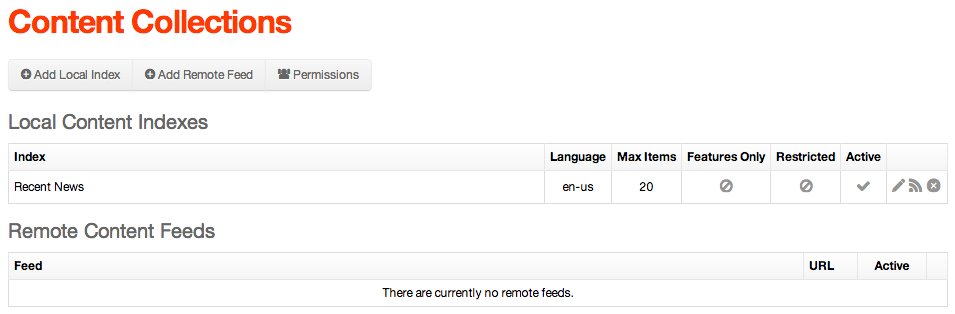
- The Content Collections screen should appear.
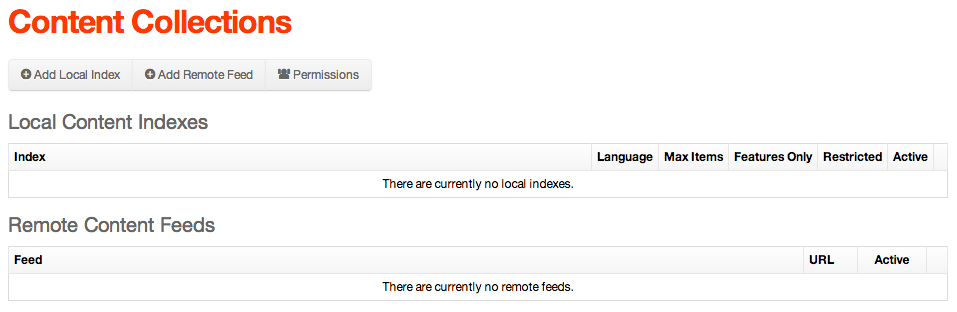
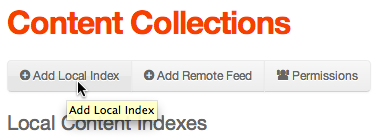
- Click the Add Local Index link near top of the Content Collections screen.
- The Edit Local Index screen should appear. Take a look at the default settings. These are the default "filters" that control which content gets indexed. In the following steps, we'll narrow the search criteria.
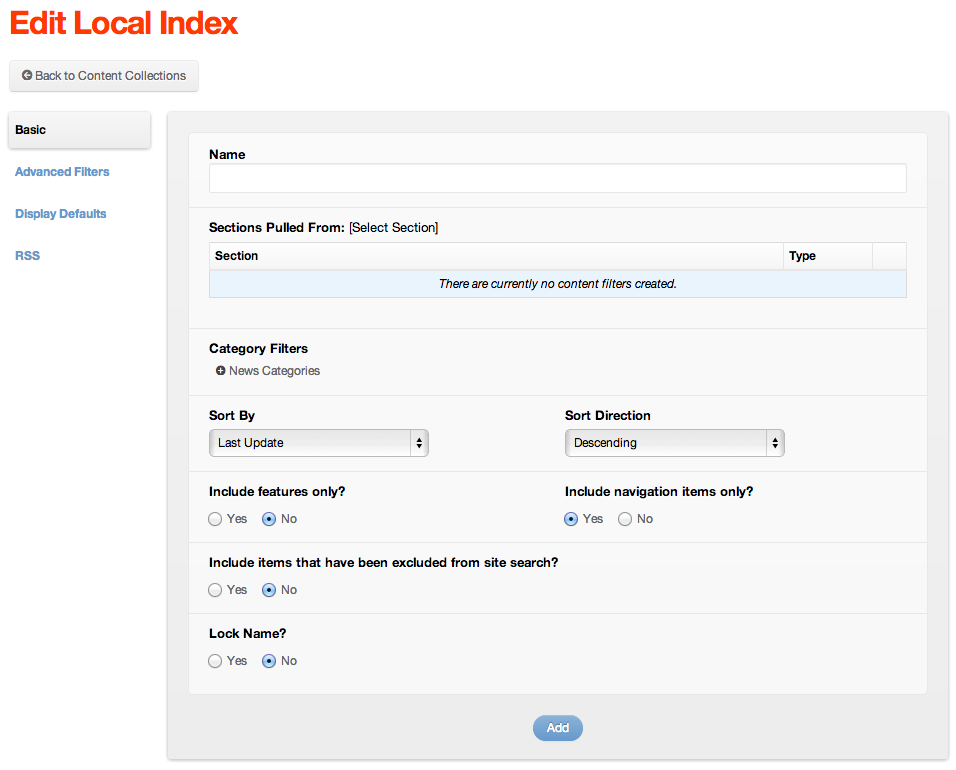
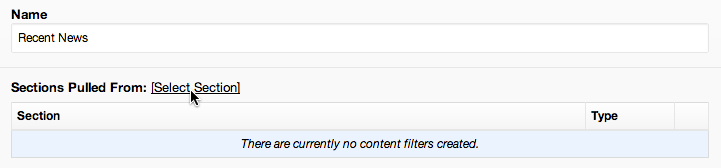
- Enter a Name for your index. (e.g., Recent News)
- Next to the Sections Pulled From label, click [Select Section].
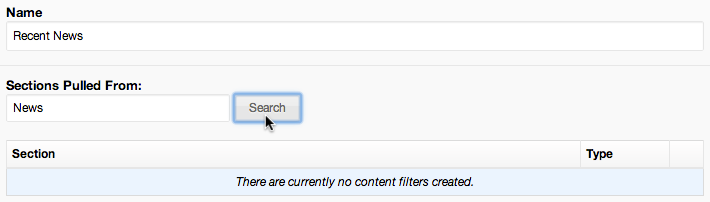
- In the Content Search field, enter a keyword to locate a specific section or page of the site, then click Search (e.g., News).
- Results will be displayed below the search box. Click the plus sign next to the section you would like to include in the Local Index.
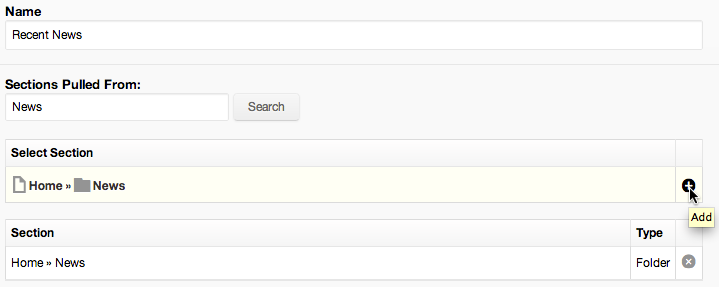
- Once you click the Add icon
 , the selected section should then appear under the Sectionarea.
 - If you select the wrong section, simply remove it from the Section by clicking the Delete icon .
- Repeat the previous steps for each section that you would like to include in the Local Index.
- You can apply additional filters to narrow the search results even more. For example, by expanding the News Categories and selecting the Domestic from the Category Filters, Mura will only include content that has been categorized as Domestic News.
- For the Recent News Local Index, set Sort By to Release Date. Listed below are descriptions for each Sort By option.
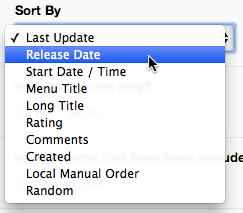
- Last Update: date and time the content item was last edited/updated.
- Release Date: date and time entered for the Content Release Date found on the Publishing tab when editing content.
- Start Date / Time: date and time entered for the Display field found on the Publishing tab when editing content.
- Menu Title: alpha sort based on the data entered into the Navigation Title found on the SEO tab when editing content.
- Long Title: alpha sort based on the Title field found on the Basic tab when editing content.
- Rating: average rating received from the Content Rater display object.
- Comments: number of comments received from the Accept Comments display object.
- Created: date and time the content item was first created.
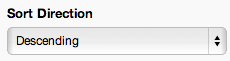
- Set Sort Direction to Descending so that the most current release appears first in the list.
- There are a number of other optional filters available, and it definitely helps to know what the default settings are, and understand what they do:
- Include features only? Default is No. If Yes, then ONLY content that has the field Feature in this section? checked to Yes will be indexed.
- Include navigation items only? Default is Yes. If No, then essentially the Include in Site Navigation field from the Publishing tab is ignored for the purpose of this specific content collection.
- Include items that have been excluded from site search? Default is No. If Yes, then essentially the Exclude from Site Search field found on the Publishing tab is ignored for the purpose of this specific content collection.
- Advanced Filters tab: there are several additional filters that can be applied based on a variety of content item form fields.
- Display Defaults tab:
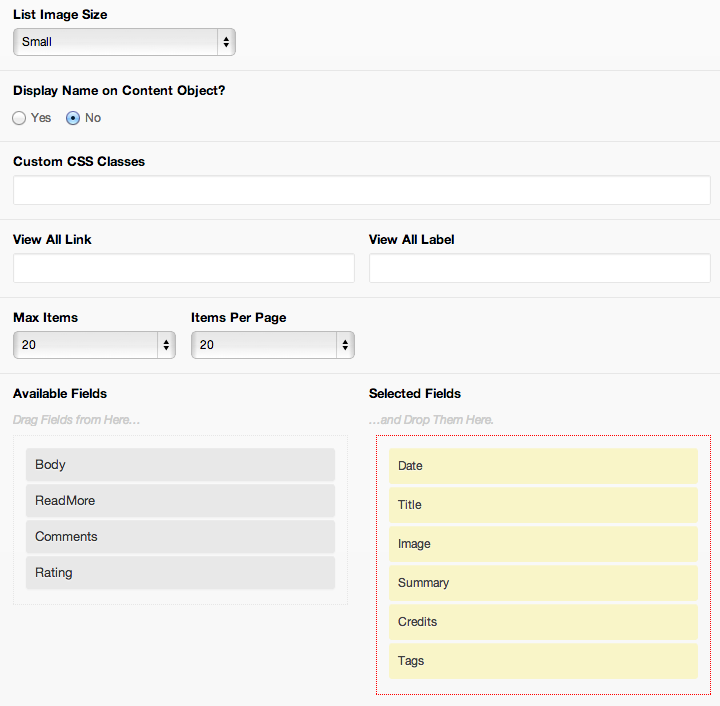
- List Image Size: List Image refers to the Primary Associated Image of any content. Options are Small, Medium, Large, and Custom. The dimensions for Small, Medium and Large are found under the Site Settings > Image tab. Custom allows you to enter your desired default Width and Height values.
- Display Name on Content Object?: Selecting Yes, will display the name of the Local Content Index on screen above the results. An optional Alternate Display Name field is available in case you wish to use some other name/title for the local index. Selecting No, will not display the title at all.
- Custom CSS Classes: This is for front-end developers who wish to add one or more classes to the outer wrapper of the final output. For example, they could enter "myCustomClass homeContentIndex" and it would appear in the class attribute of the containing div element.
- View All Link: If you would like to display a link below the indexed content, enter the URL here.
- View All Label: Text entered here will be wrapped with an anchor tag and the href attribute will be the value entered in the View All Link field.
- Max Items: The maximum number of items you wish to be displayed from the index.
- Items Per Page: The number of items displayed before pagination would automatically appear.
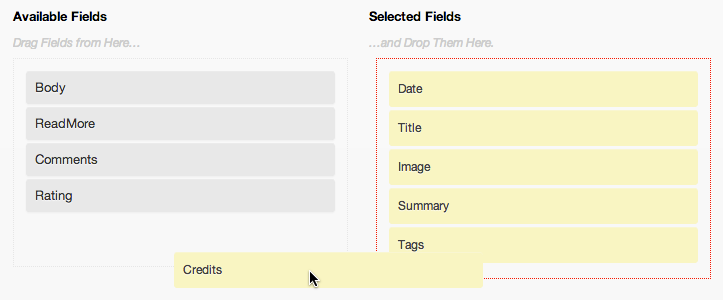
- Available/Selected Fields: You can control which fields you would like to appear when this Local Content Index is displayed on the screen. Simply drag and drop from and/or to the Available Fields and/or Selected Fields area. You can then drag each field up or down within the Selected Fields area to control the order each field is output when the local index is displayed.
- Click Add.
- You should see the Recent News index appear in the list of available Local Content Indexes on the Content Collections screen.
- Click the RSS icon
 to view the results.
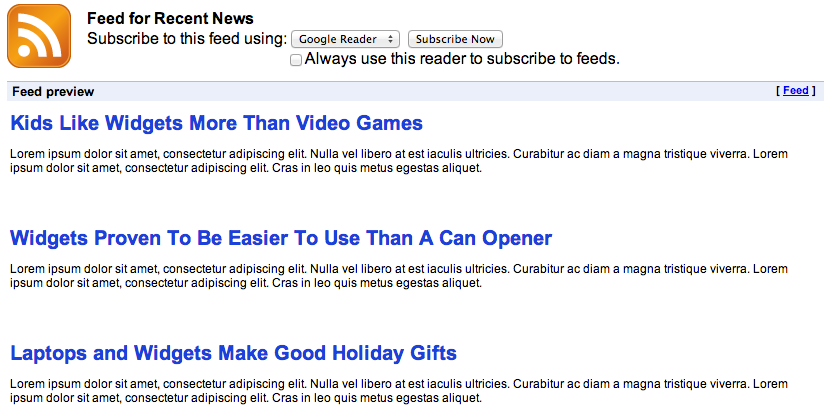
This is the view from Chrome using the RSS Subscription Extension (by Google) plugin, otherwise, you might see the generated XML code. Firefox and Internet Explorer typically do a decent job of displaying RSS in the browser.Tip: Always click the RSS icon after creating and/or updating a Content Collection to confirm that the content returned is what you anticipated. If no items appear, then there aren't any content items that match the current filter criteria.
Place a Local Content Index
To place, or assign, a Local Content Index to a content display region, follow these steps:
- From the Site Manager, navigate to the desired page or section you wish to place the Local Content Index, then click to edit (e.g., Home page).
- Select the Layout & Objects tab.
- Select your desired Layout Template (e.g.,home.cfm)
- Select your desired Inheritance Rules (e.g.,Do Not Inherit Cascade since we're on the Home page and don't want any of the child content to display these objects).
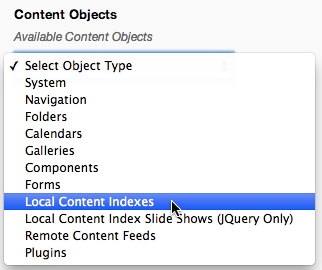
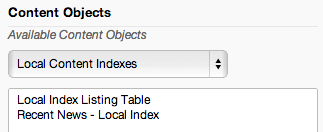
- Select Local Content Indexes from the Available Content Objects list.
- A list of available Local Content Indexes should appear.
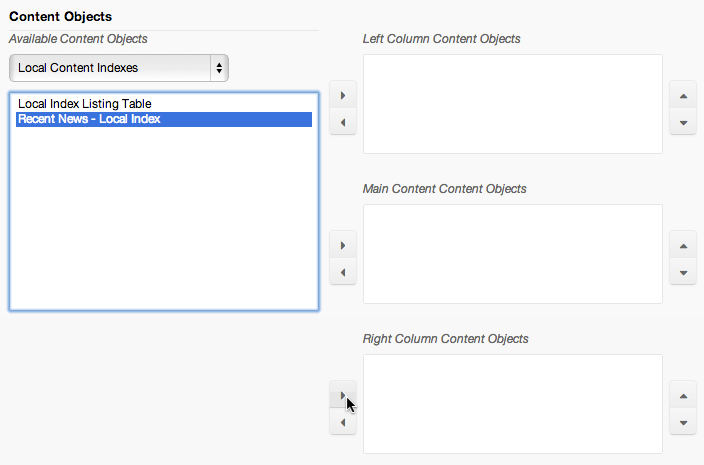
- Select the desired index, then assign it to the desired display region. For example, select Recent News - Local Index and assign it to the Right Column Content Objects display region.
- This will launch the Configure Local Index configurator window.
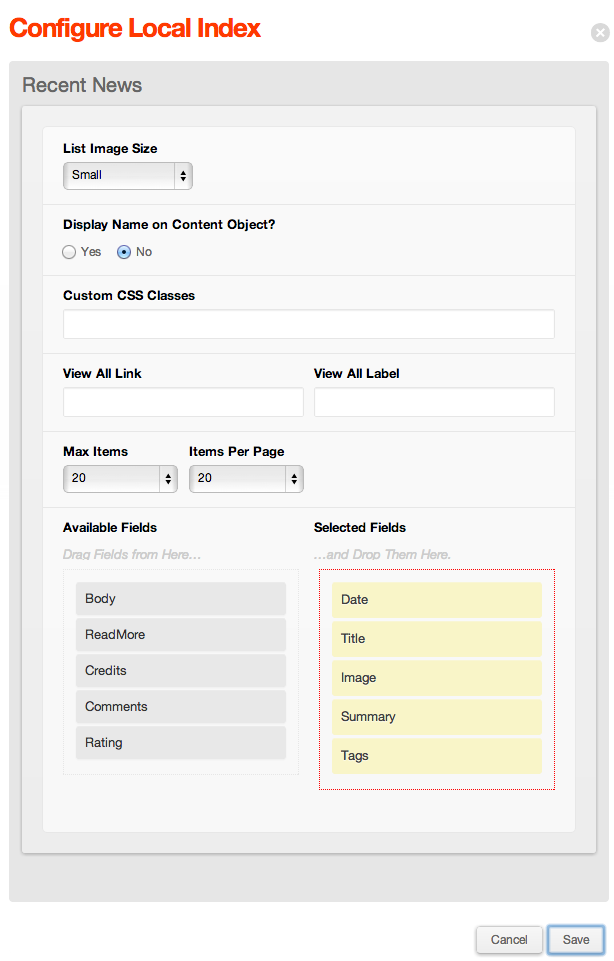
- Check Yes for Display Name on Content Object?

- Drag Image and Summary from Selected Fields and drop it under Available Fields.
- Click Save.
- Click Publish.
- The Local Content Index of Recent News posts should now appear in the Right Column of the Home page.
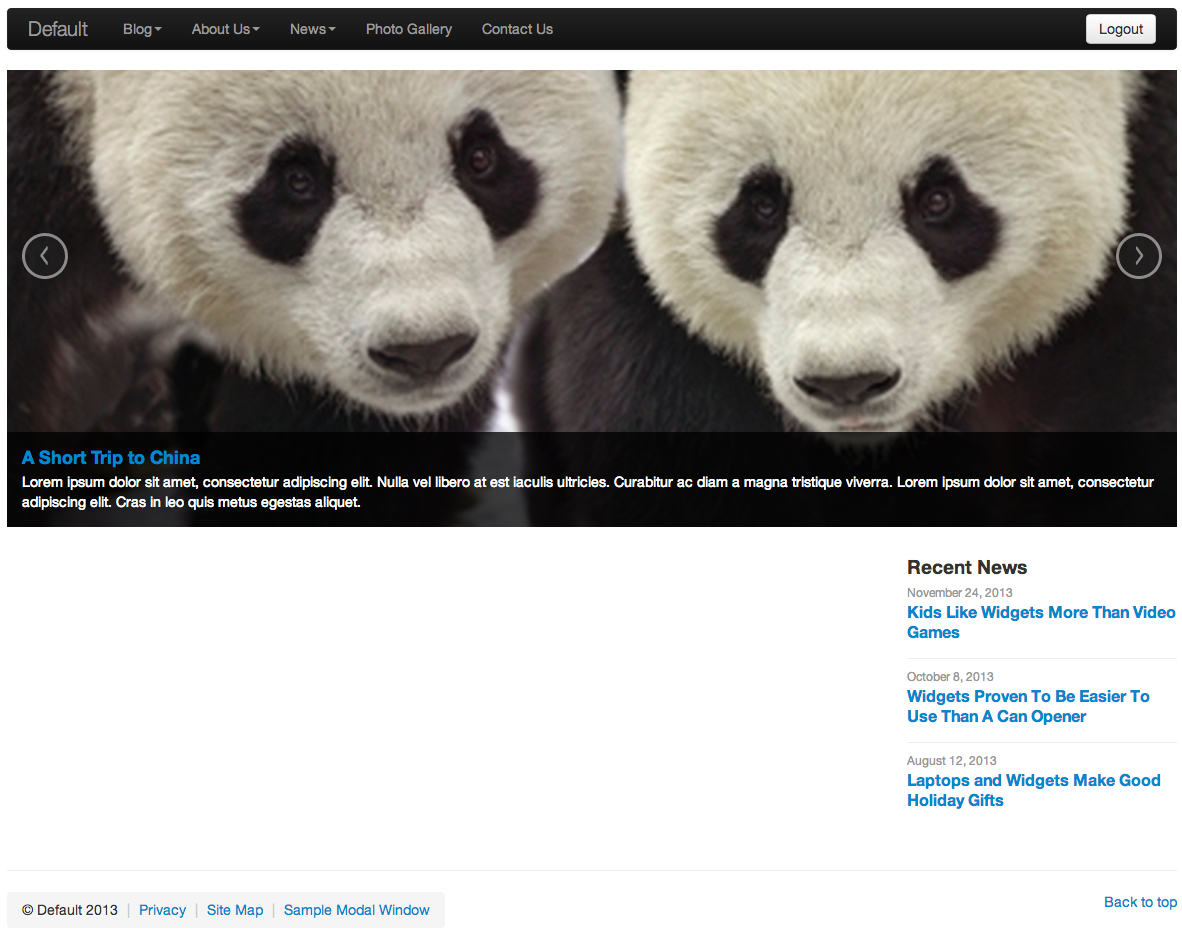
- Note the slide show that's already running on the Home page. We'll modify this in the next section.