Tagging Content
Follow the steps below to add/edit content tags.
- Select a content item to edit. If you're editing content from the front-end public view, use "Full Edit" mode.
- Select the "Tags" tab.
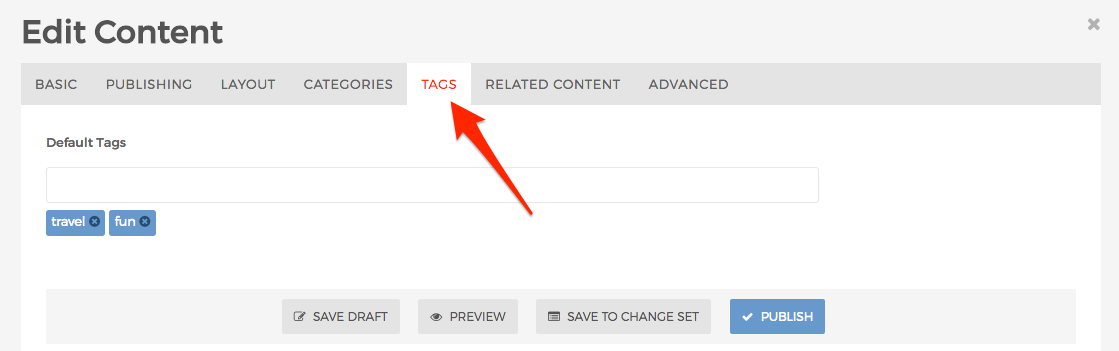
- If the content item you've selected has already been tagged, they will appear below the text box.

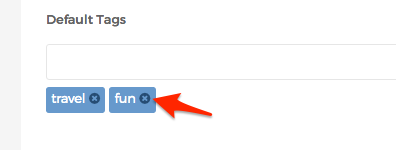
- If you want to delete/remove one of the existing tags, simply click the circle with an "x" in the middle of it just to the right of the existing tag.
- If you want to add/create a tag, type the word into the text box, and hit "Enter" or "Return" on your keyboard.

- As you type, Mura will display a list of tags that have already been used before that match the letters you're typing. So, for example, if you type a "k" into the text box, any tags that contain a "k" in it will appear below. Also, if you click the down arrow in the empty text box, a full listing of tags that have already been used will appear.

- If your desired tag appears in the list, simply click on it, and it will be added.

- When you're finished tagging your content, select your desired publishing option to save the content.

- Depending on how your layout templates were created, your tags may appear with your content. Visit the Tag Cloud Display Object section for more information.
