How to Manage Image Sizes
Mura allows you the ability to modify default image sizes (Small, Medium, and Large), as well as the option to create additional, pre-defined image sizes. Having pre-defined image sizes allows your content managers the ability to upload an image, and then select their desired crop region. This is quite useful to avoid issues where a person's head, or some other desired feature of the photo may be removed during the automatic cropping process.
Follow the steps below to manage image sizes in Mura.
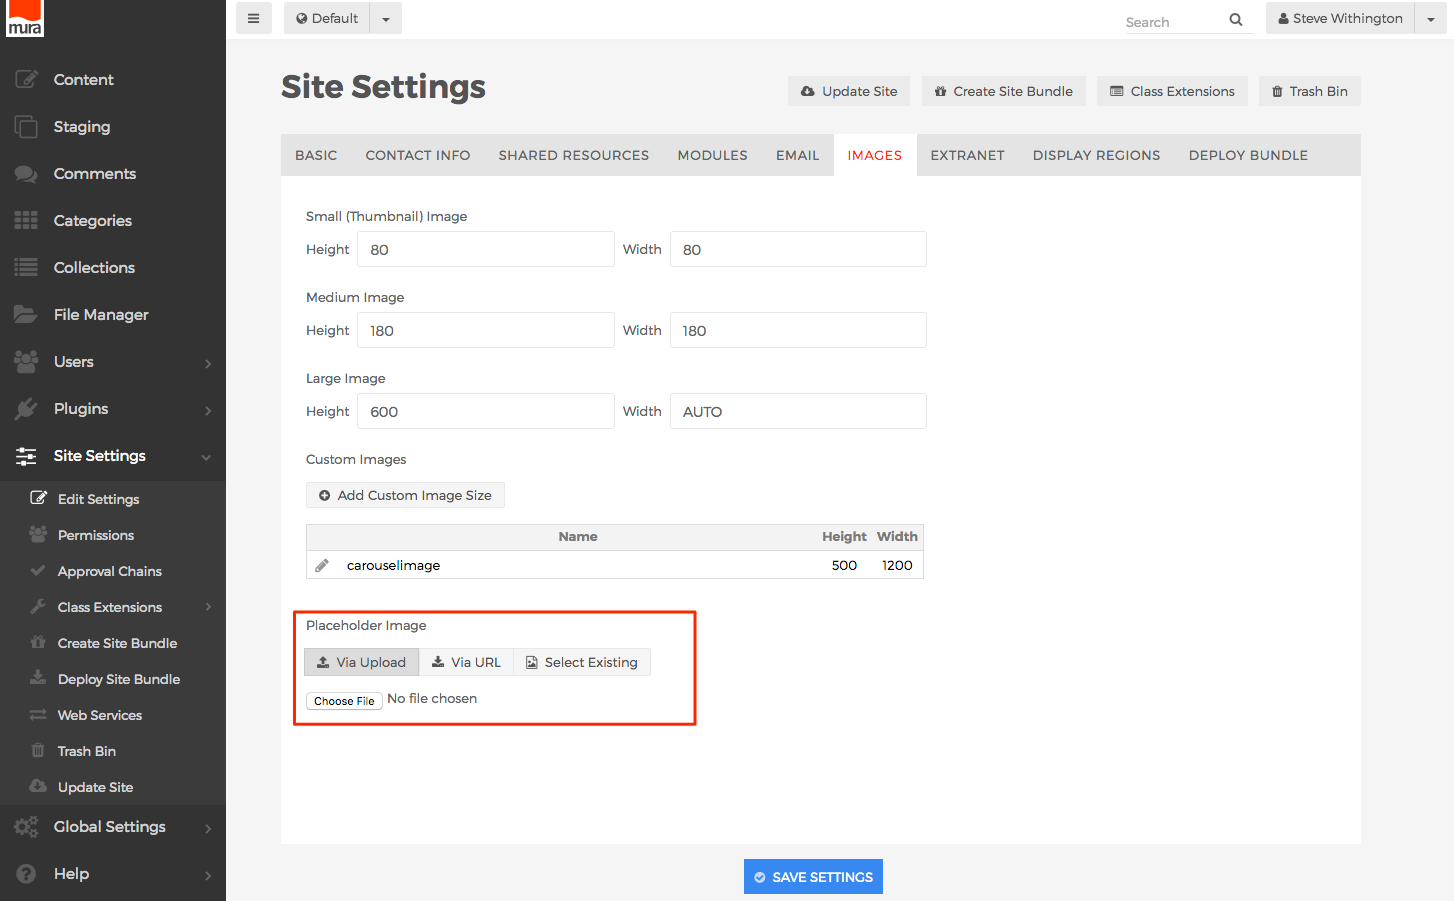
- From the back-end administration area of Mura, select Site Settings on the main navigation, and click Edit Settings.

- Select the Images tab.
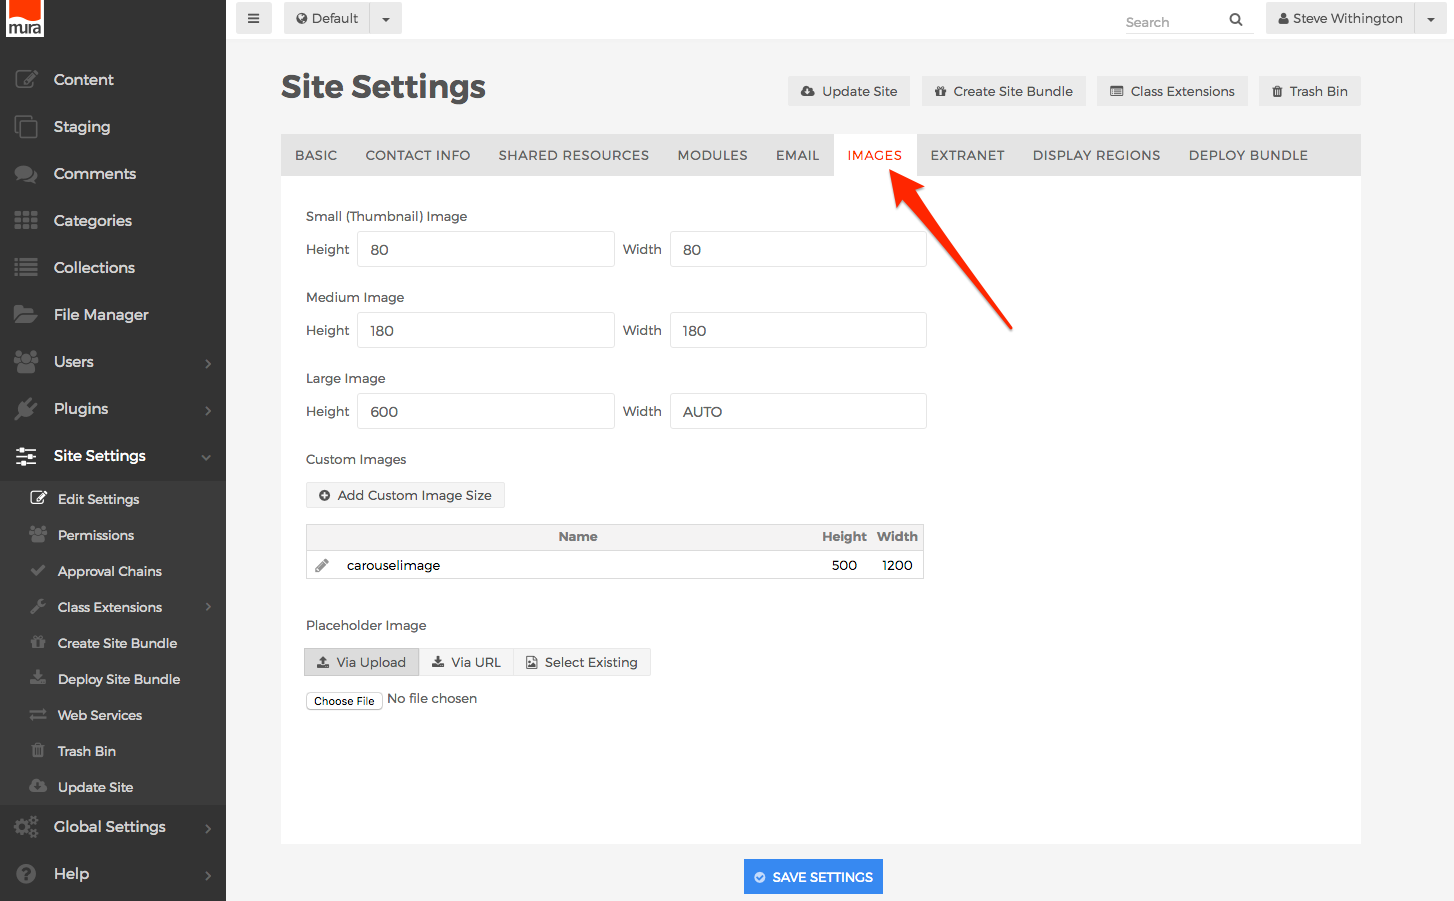
- The Images tab contains the dimensions of the default images sizes (Small, Medium, Large), as well as any Custom Images.
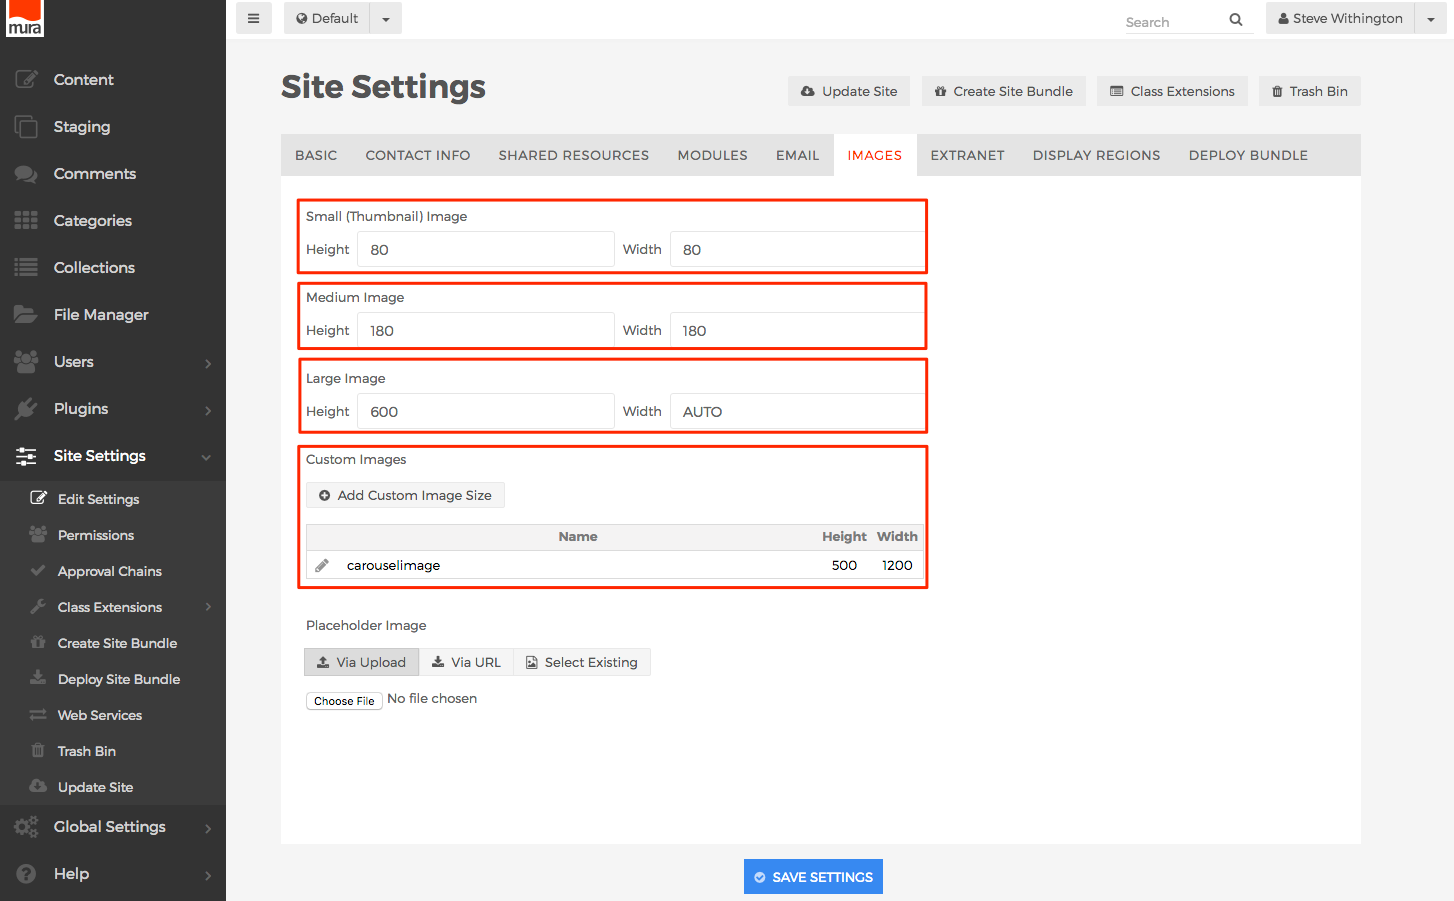
- Small
- This is the default image size used on Folder content types for any listed child content.

- This is the default image size used on Folder content types for any listed child content.
- Medium
- This is the default image size used by Mura when using the dspBody template helper method, and setting
showMetaImagetotrue.
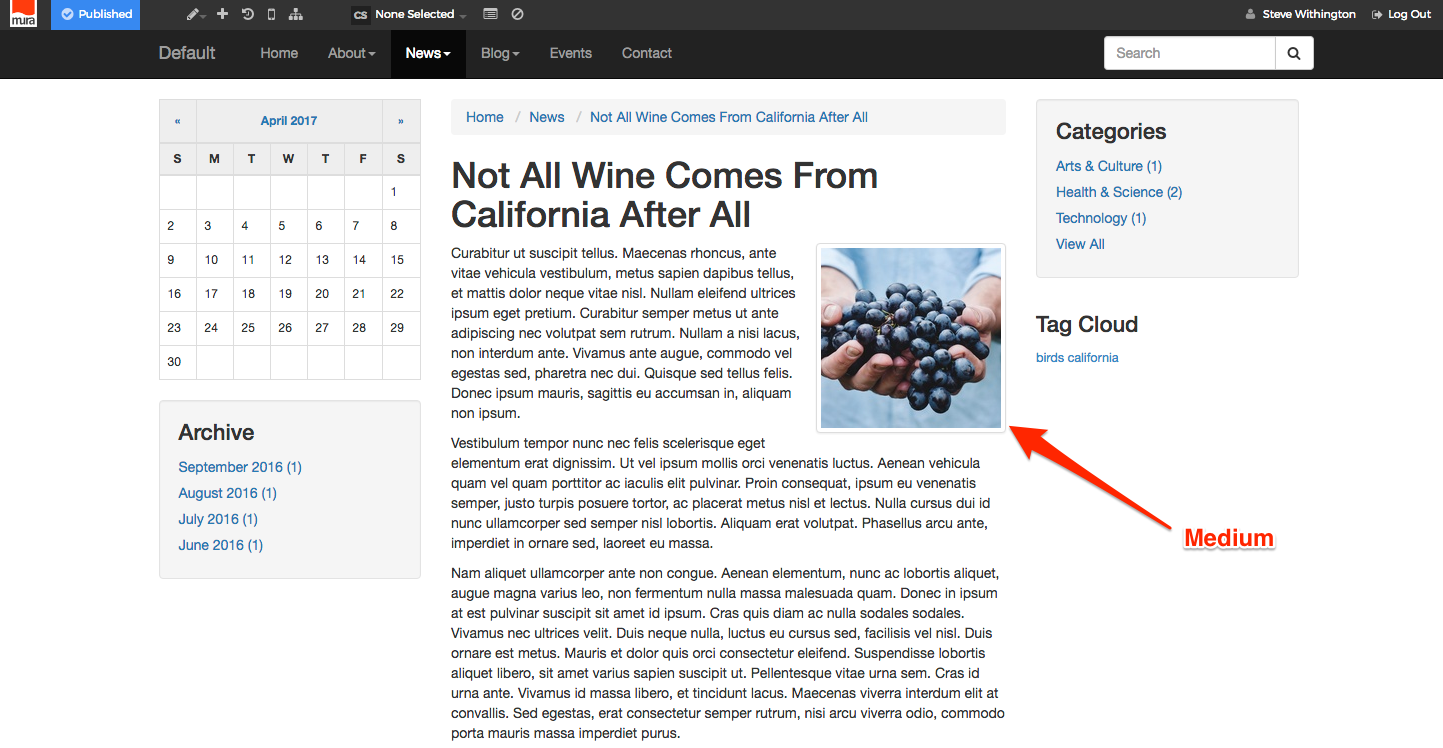
- This is the default image size used by Mura when using the dspBody template helper method, and setting
- Large
- This is the default image size used to display when clicking the Medium image, if being output by dspBody and setting
includeMetaHreftotrue.

- This is the default image size used to display when clicking the Medium image, if being output by dspBody and setting
- Small
- To modify the dimensions of any default image sizes, simply enter your desired Height and/or Width settings.
- To add a new custom image, click the Add Custom Image Size button.
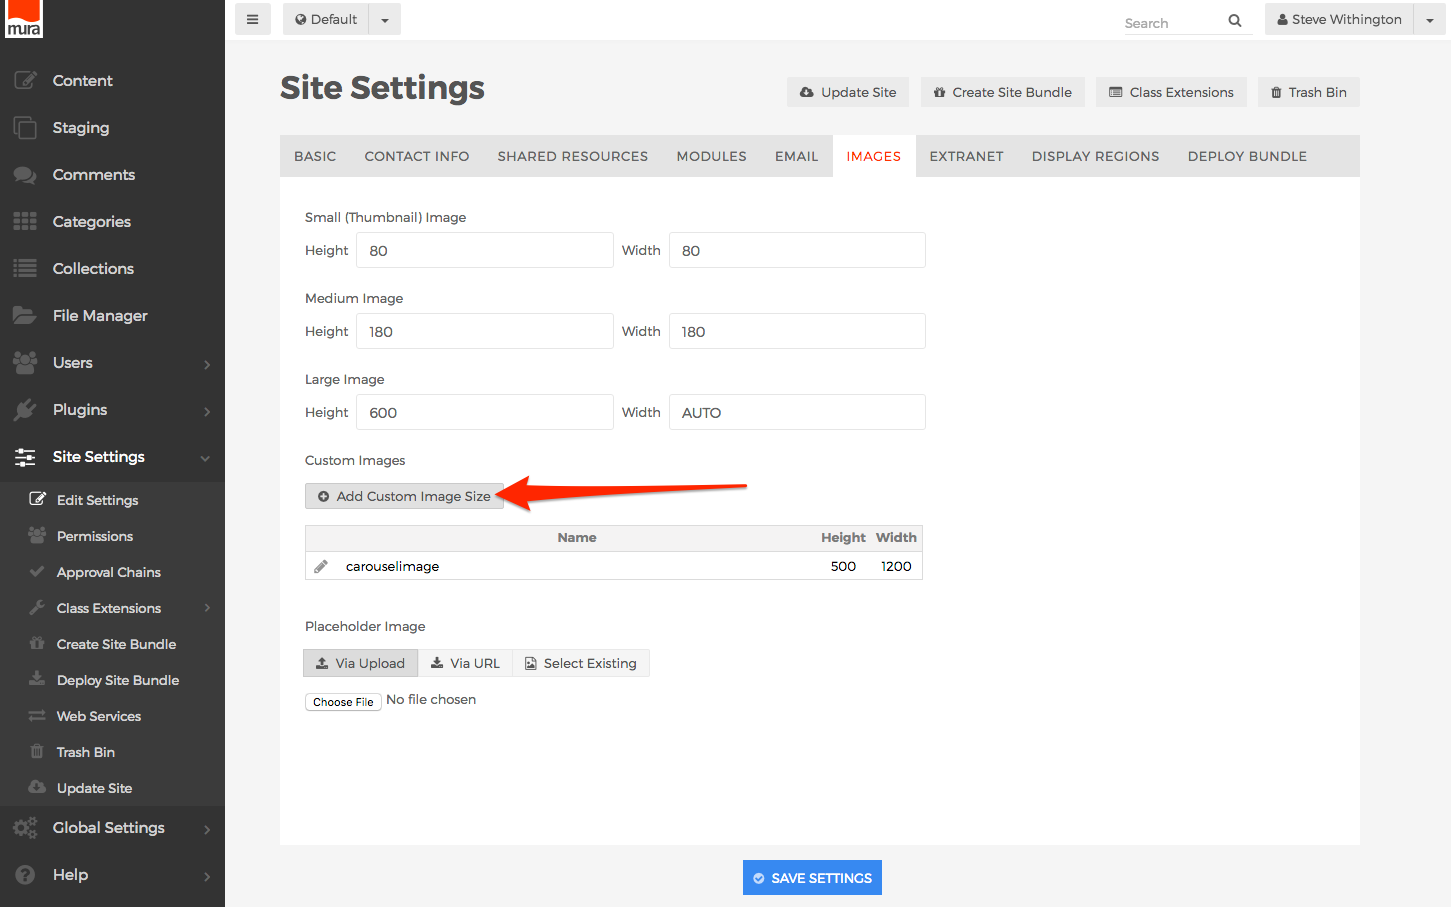
- The Add Custom Image Size window should appear.

- Enter a Name for the image. The Name should not have any spaces or special characters in it (other than hyphens). Be aware that invalid characters and spaces will be removed upon saving anyway. Also note that any capital letters will be converted to lowercase.
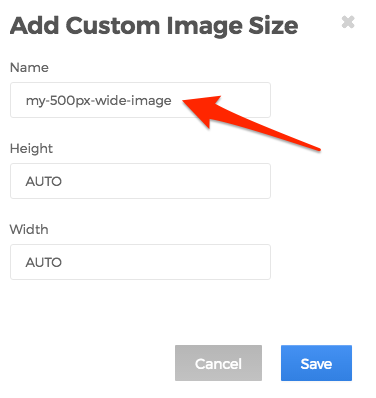
- You may also enter your desired Height and/or Width in pixels. You may optionally specific only one of these attributes, and leave the other as "AUTO" for Mura to make crops proportionately to the original image size.

- Click the Save button to save your new custom image size.
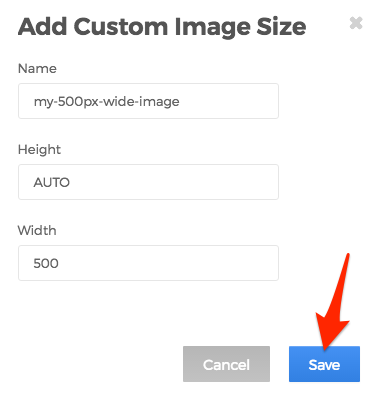
- Your new custom image size should appear in the listing of custom images.
- The Add Custom Image Size window should appear.
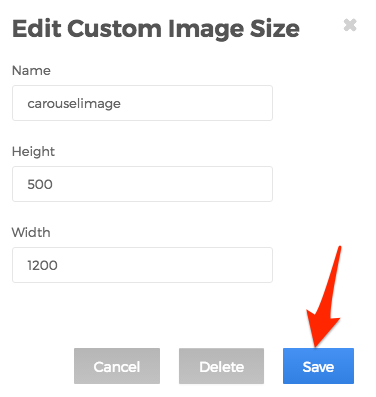
- To edit the dimensions of any Custom Images, click the pencil icon next to the custom image name.

- If you click the pencil icon, the Edit Custom Image Size window should appear.

- Enter your desired Height and/or Width in pixels, and click the Save button to save your changes.

- If you click the pencil icon, the Edit Custom Image Size window should appear.
- You can also upload a Placeholder Image that can be used for content items that haven't had an Associated Image uploaded.
- When you've finished making your edits, click the Save Settings button, to save your changes.
