Create a Change Set
As previously mentioned, Change Sets are like buckets where you can toss all kinds of new content and updates together in one place. To create a Change Set, follow the steps below.
- From back-end administration area, select Staging on the main navigation.
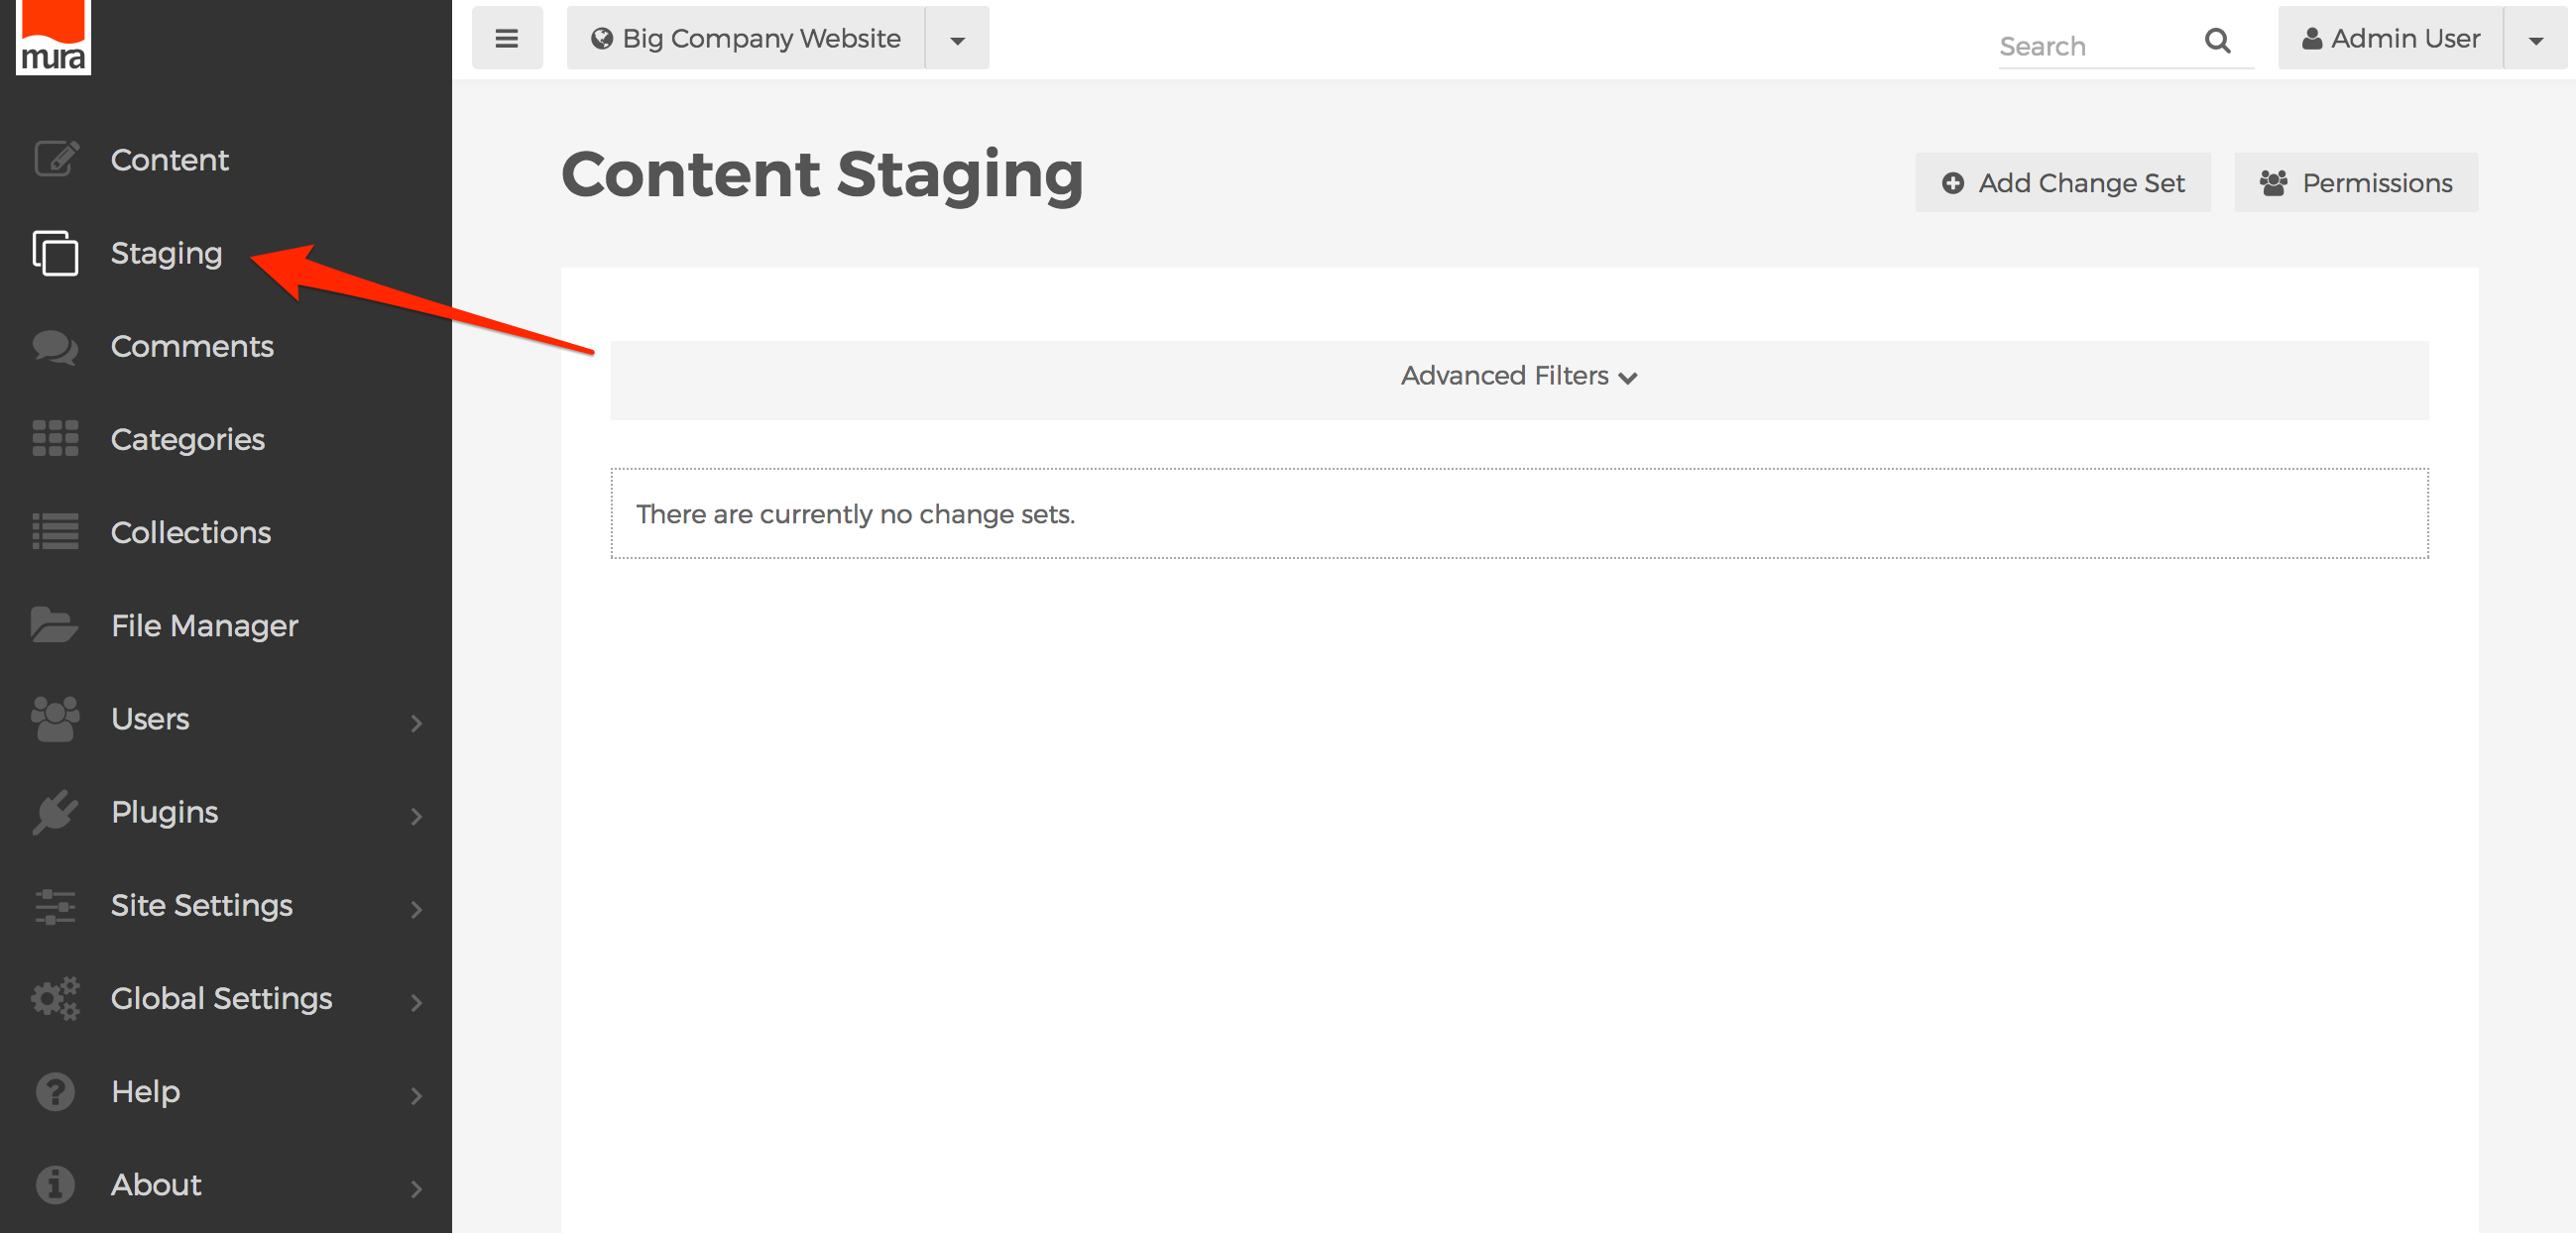
- This should display the Content Staging screen.
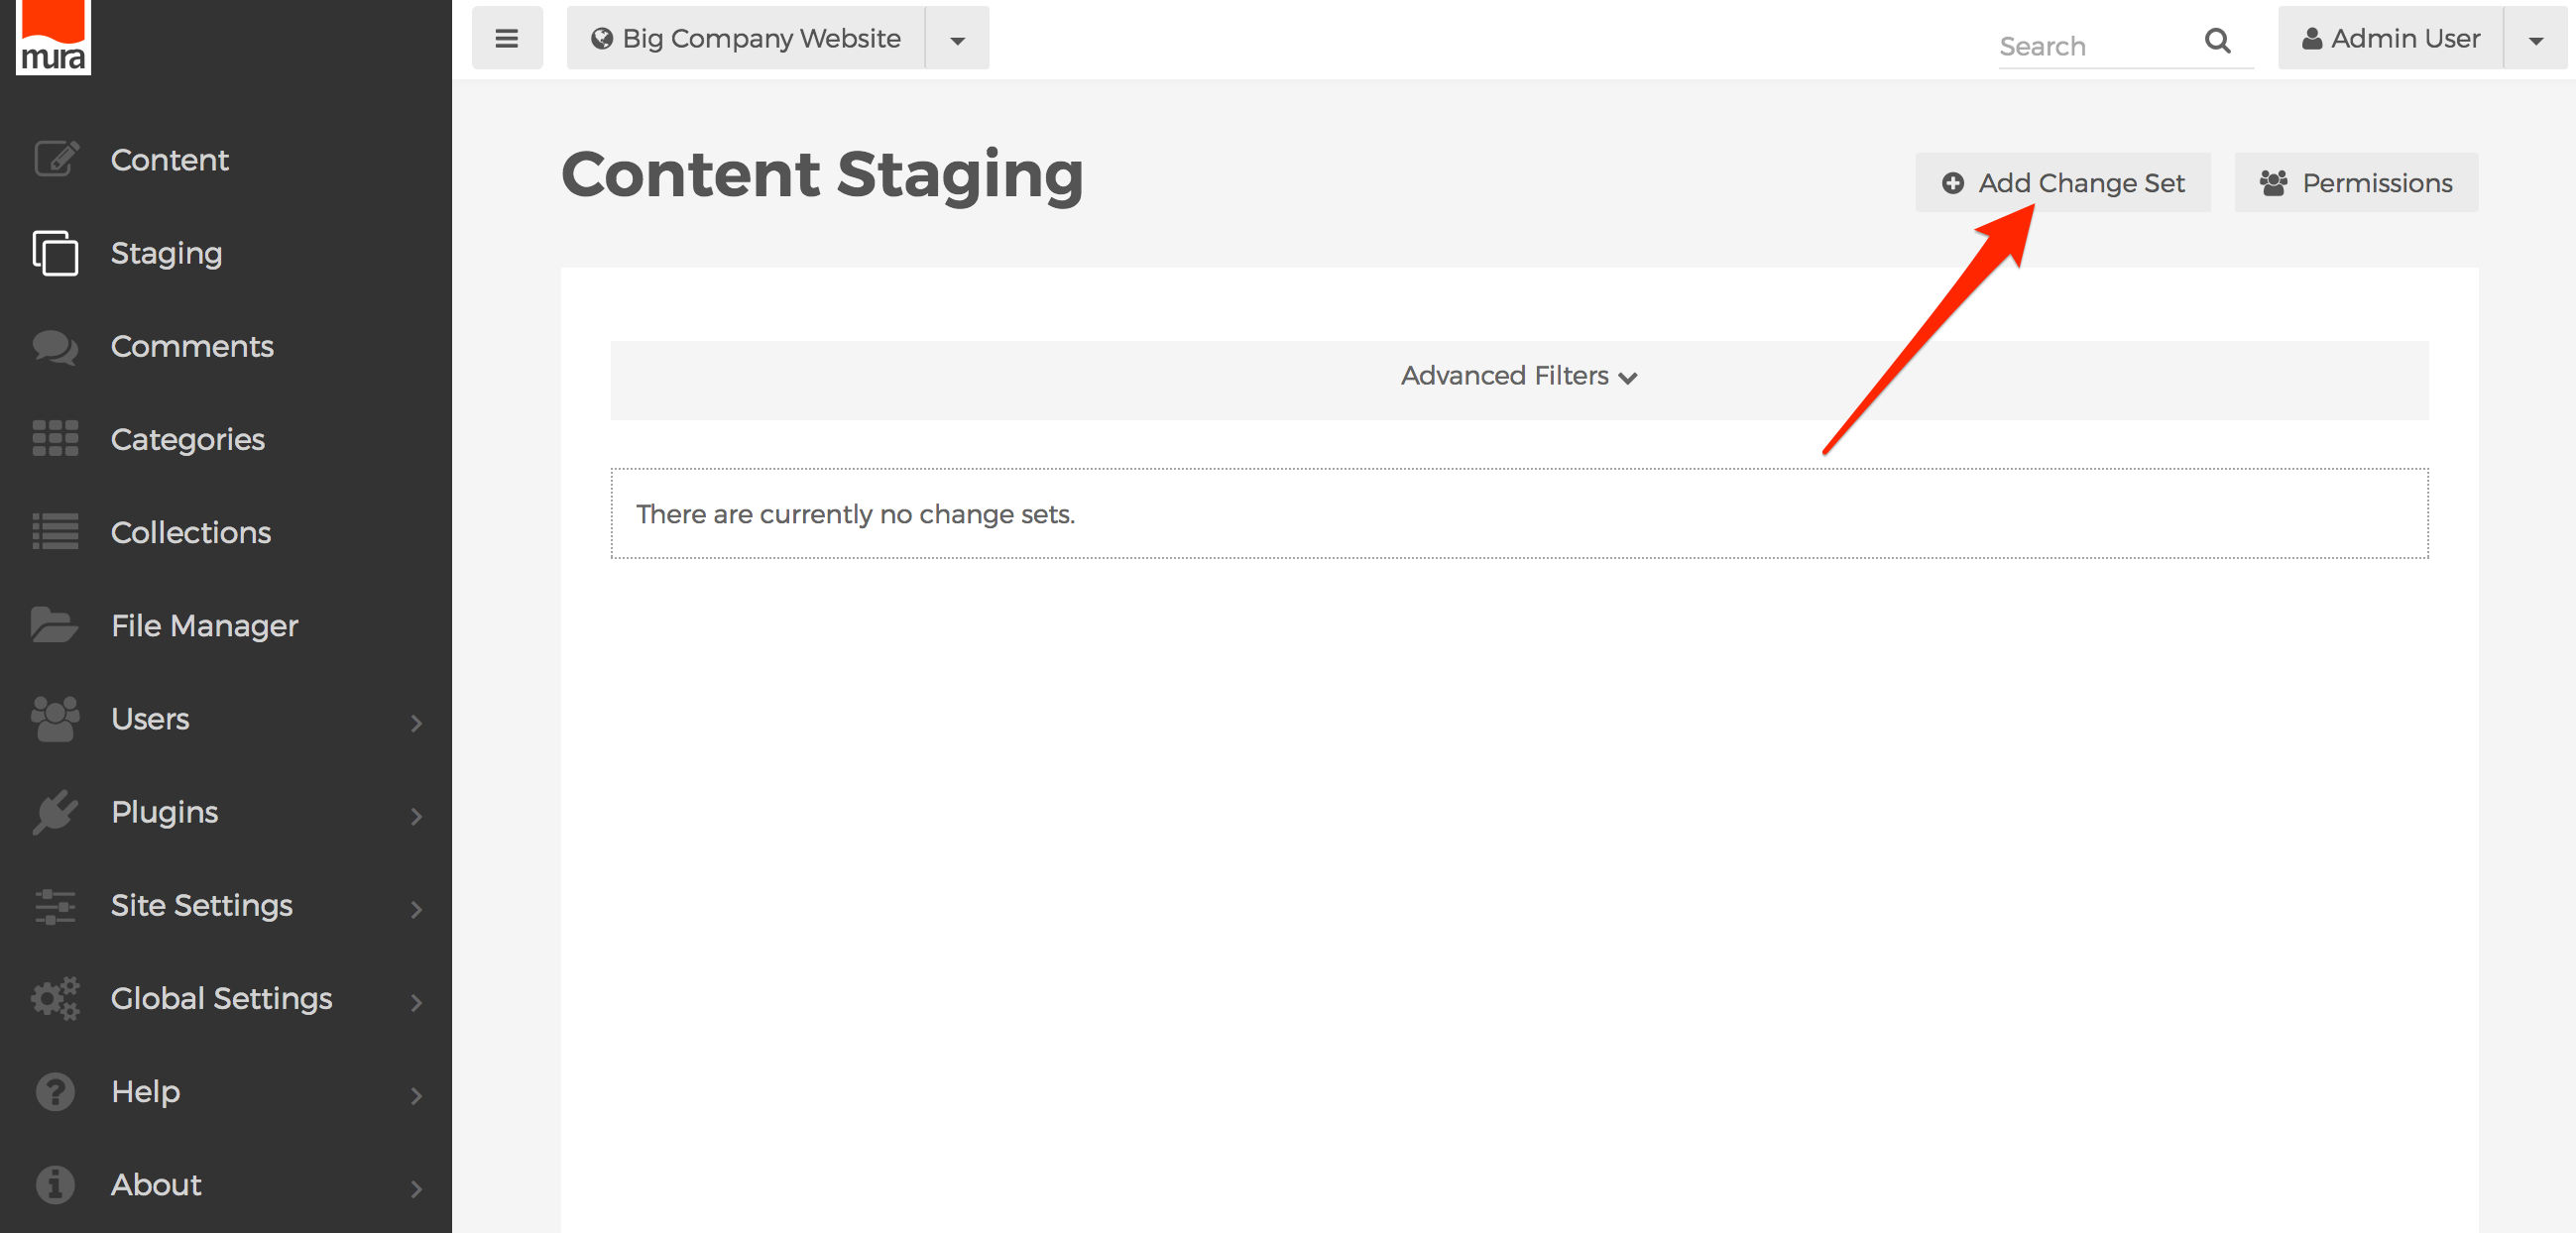
- Click the Add Change Set button.
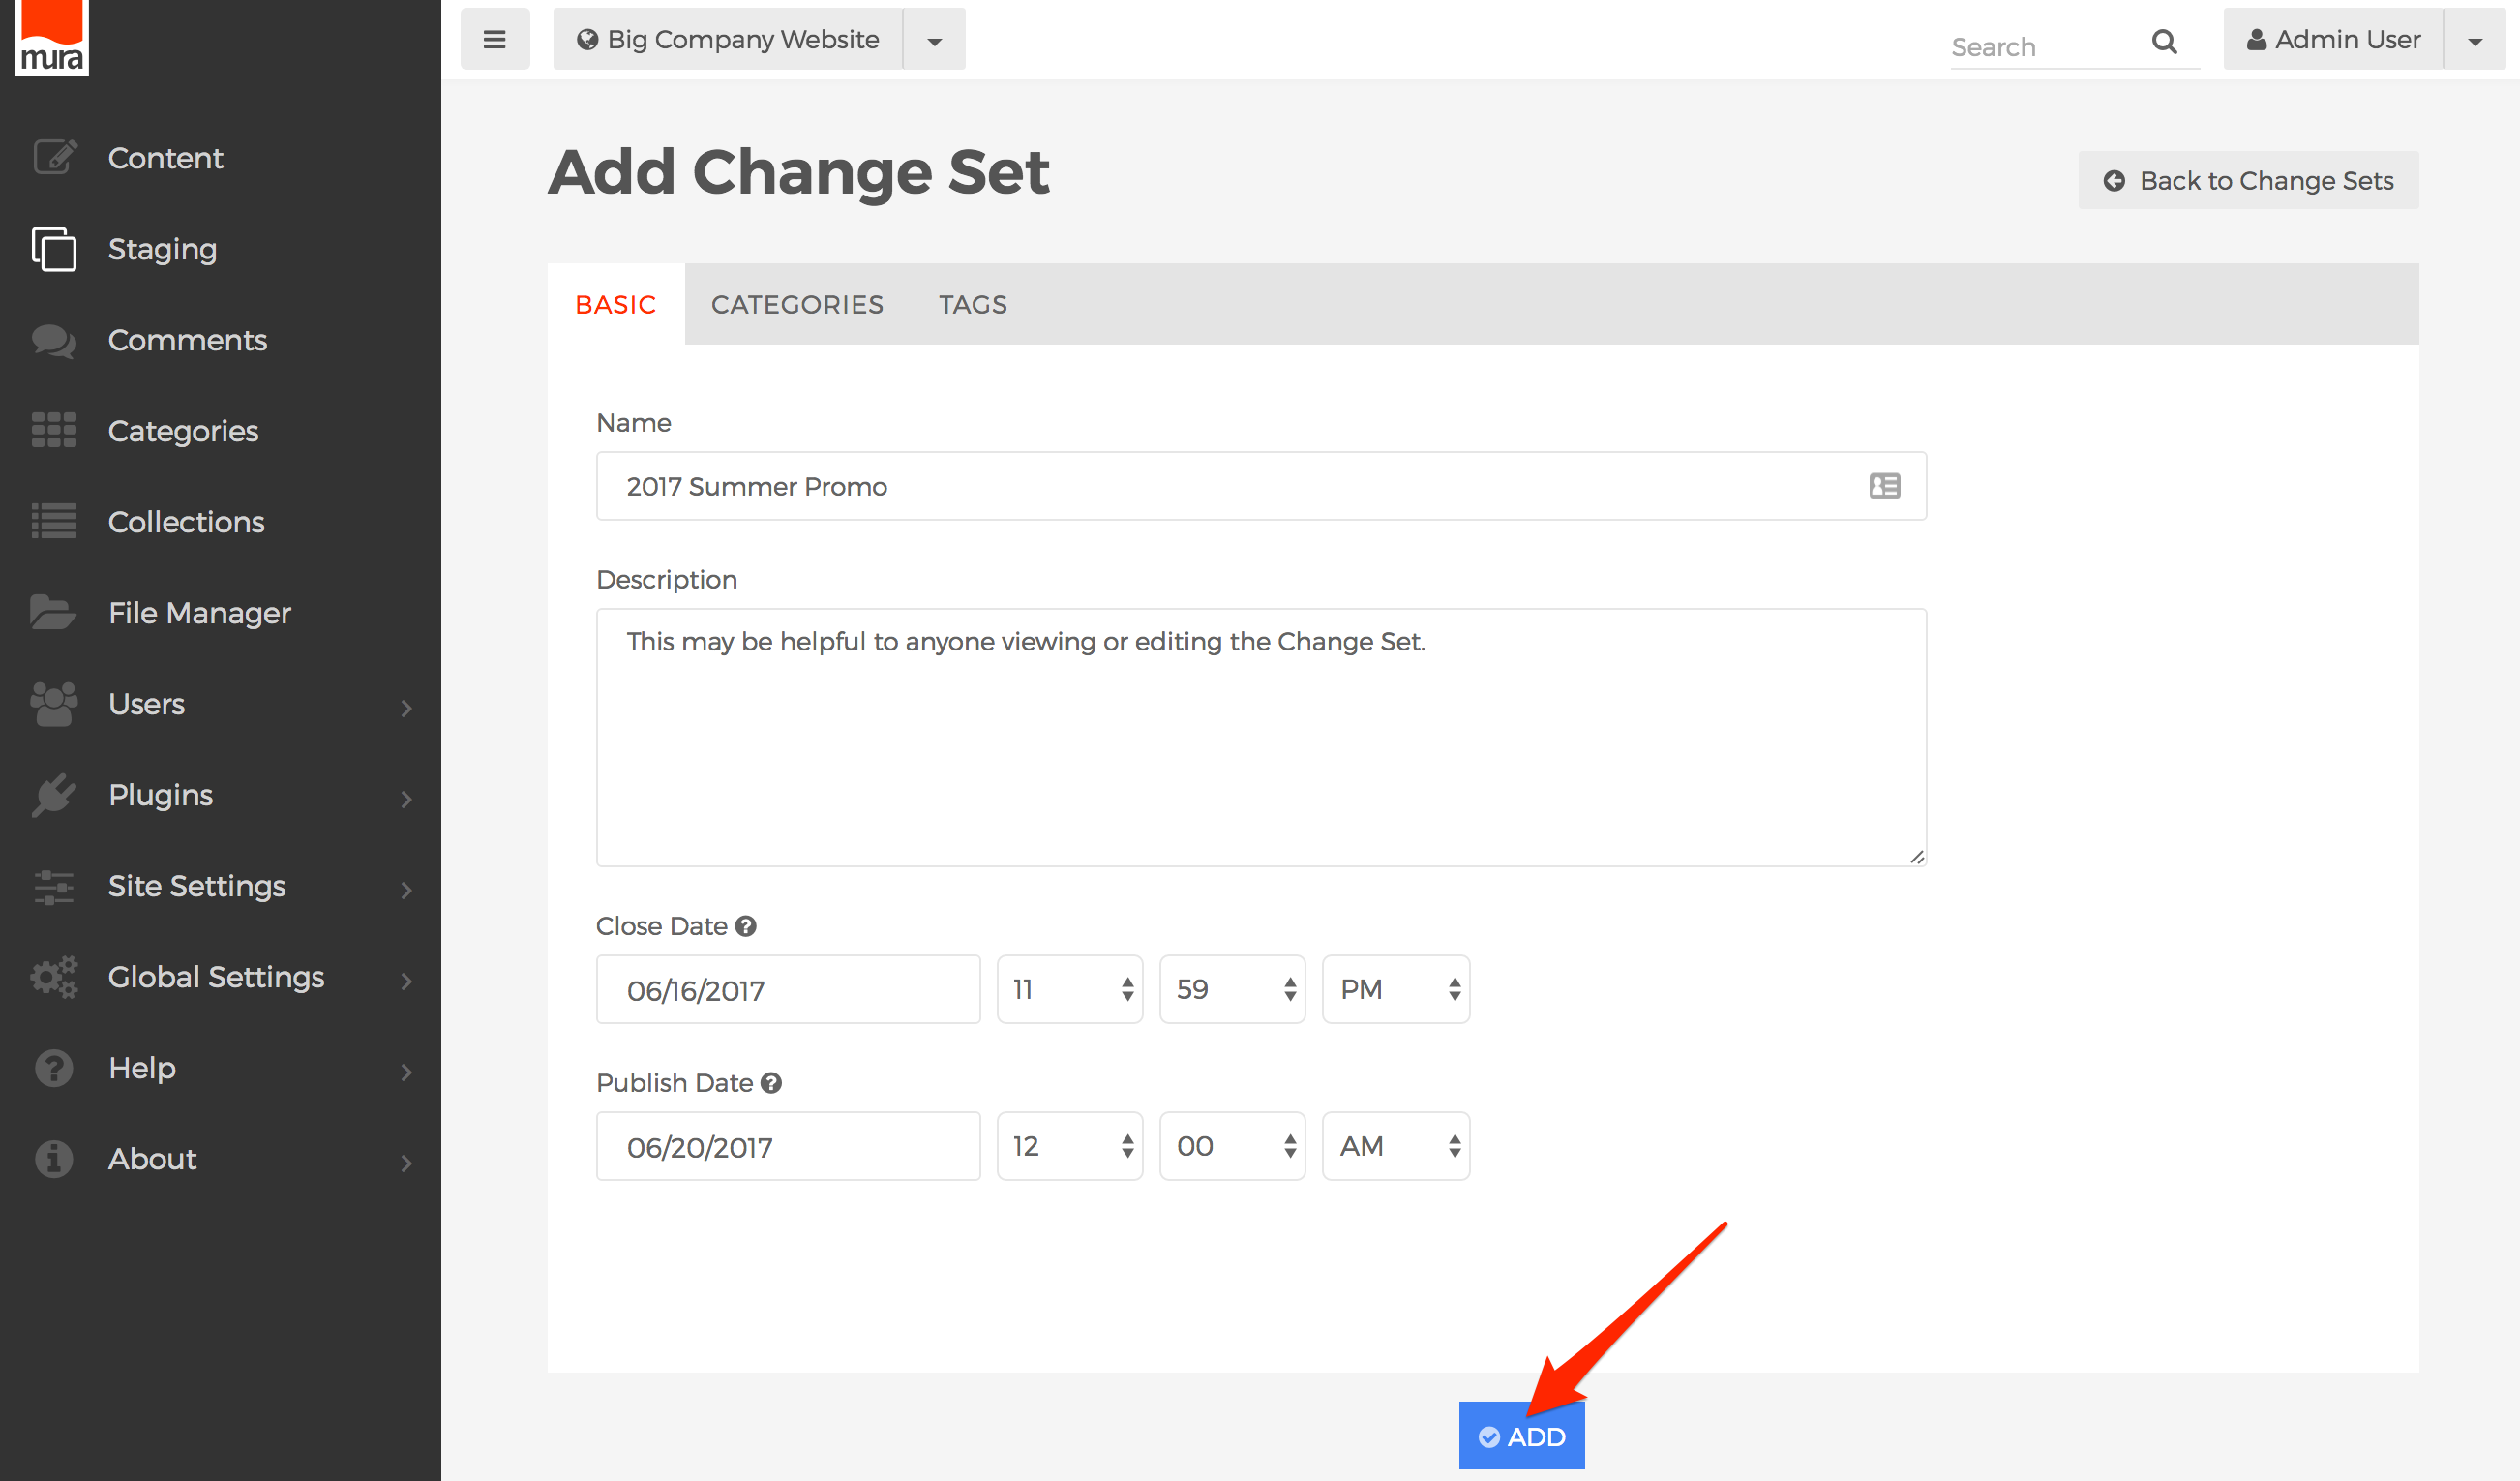
- You should now see the Add Change Set screen.
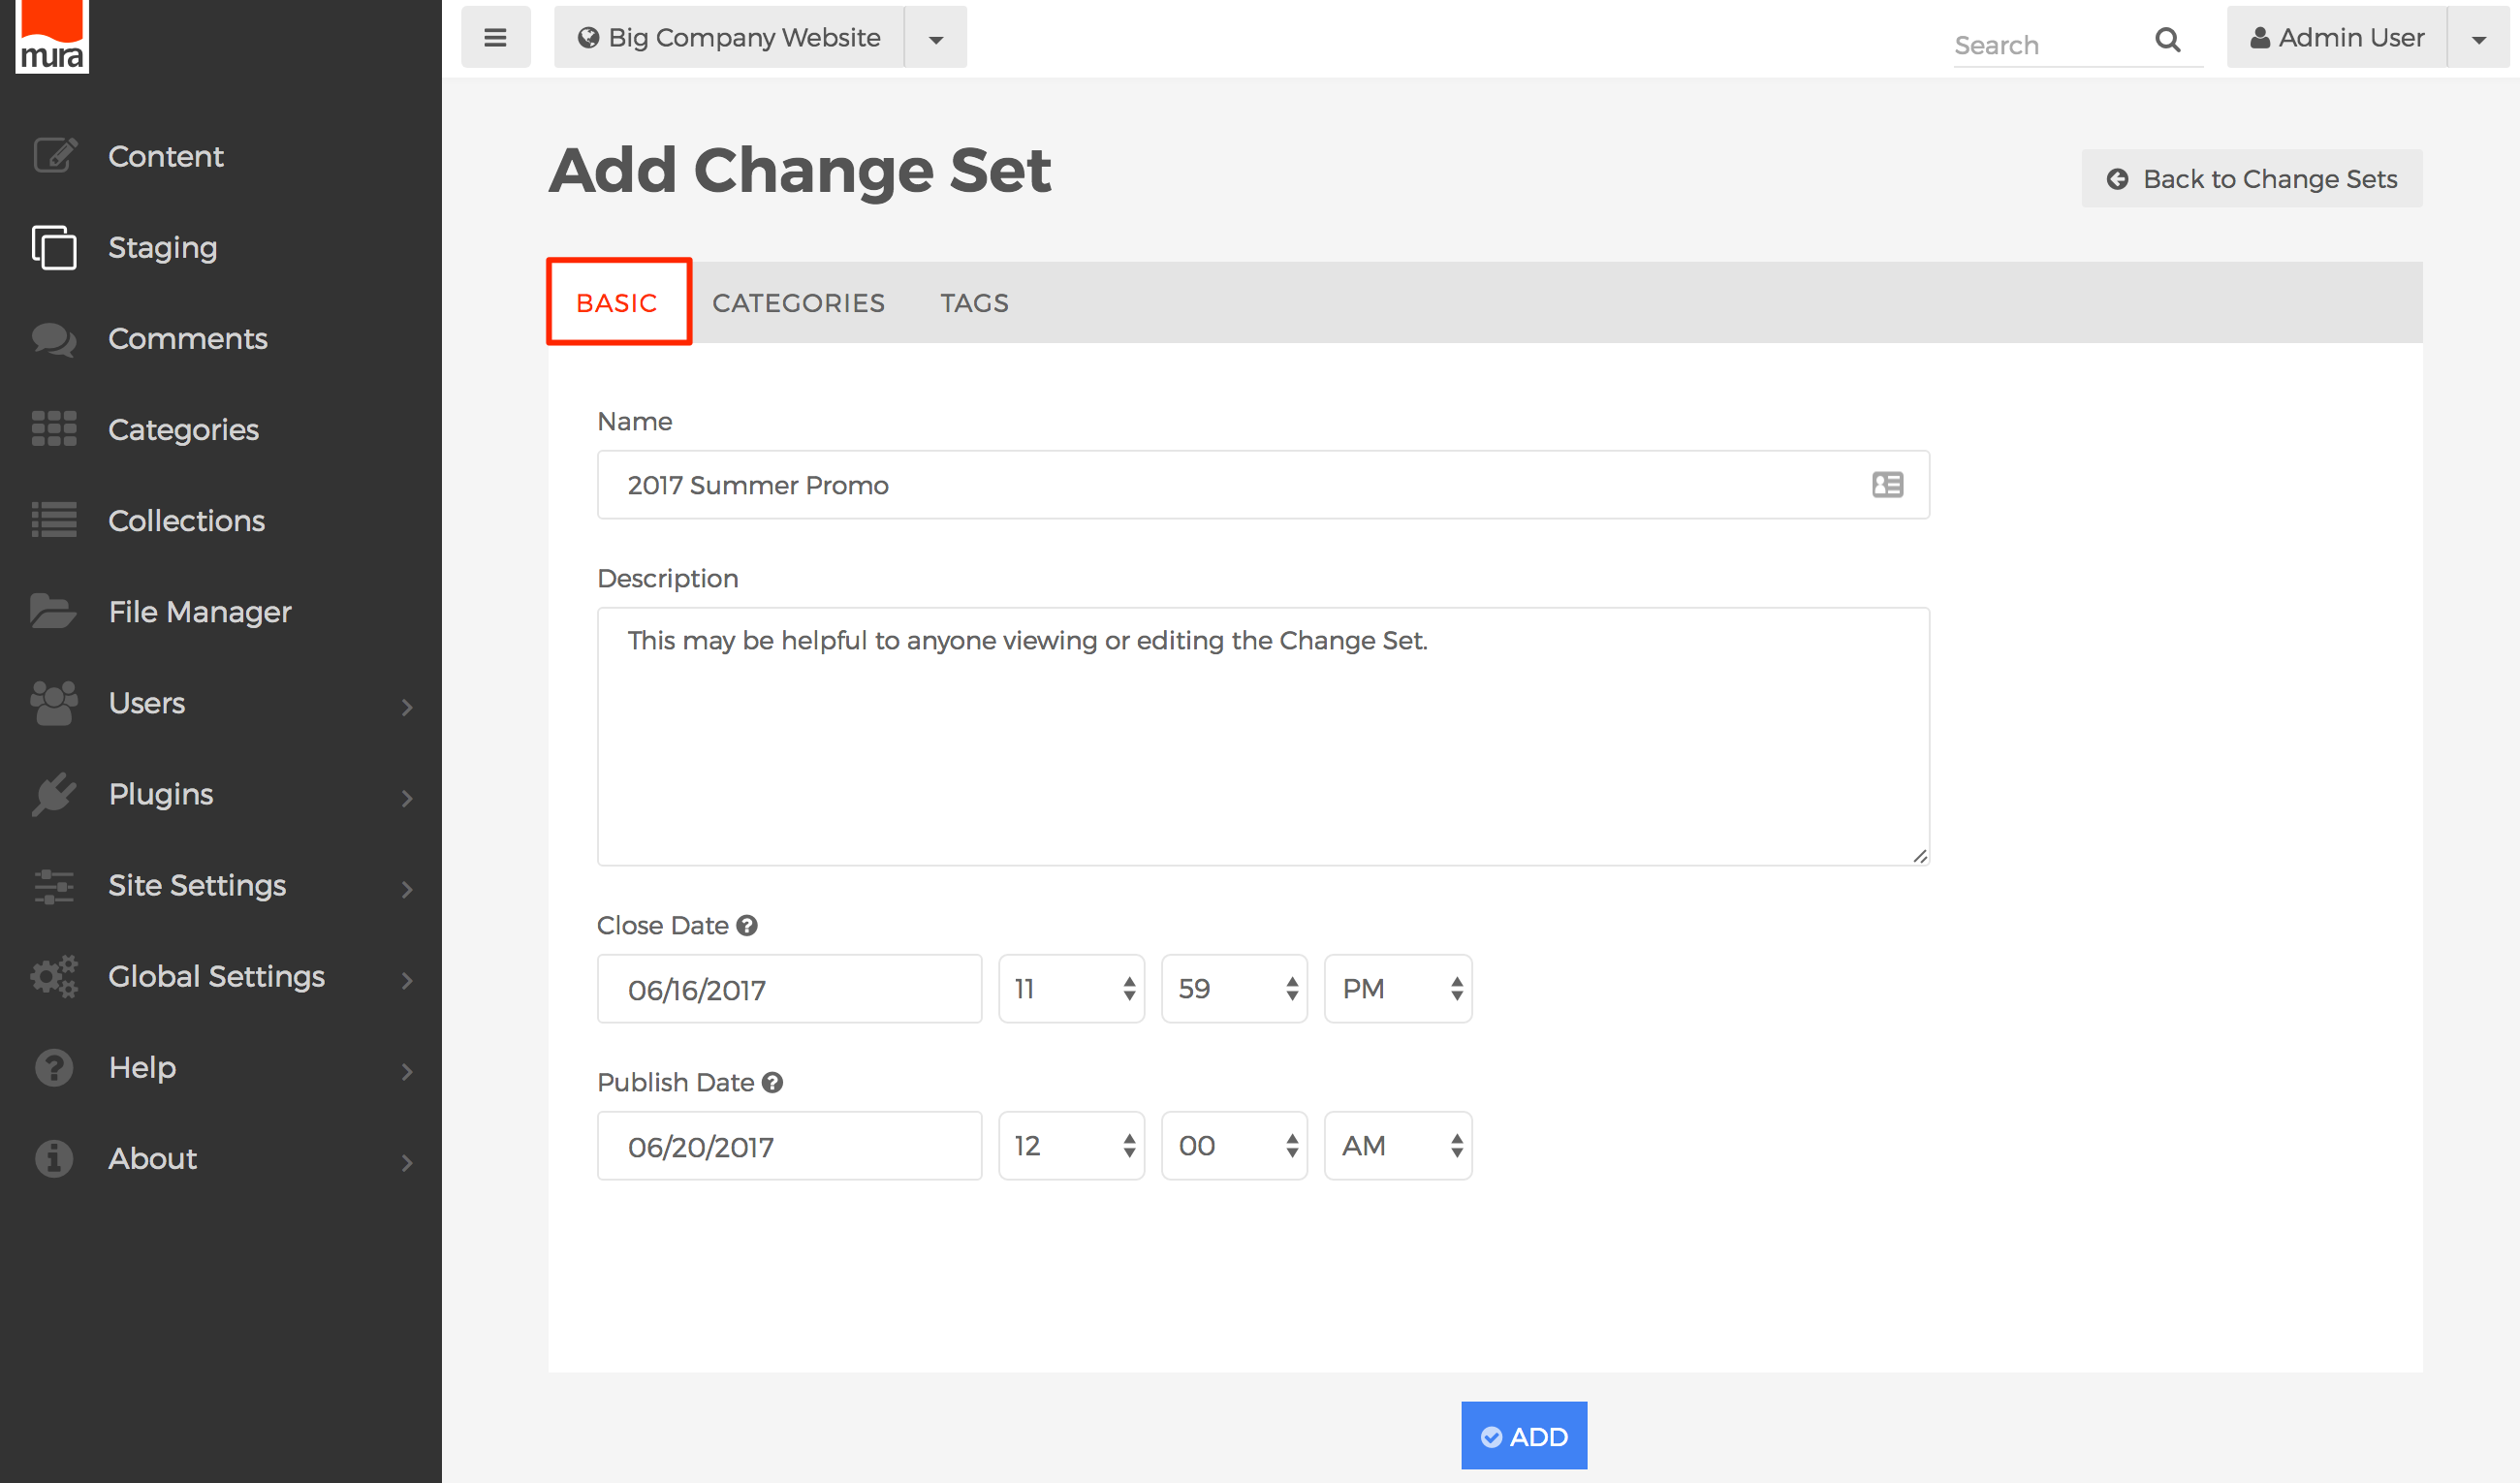
- Basic Tab
- Name
- A unique name for the Change Set (e.g., 2017 Summer Promo).
- Description
- A description that may be helpful for anyone viewing or editing the Change Set.
- Close Date
- The Close Date field may be used to prevent any users from adding more content after the specified date. This is useful so that users who need to review and/or approve the change set have time to do so, prior to the Change Set being published, which is why it's typically a good idea to enter a date and time at least a day or two ahead of the Publish Date.
- Publish Date
- This is the date and time all content assignments in the Change Set should go "live."
- Name
- Categories Tab
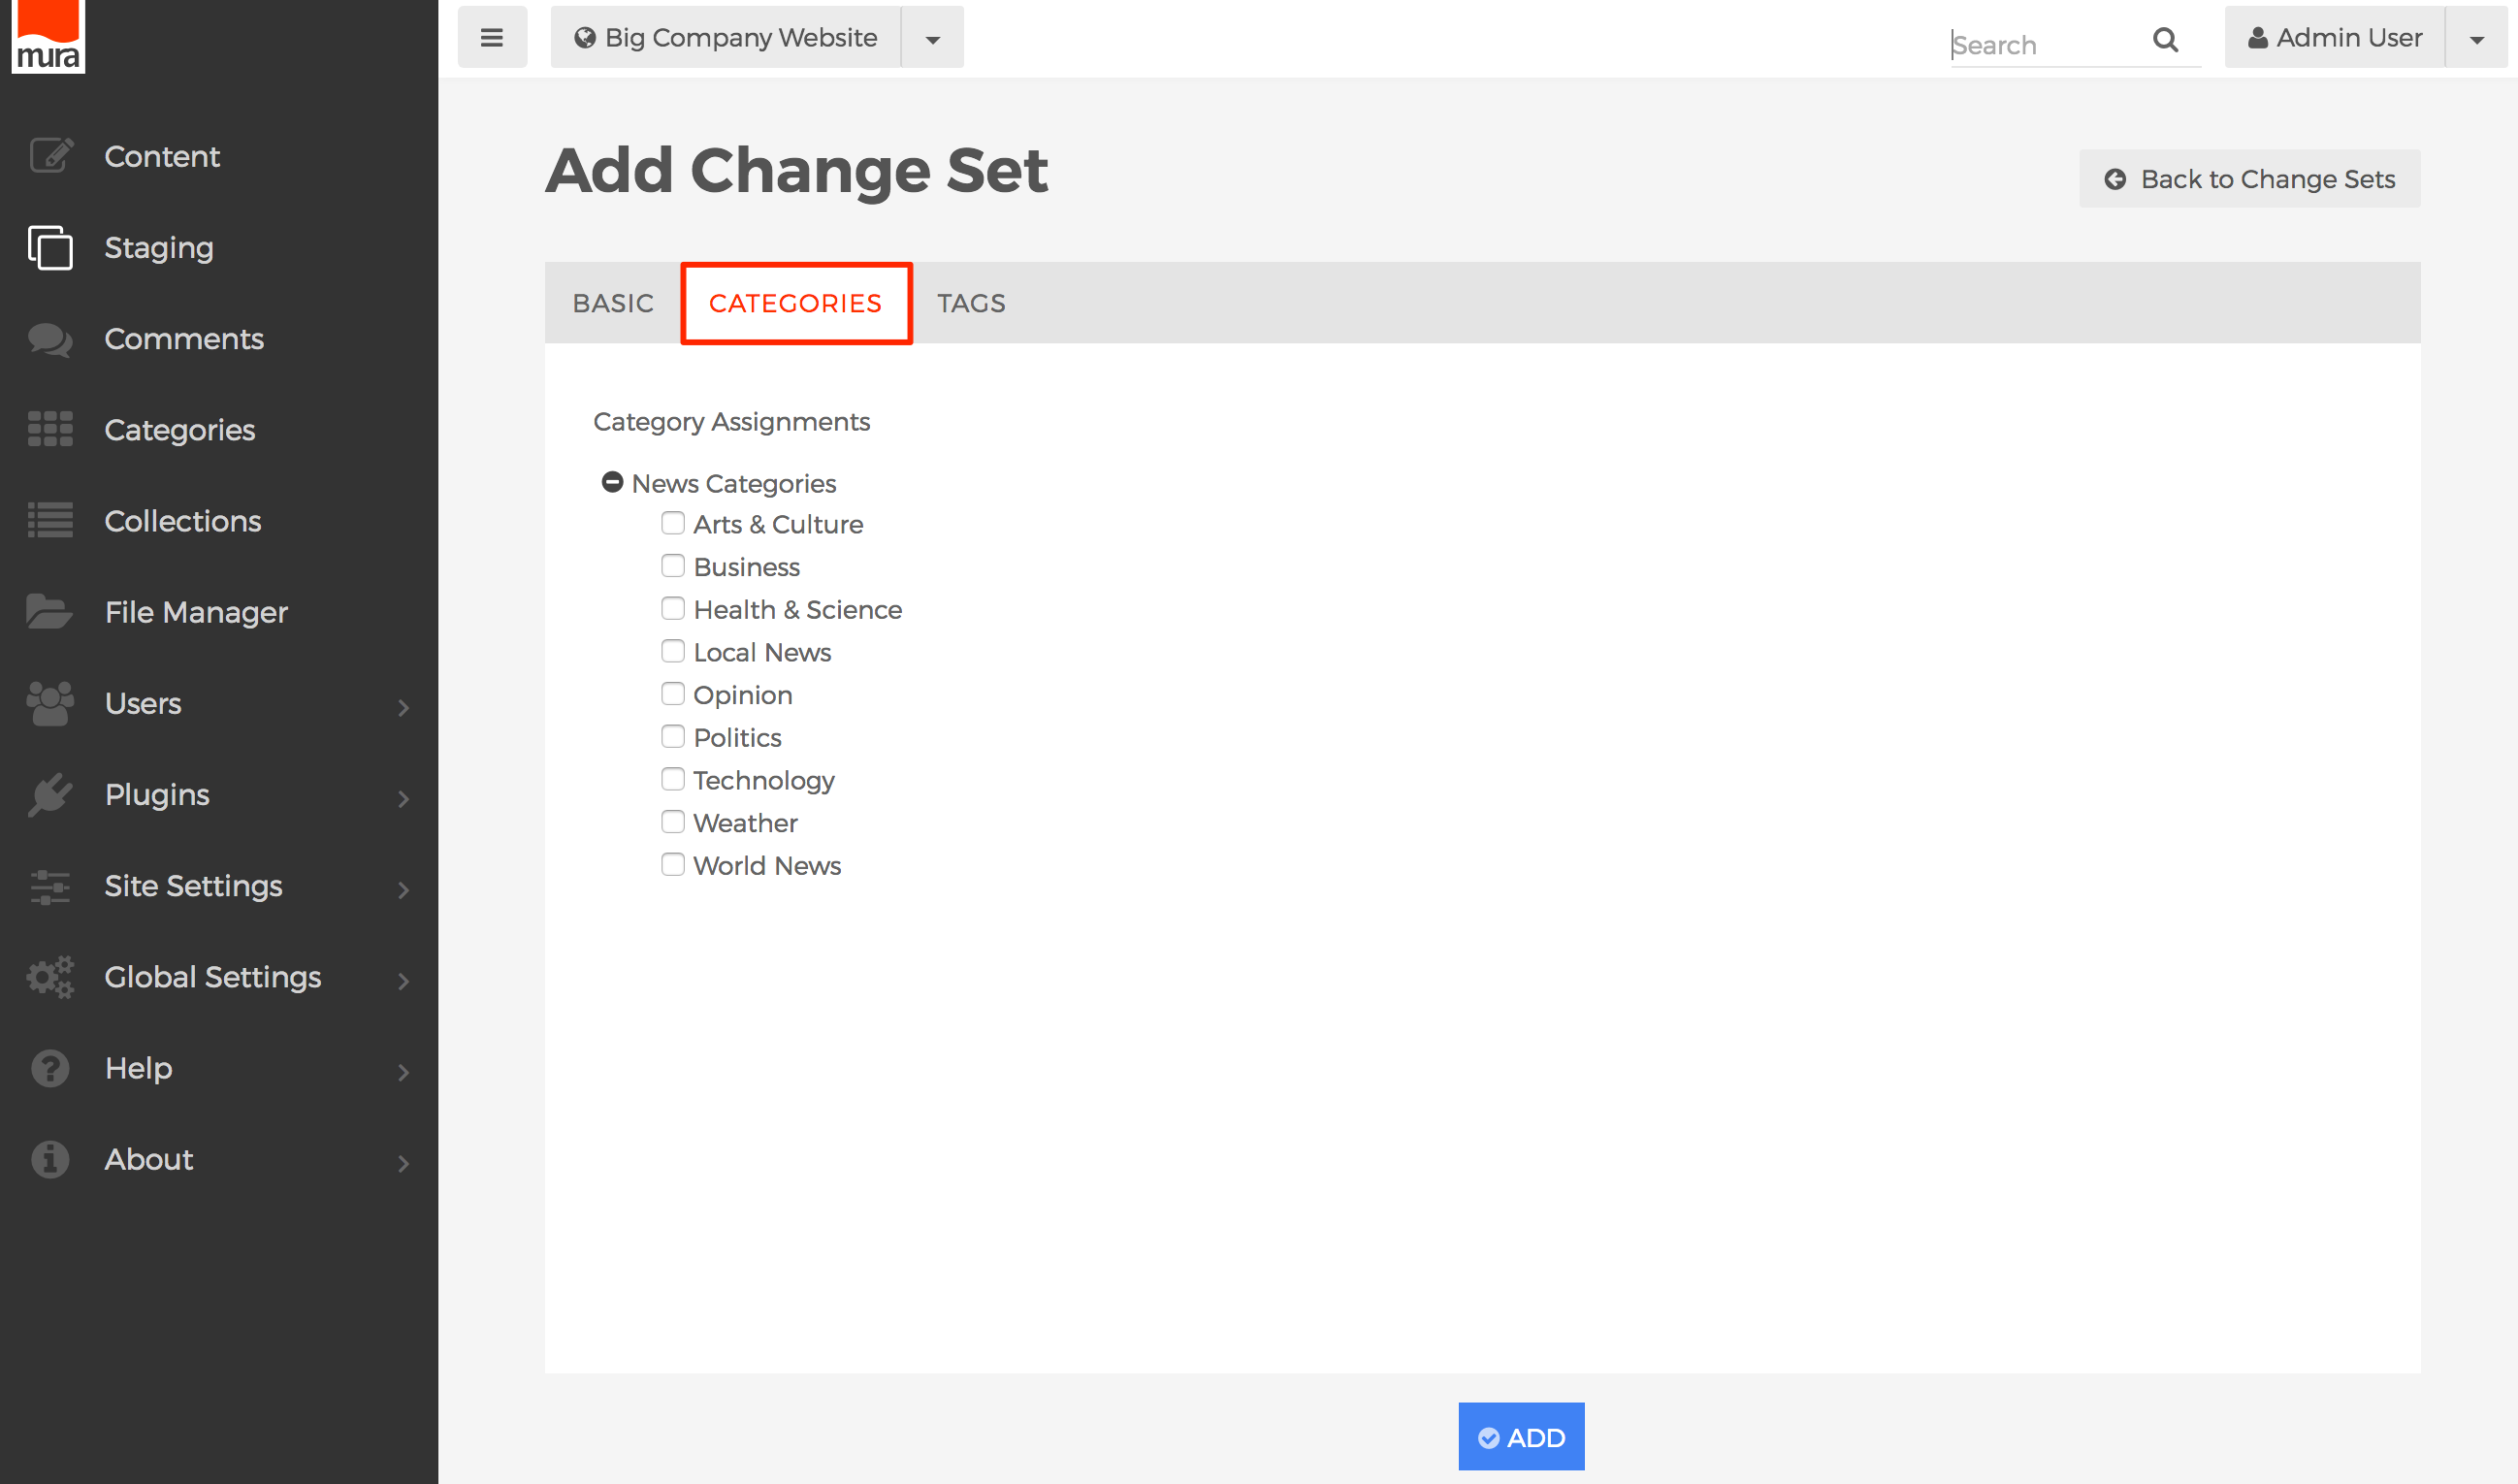
- You may categorize your Change Set by selecting your desired categories.
- Tags Tab
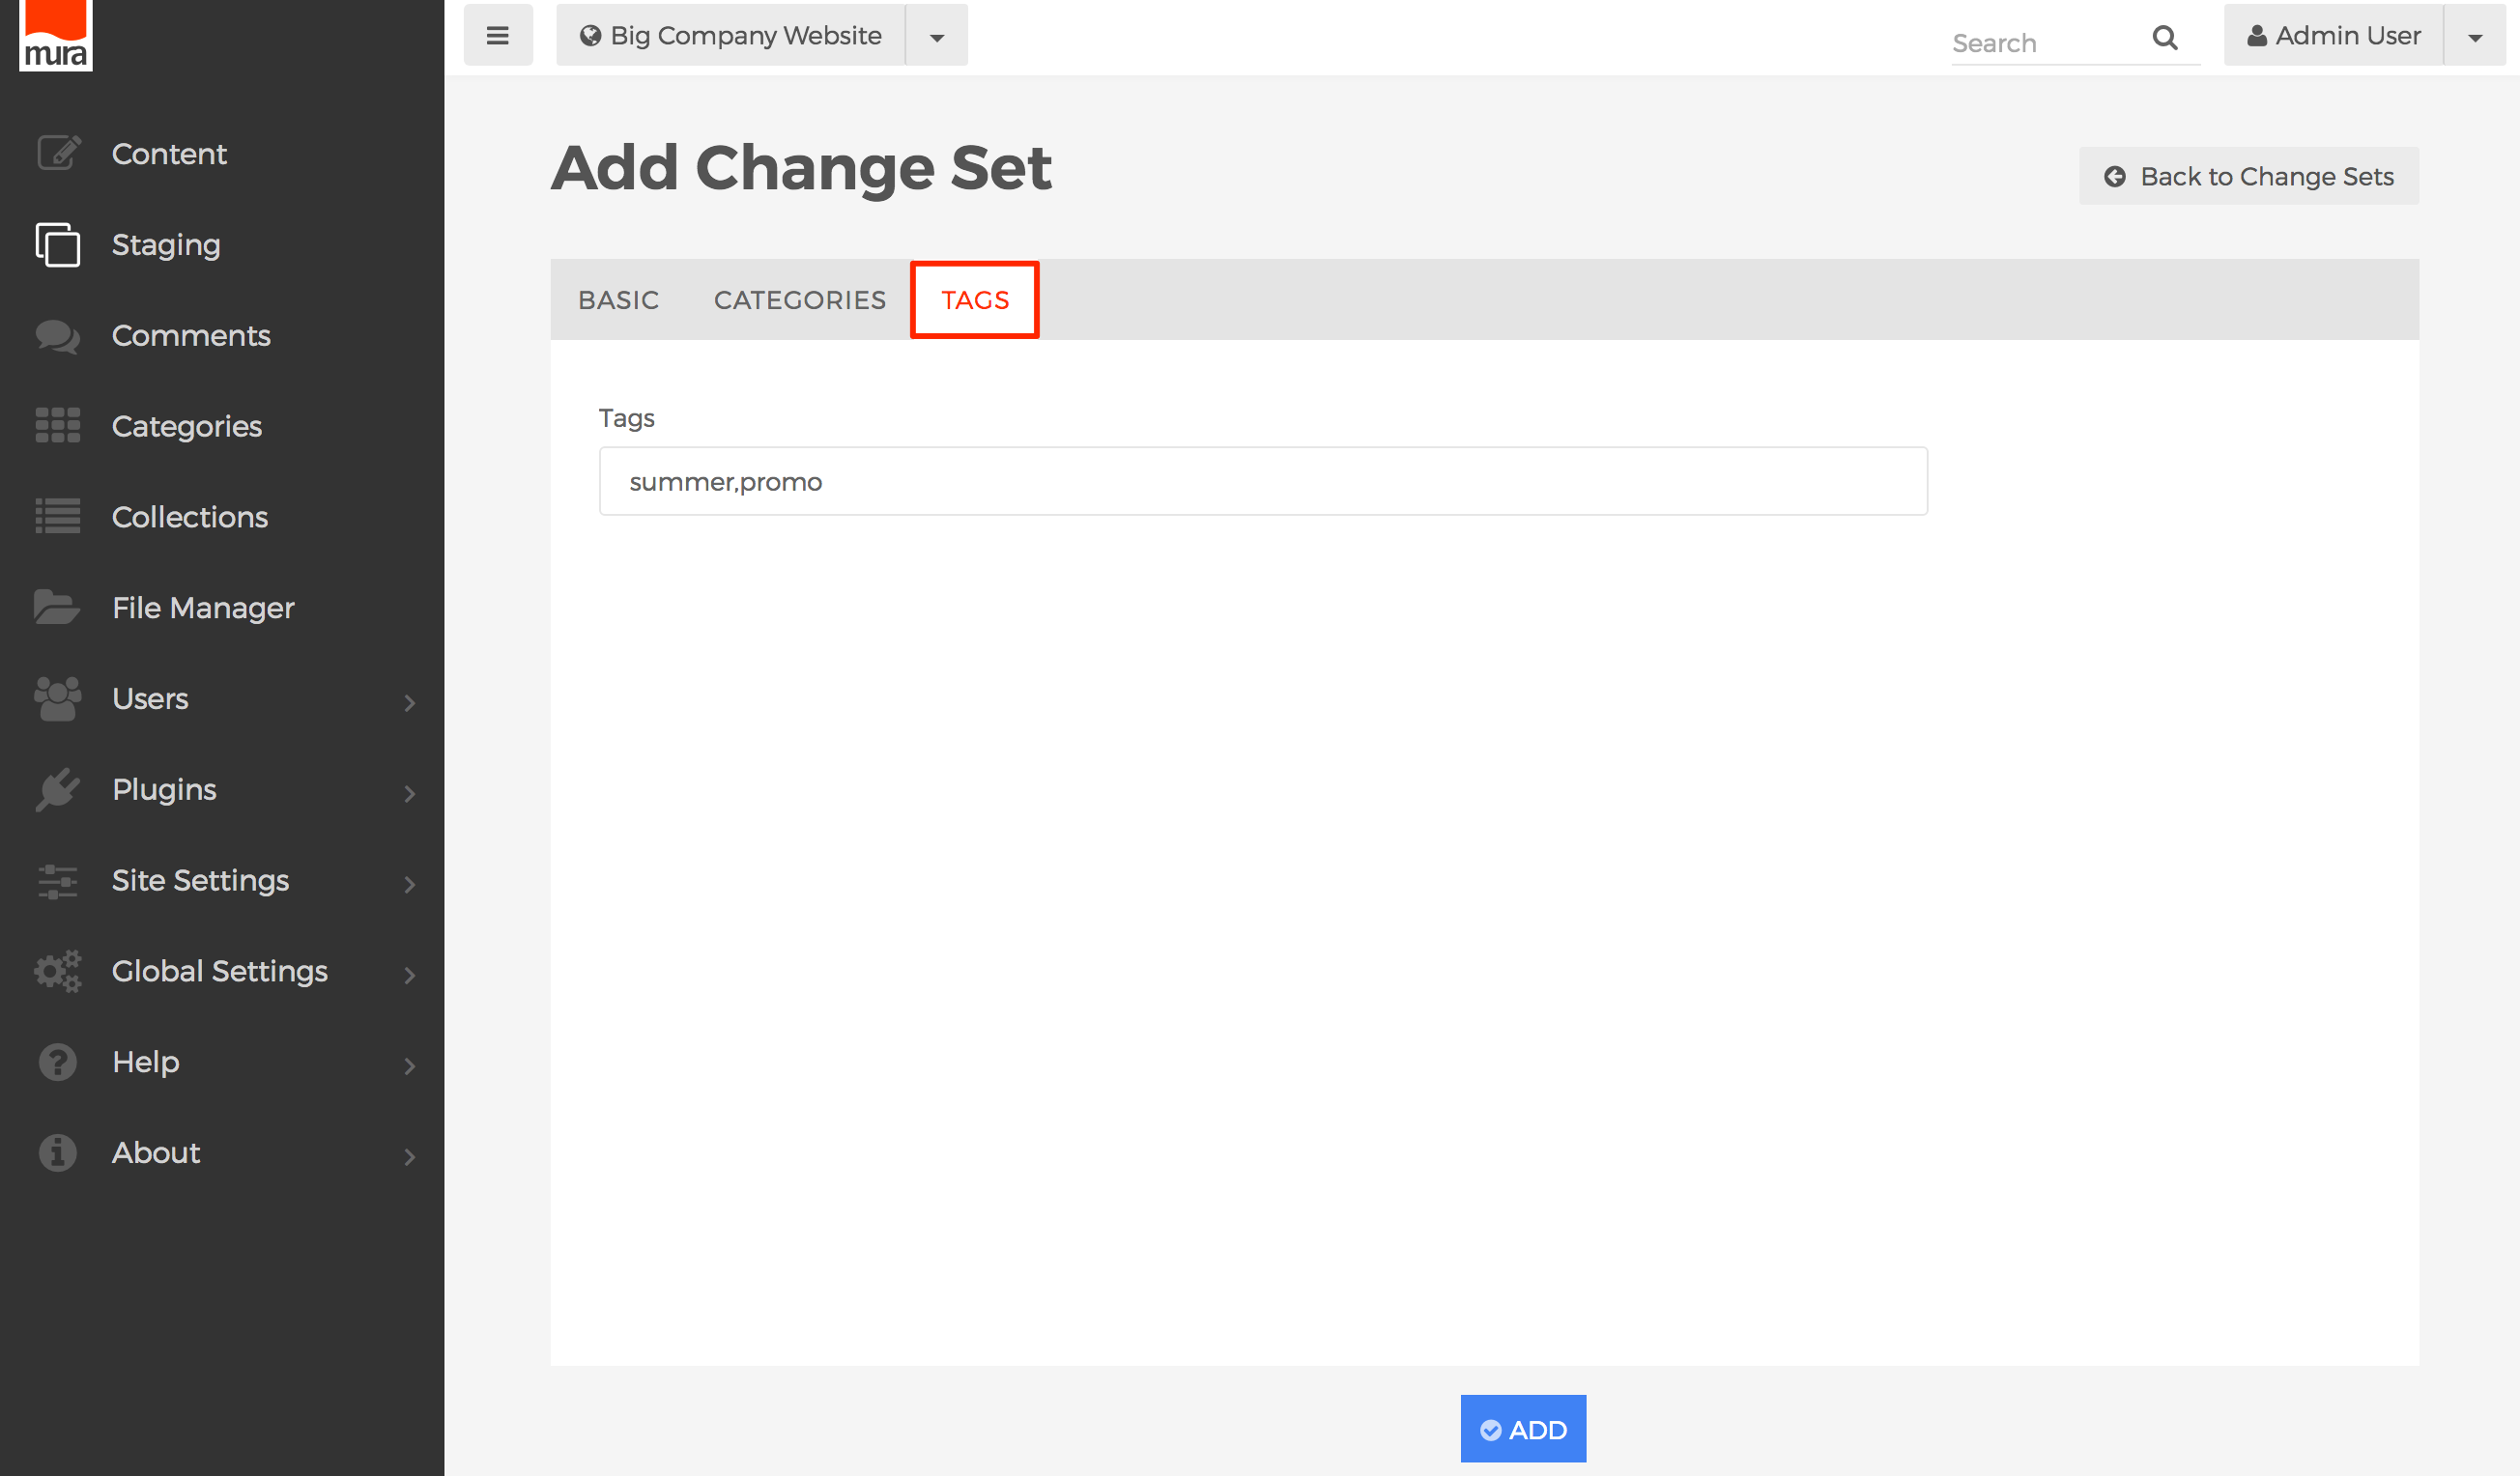
- You may enter a comma-delimited list of tags for the Change Set.
- Basic Tab
- Click Add, to save your new change set.
