Via Back-End UI
To install a plugin via the back-end UI, follow the steps below.
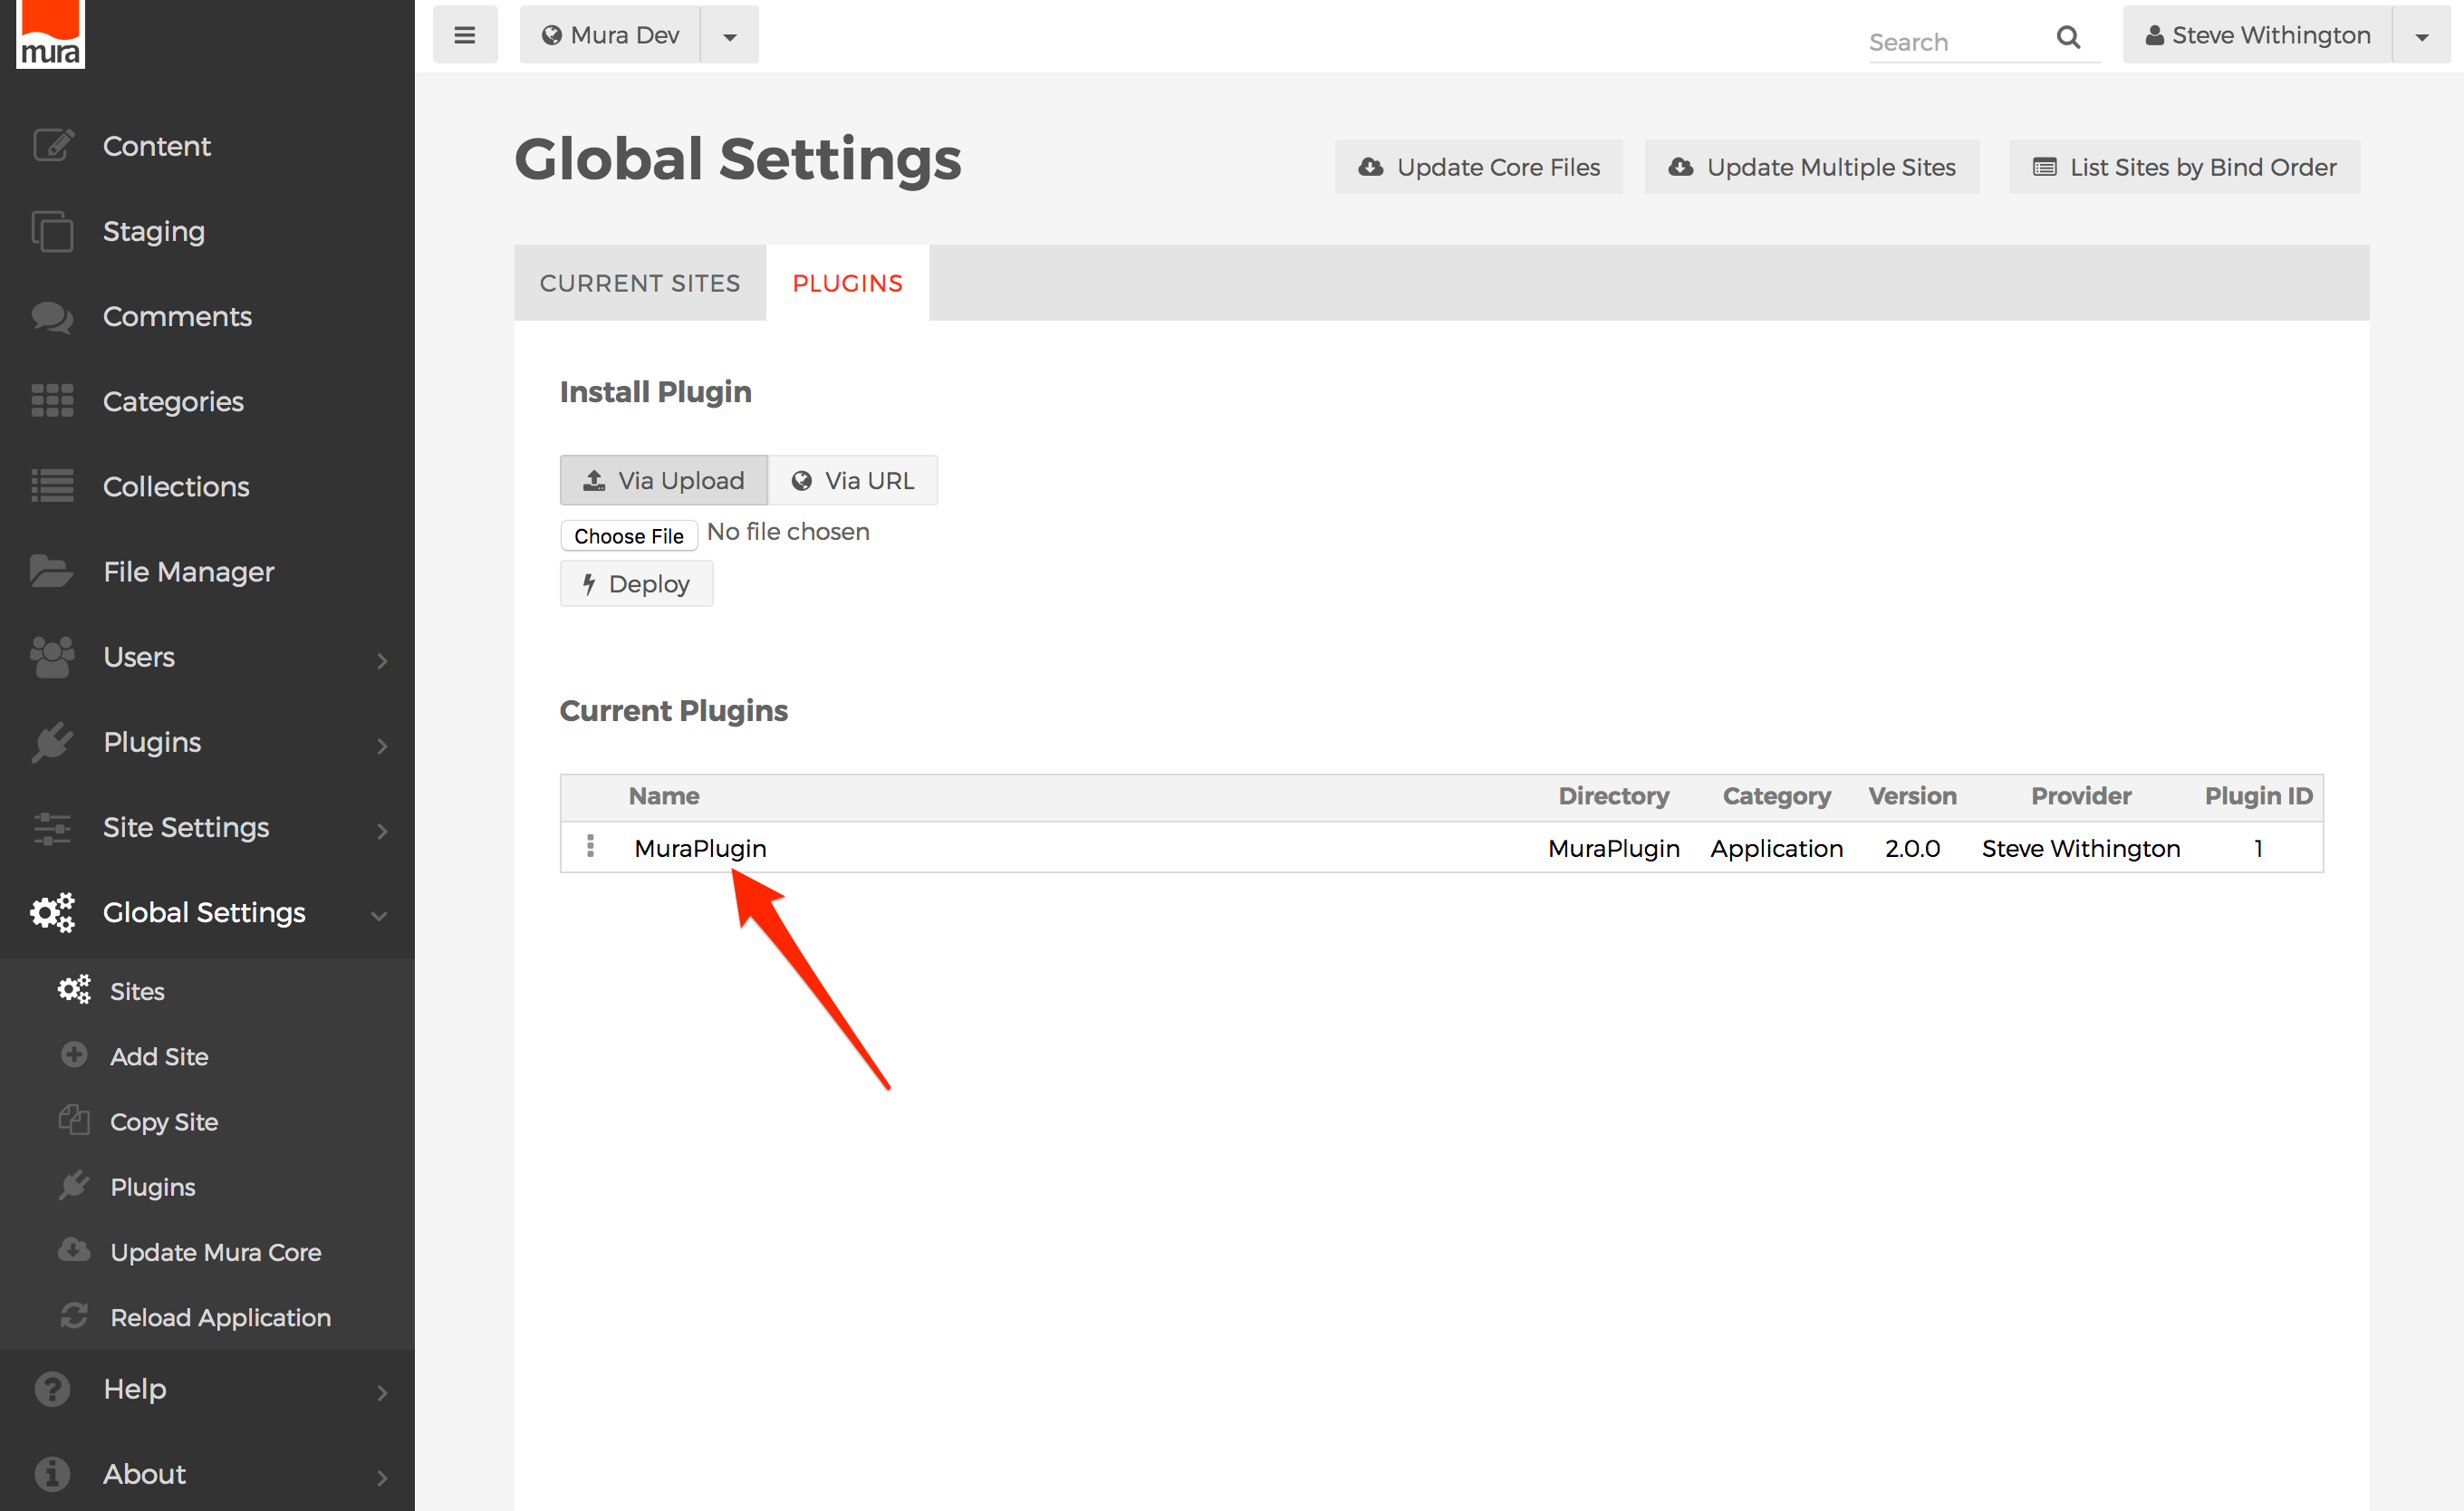
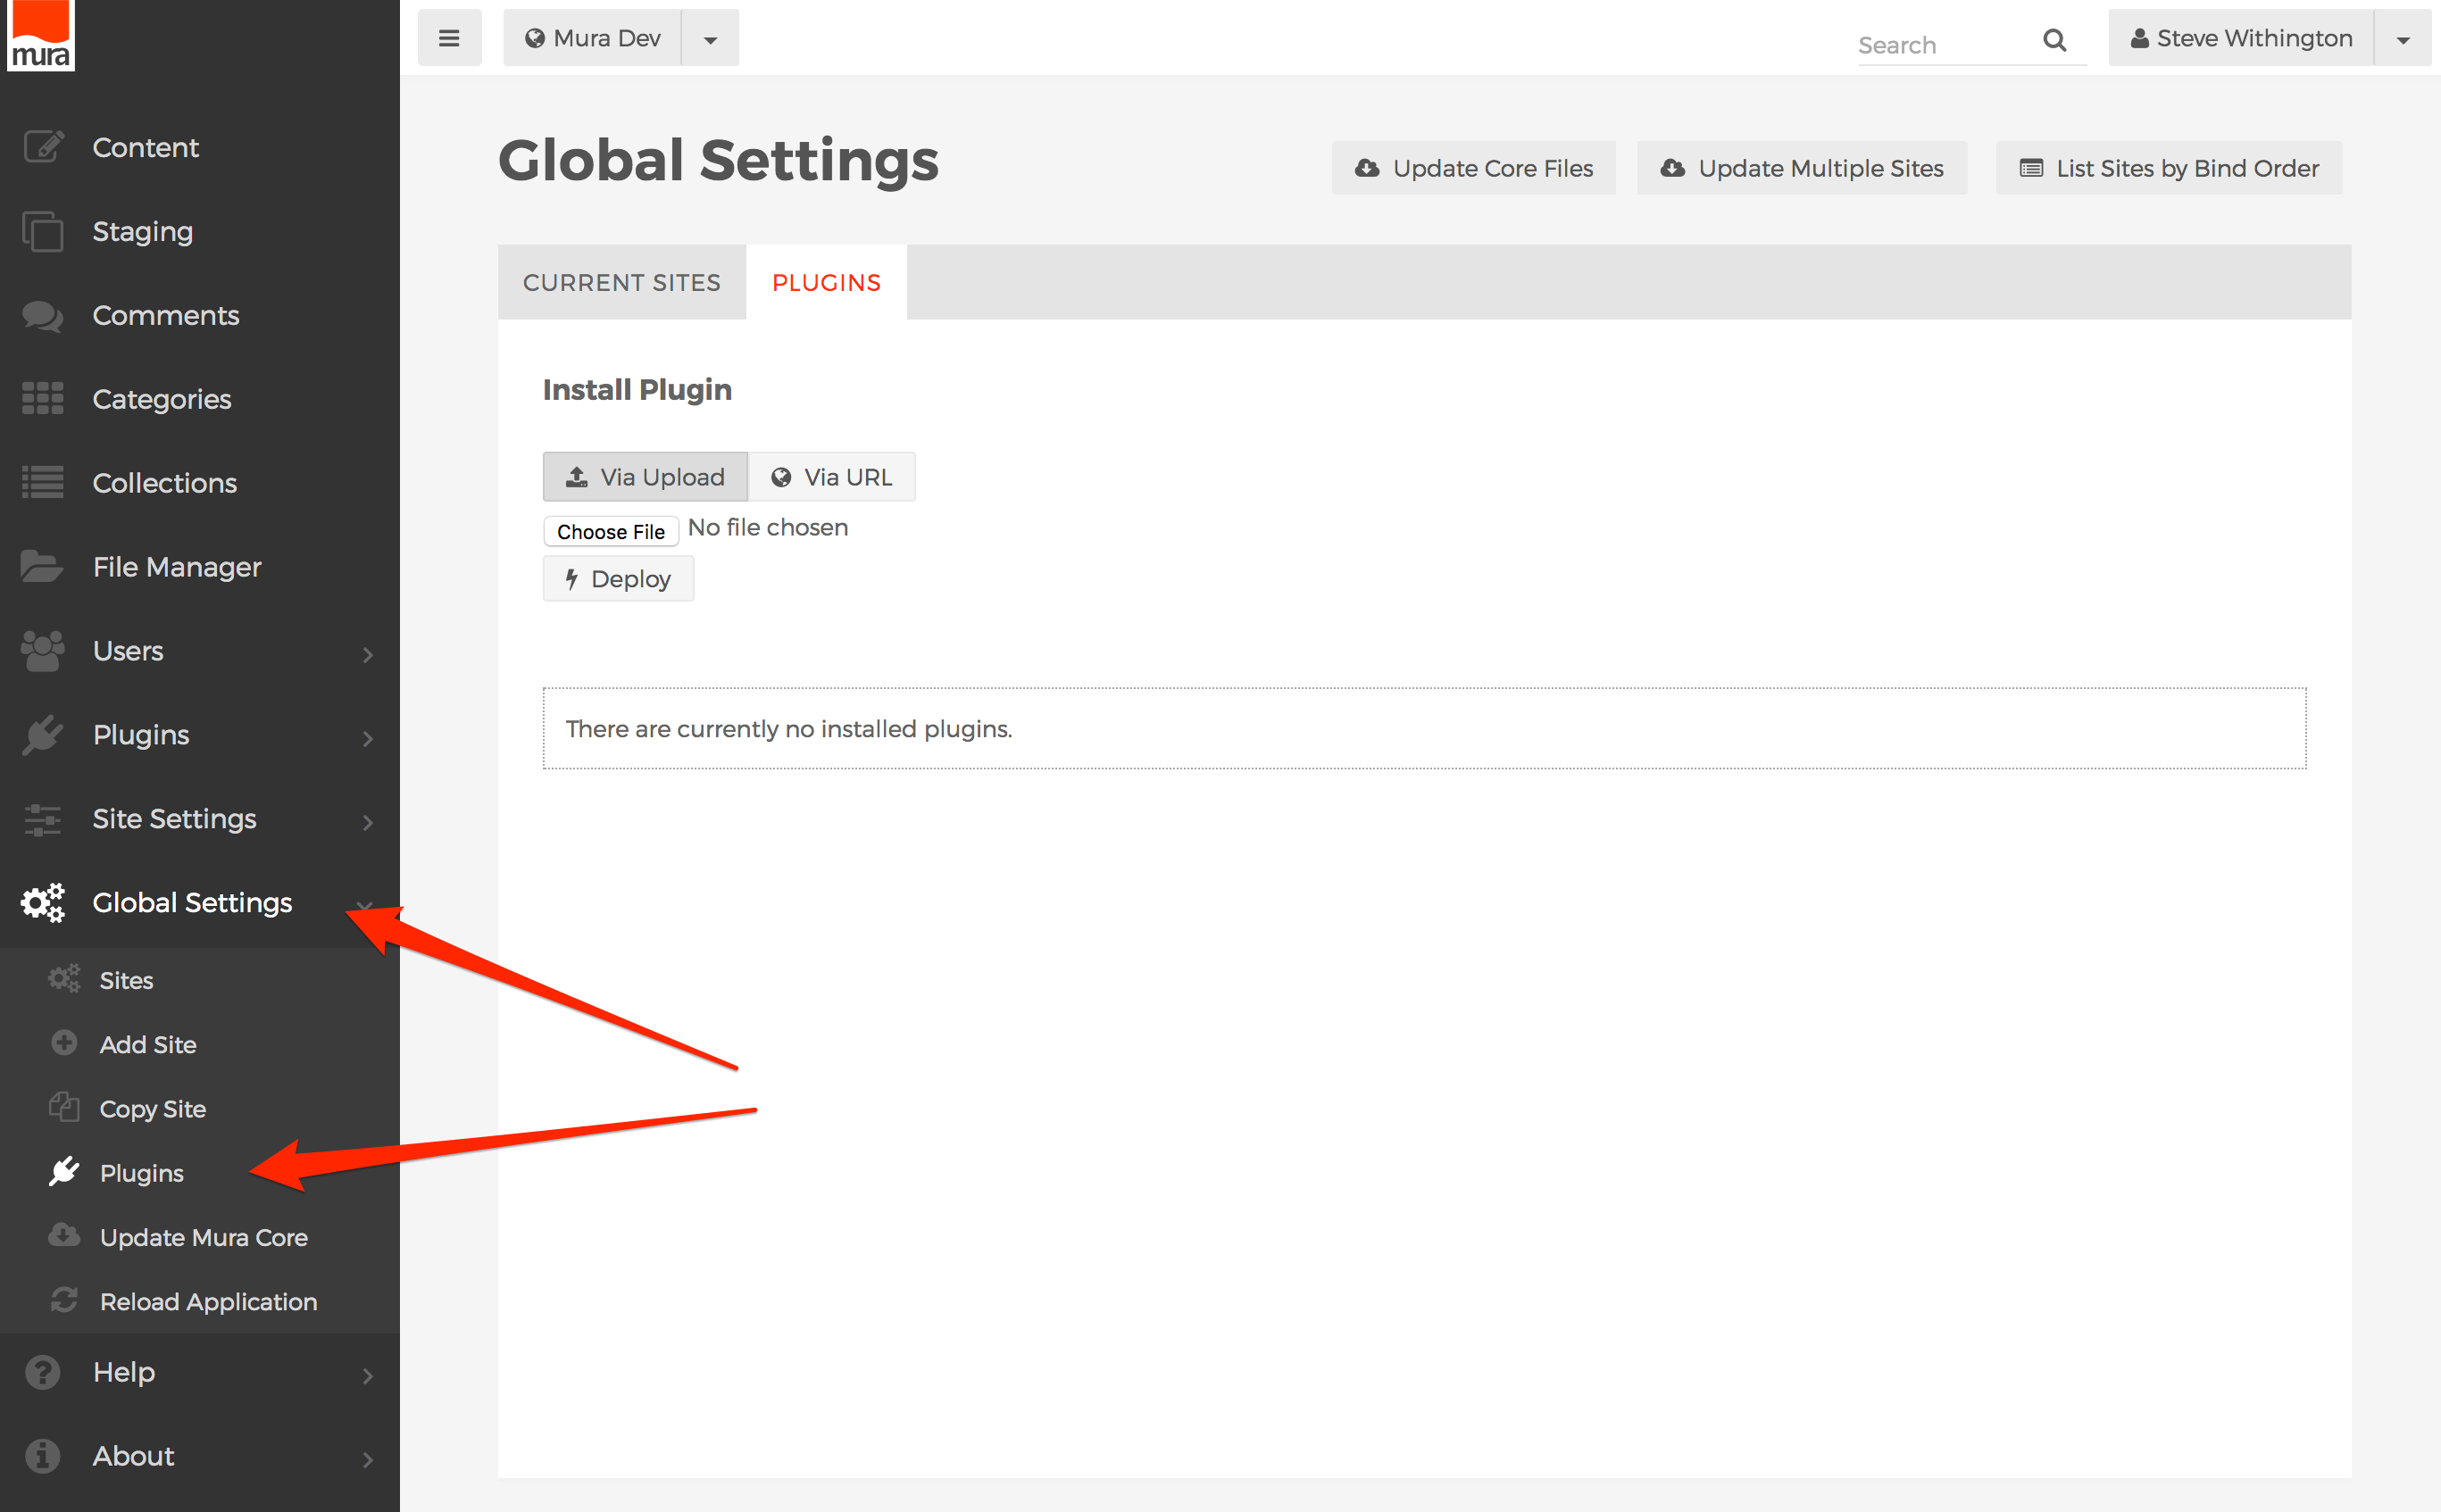
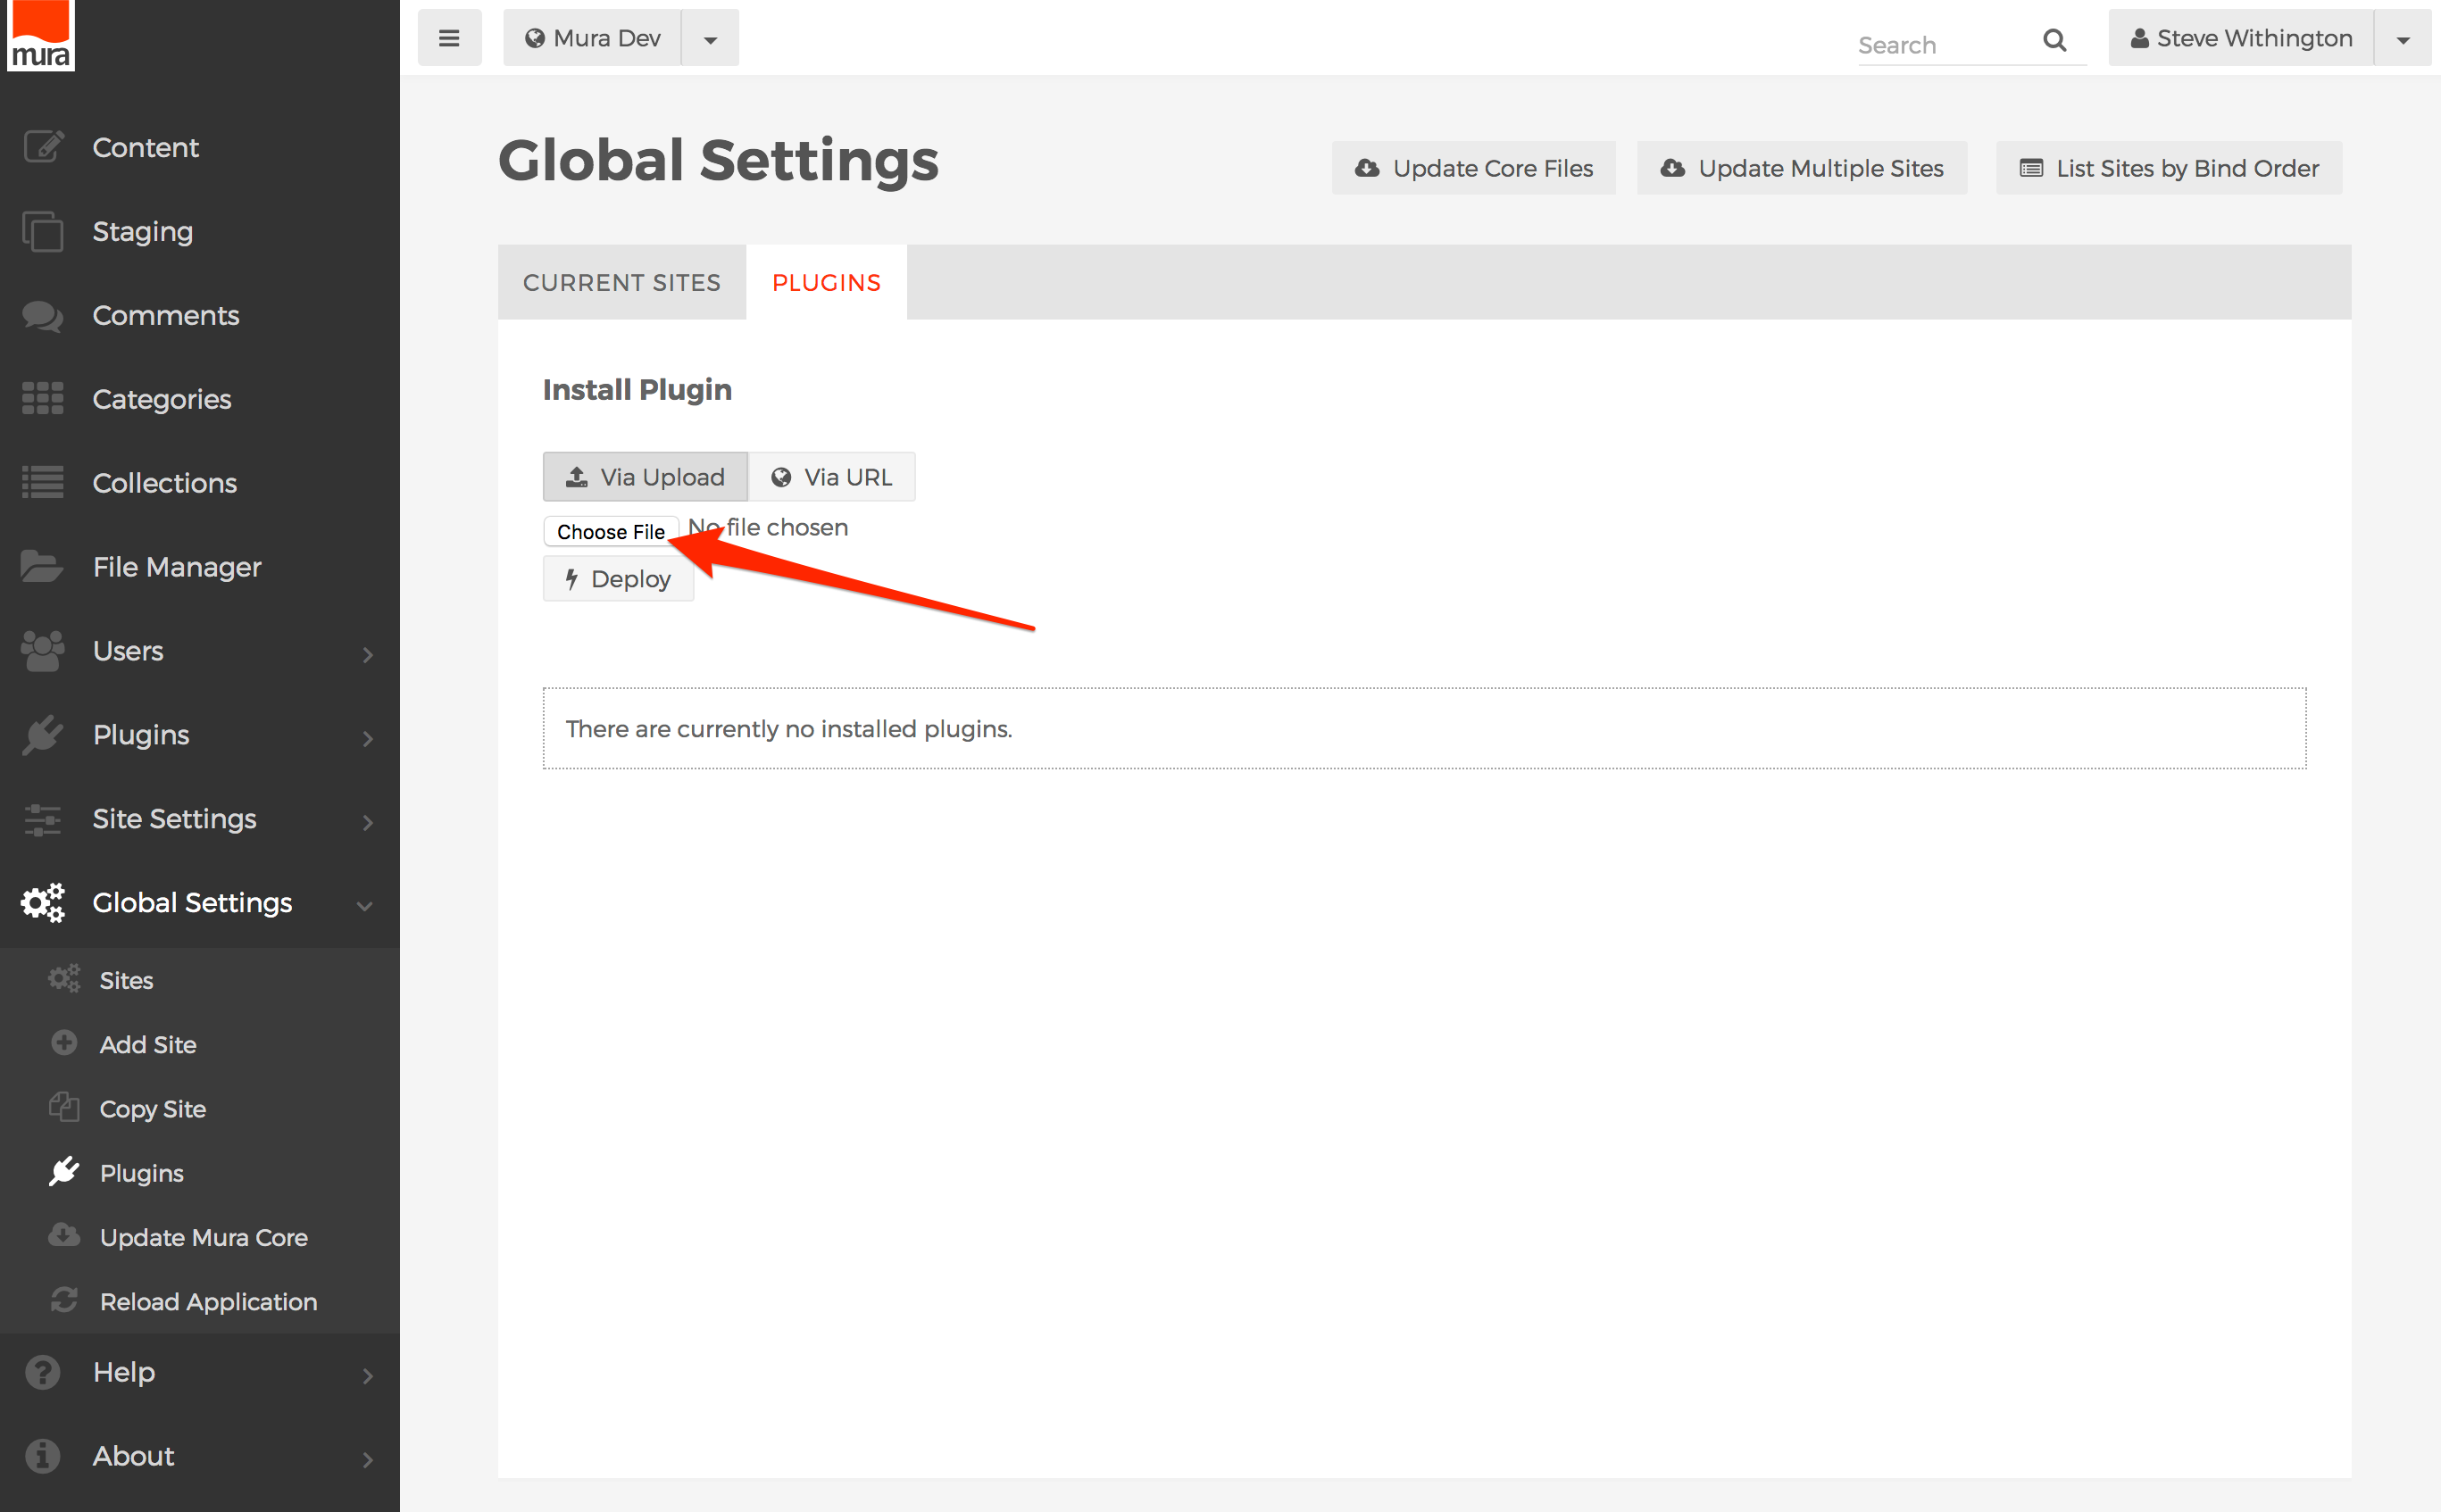
- From the back-end administration area, select Global Settings, then click Plugins.
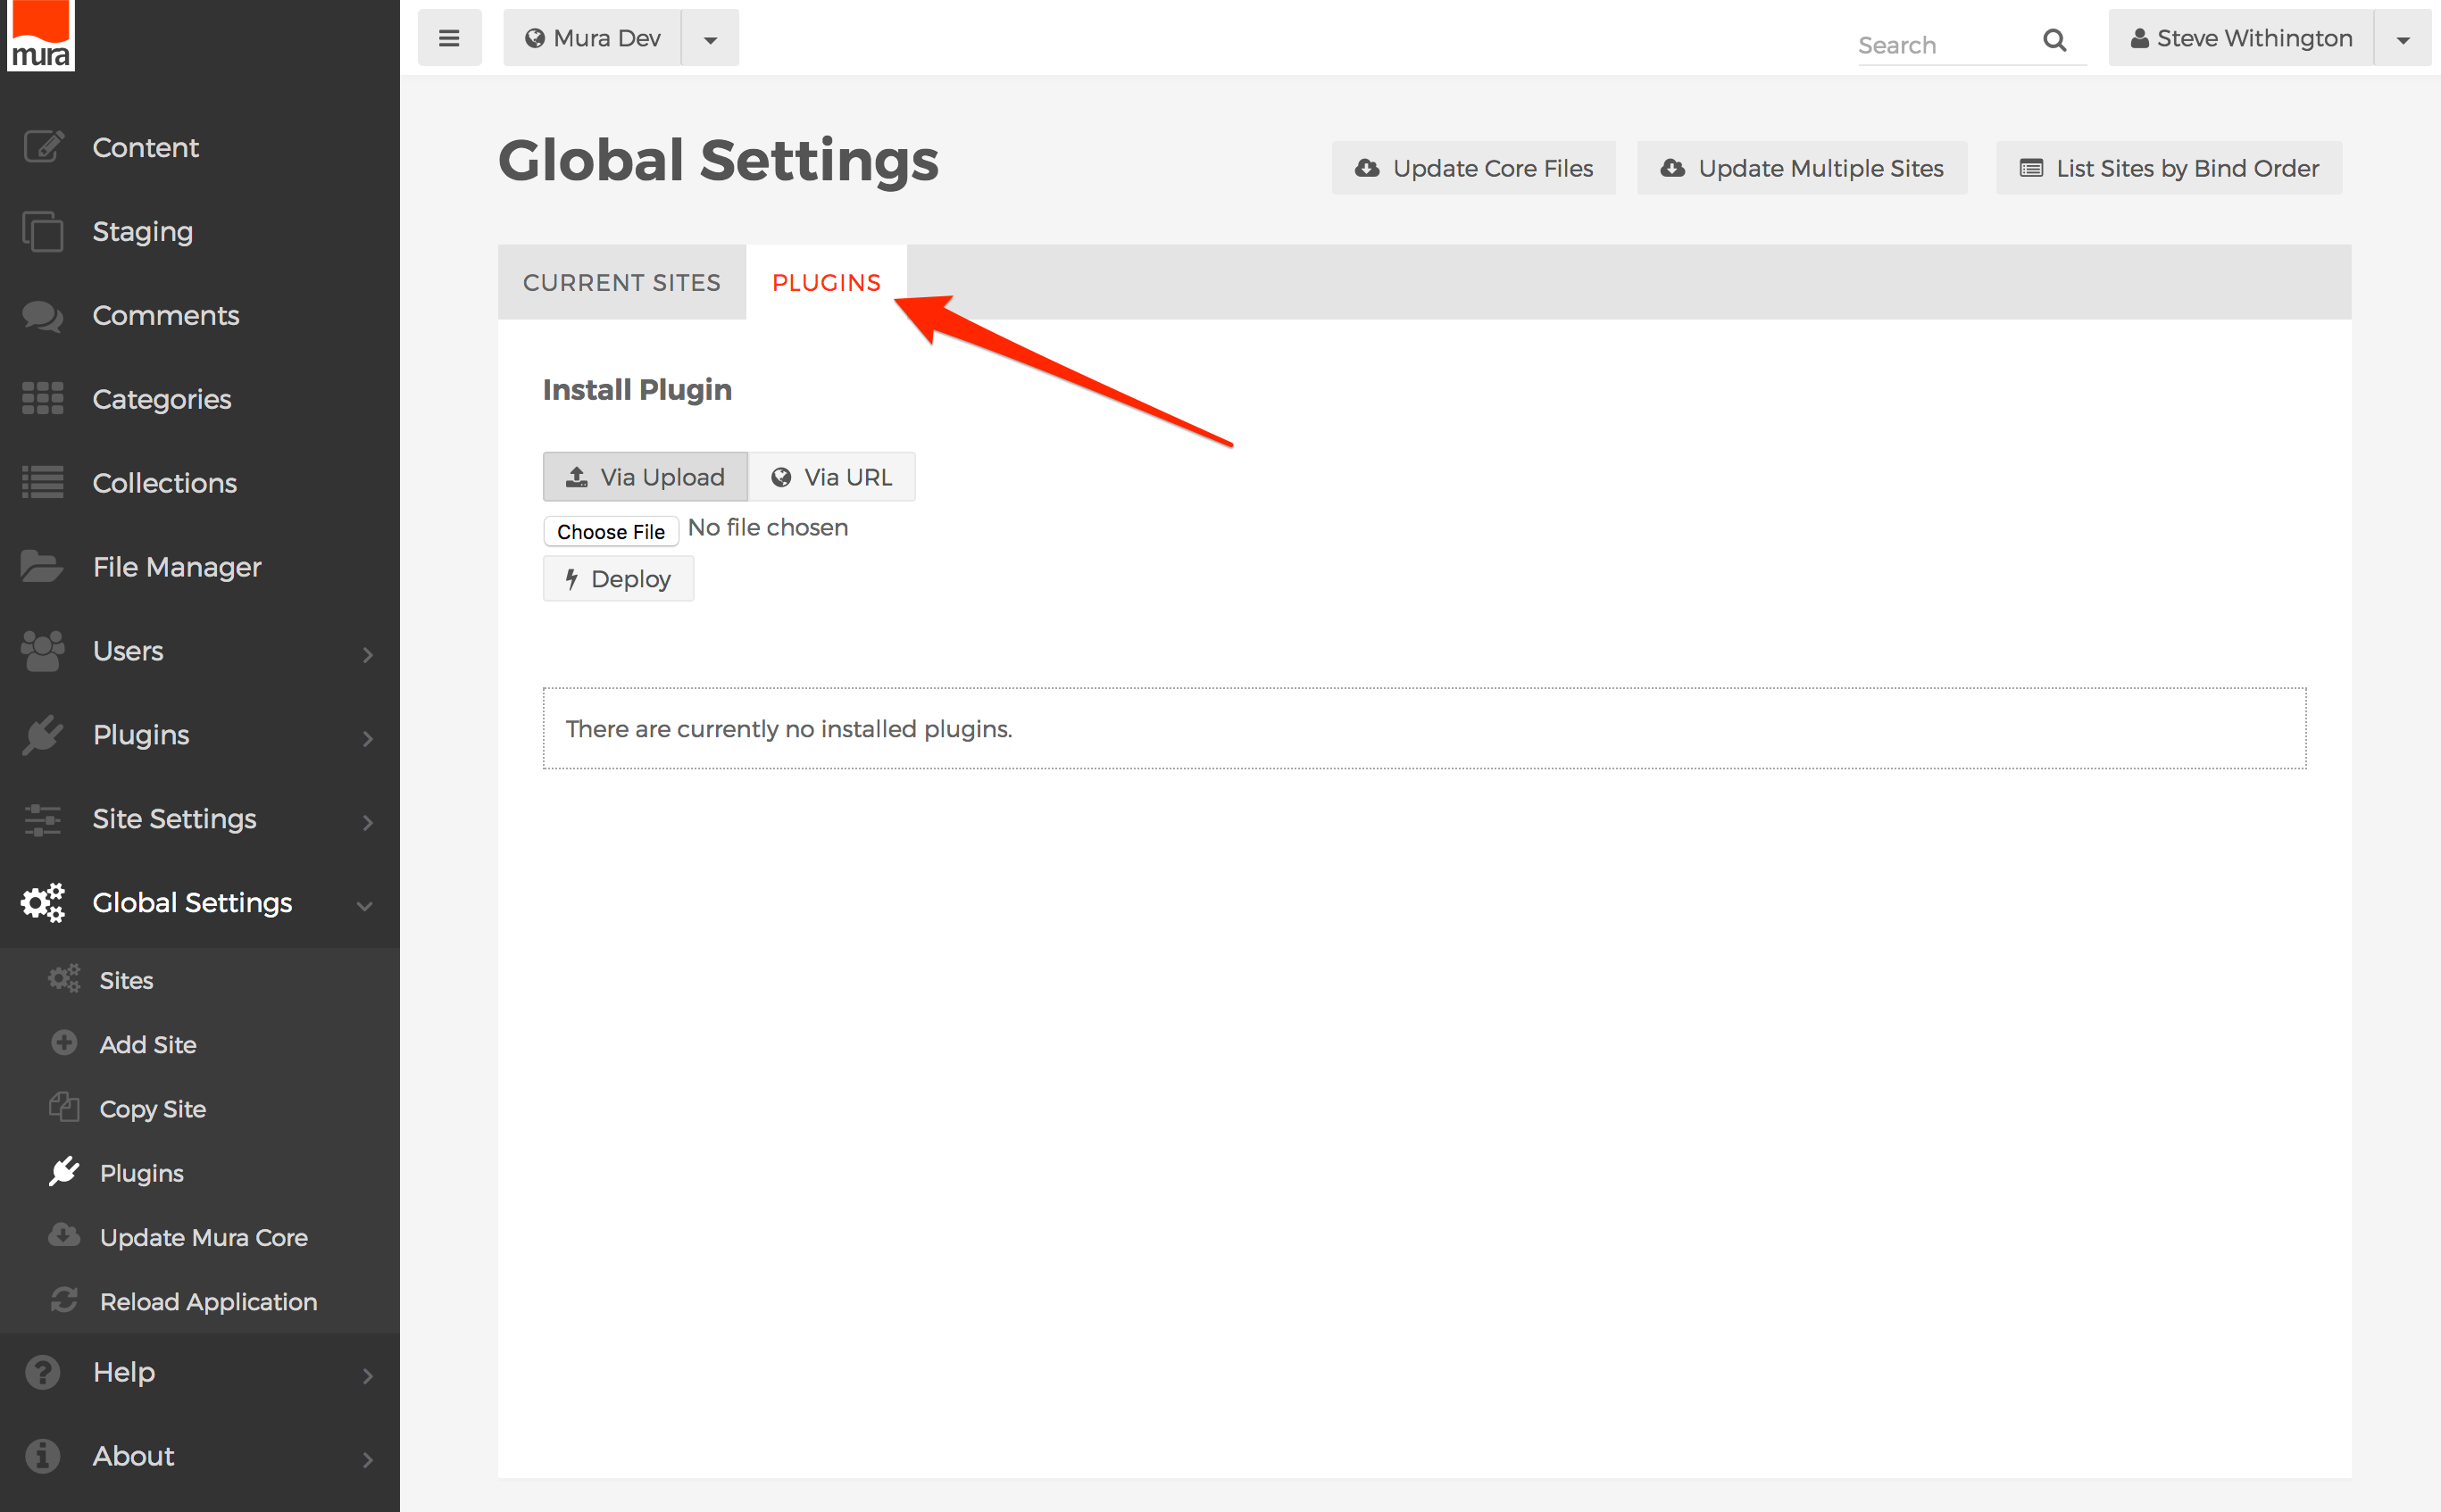
- You should see the Global Settings screen, with the Plugins tab enabled.
- Under "Install Plugin", you have two (2) options for deploying a plugin:
- Via Upload
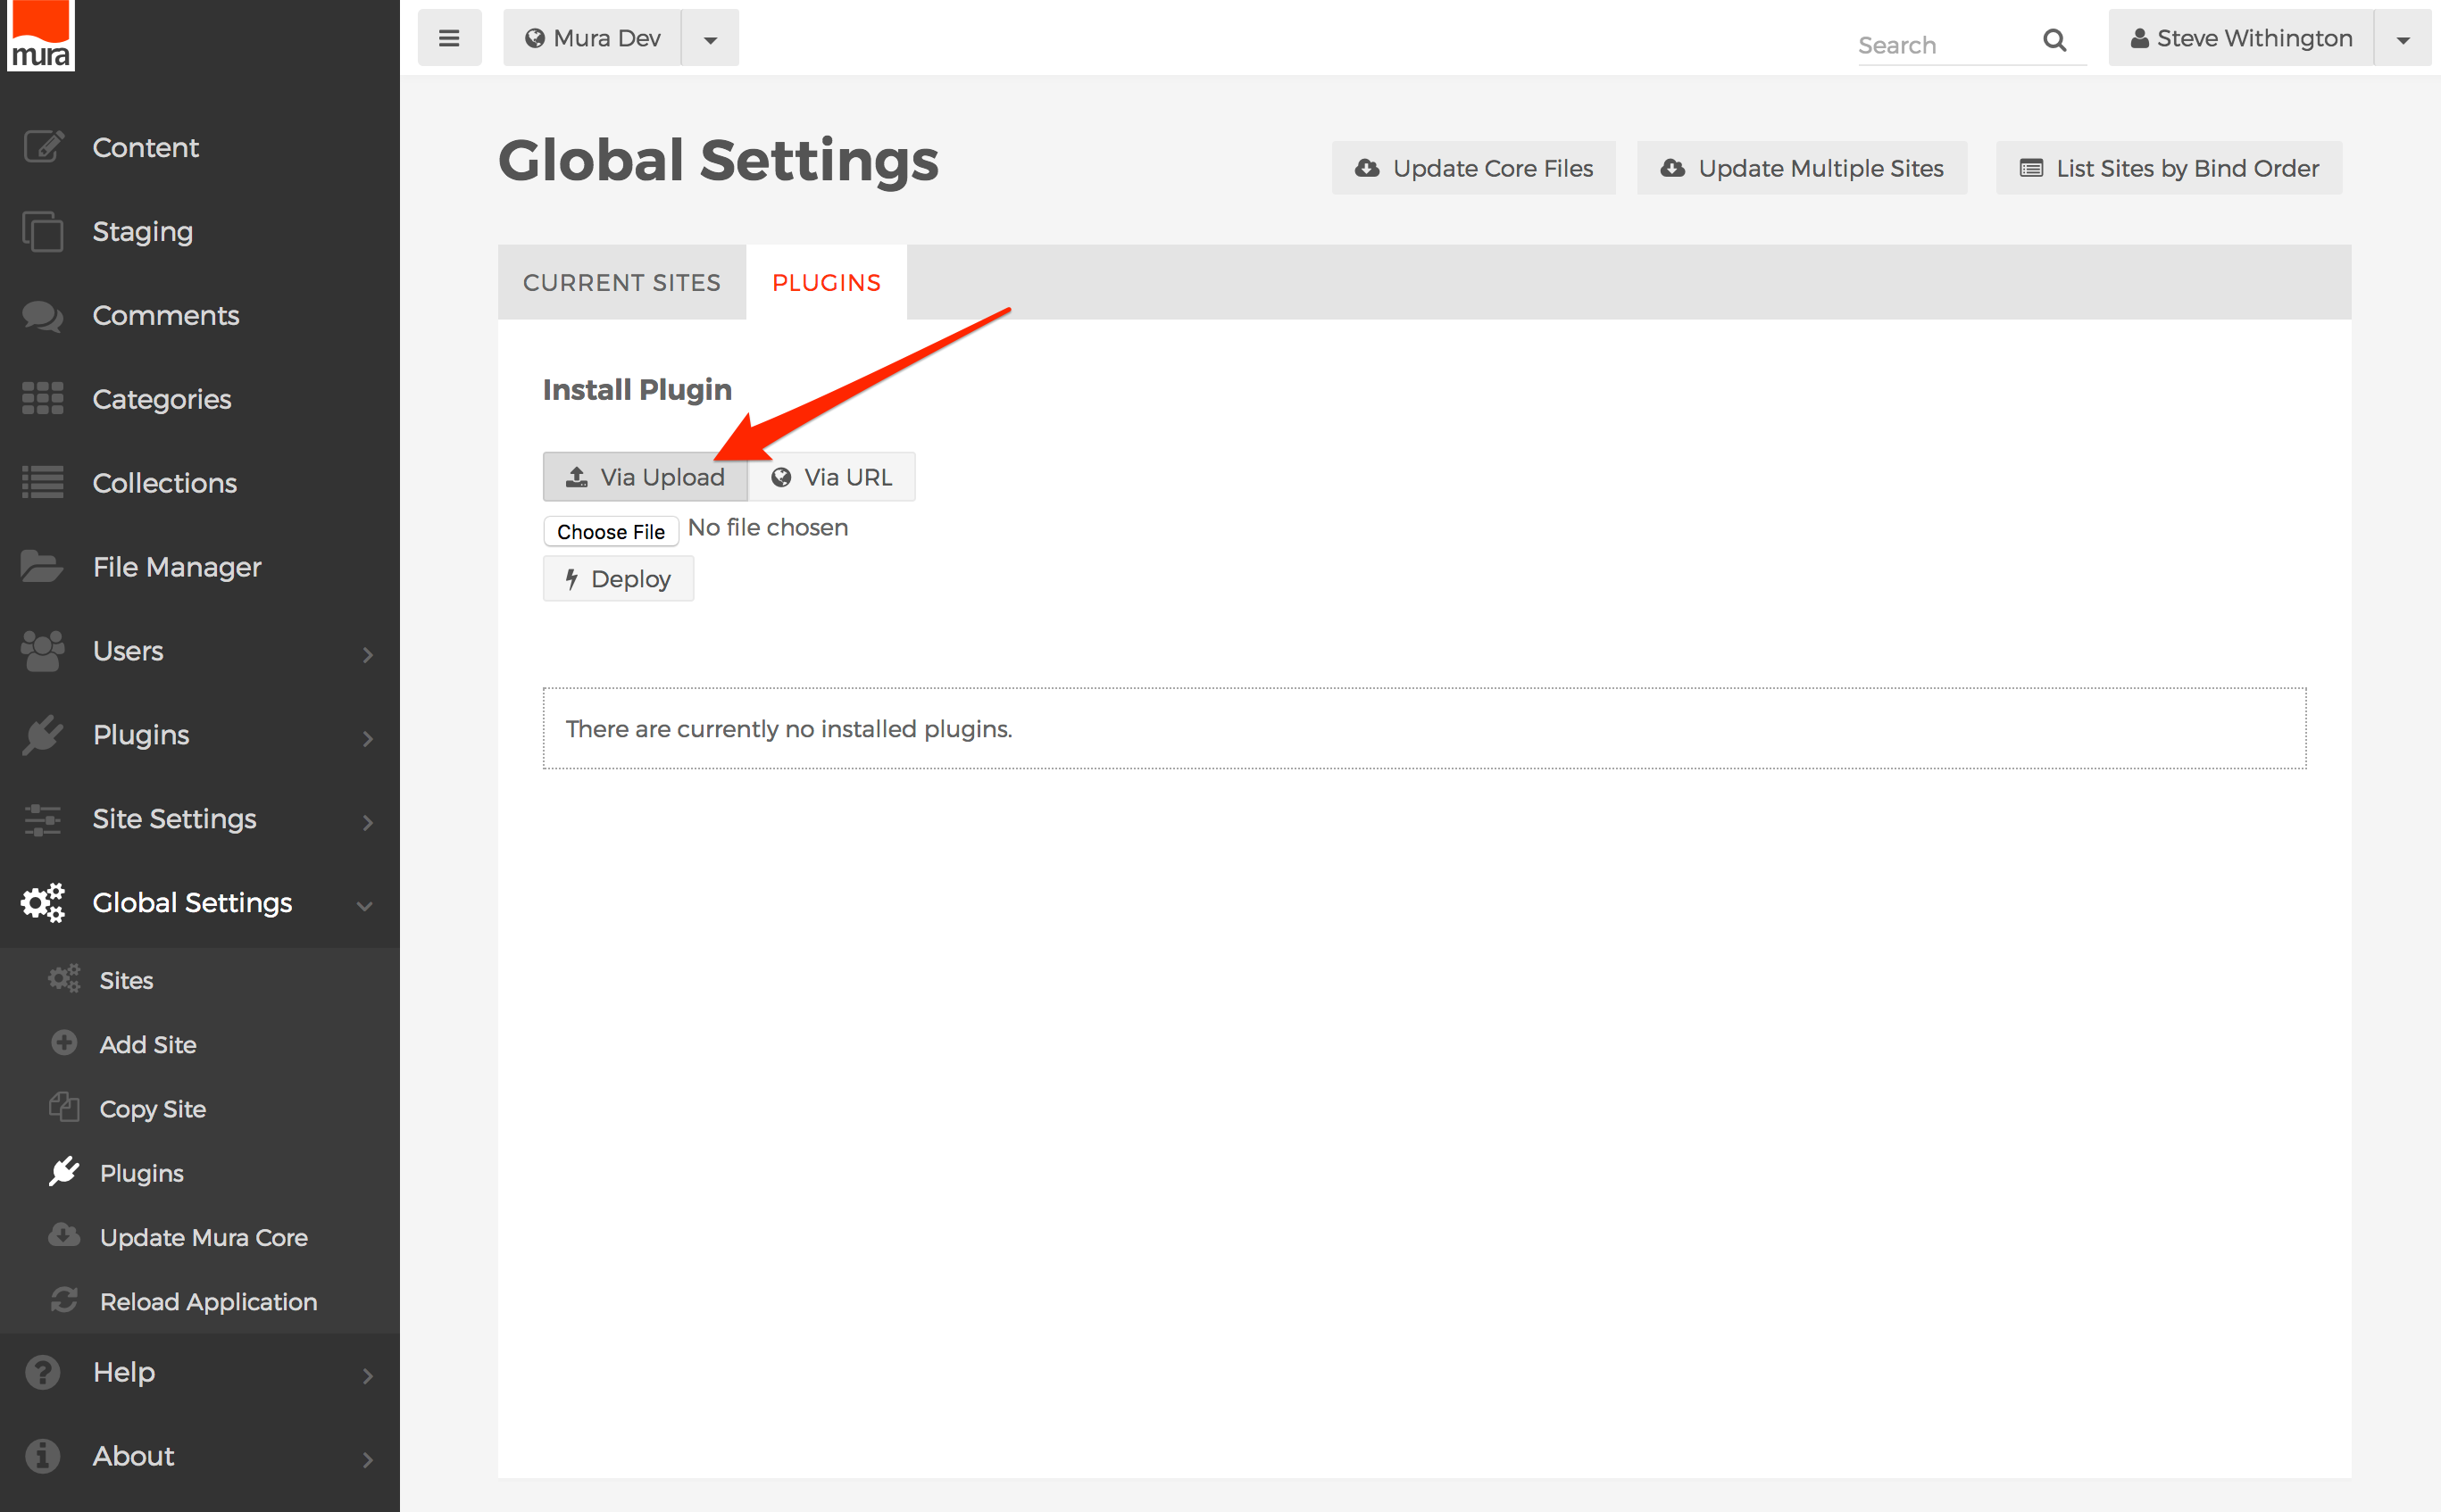
- Select this option if you have the
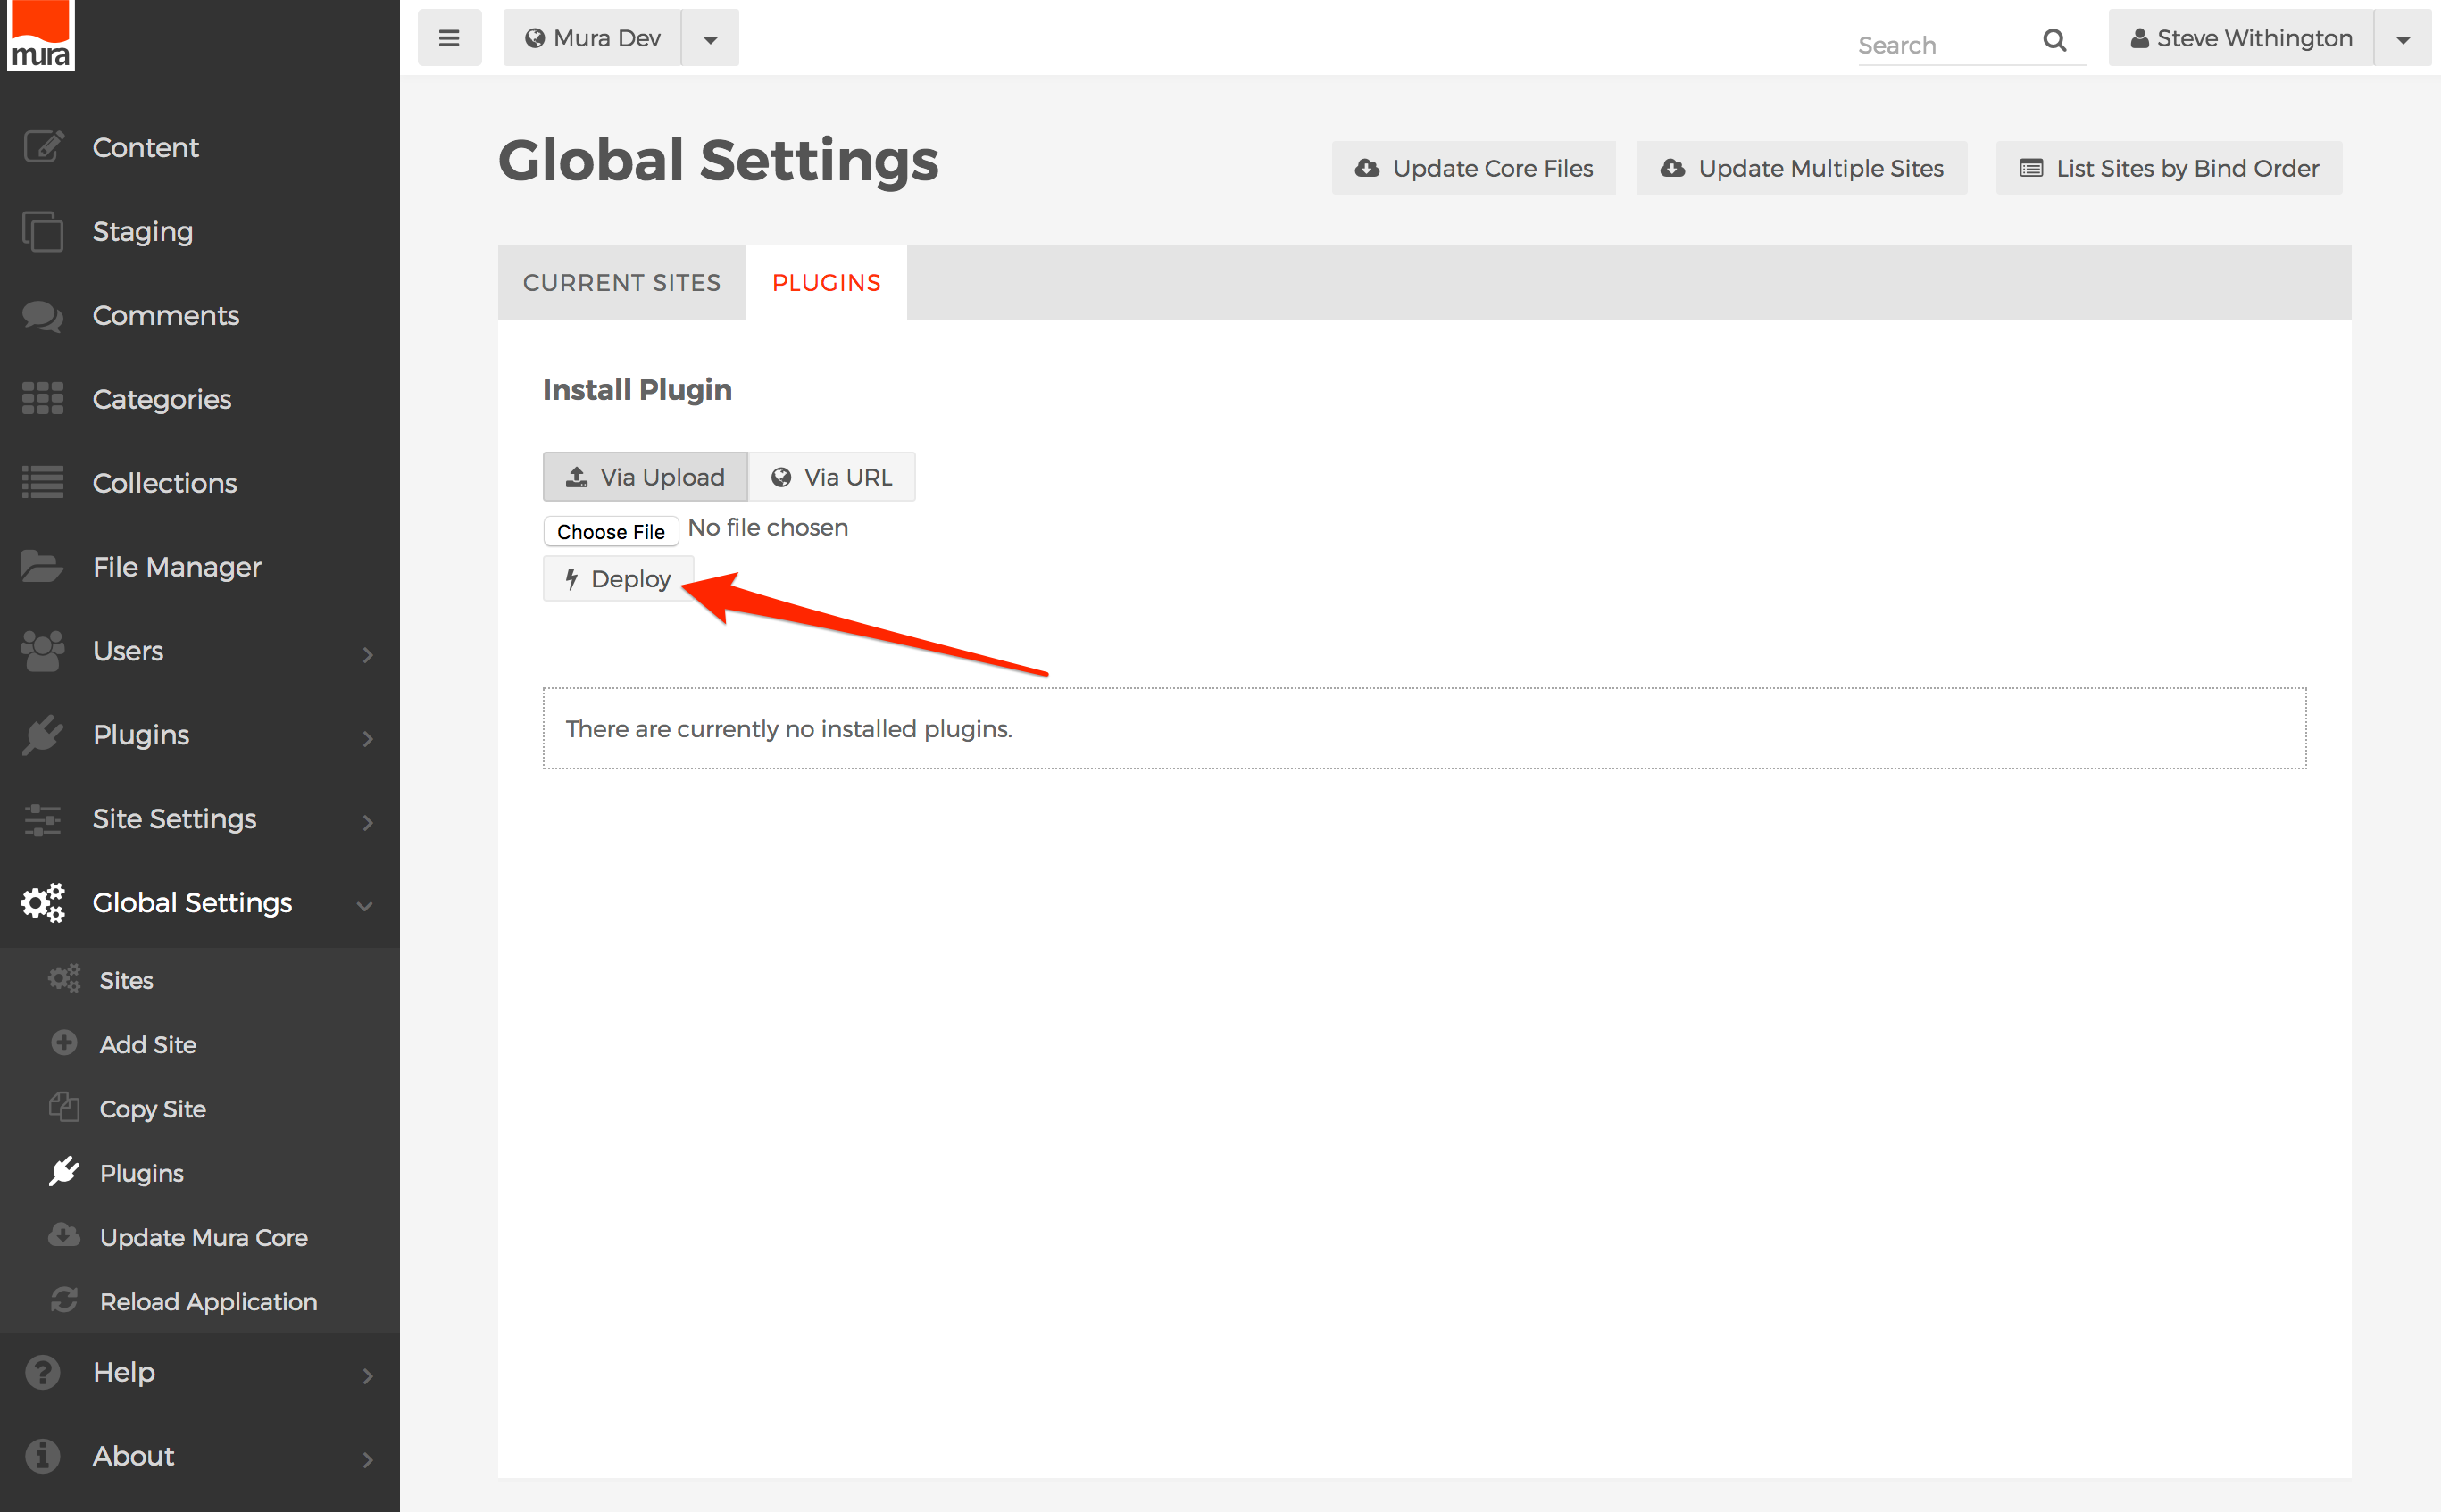
.zipfile on your local machine. - Select the "Choose File" or "Browse" button, and locate your desired plugin file.
- When ready to upload and deploy the plugin, select the "Deploy" button, then continue to the next step.
- Select this option if you have the
- Via URL
- Select this option if you have a URL to the
.zipfile. For example, if your desired plugin is hosted on Github, you may select to copy the link to the.zipfile, and use that as the URL. - Click the Via URL button.
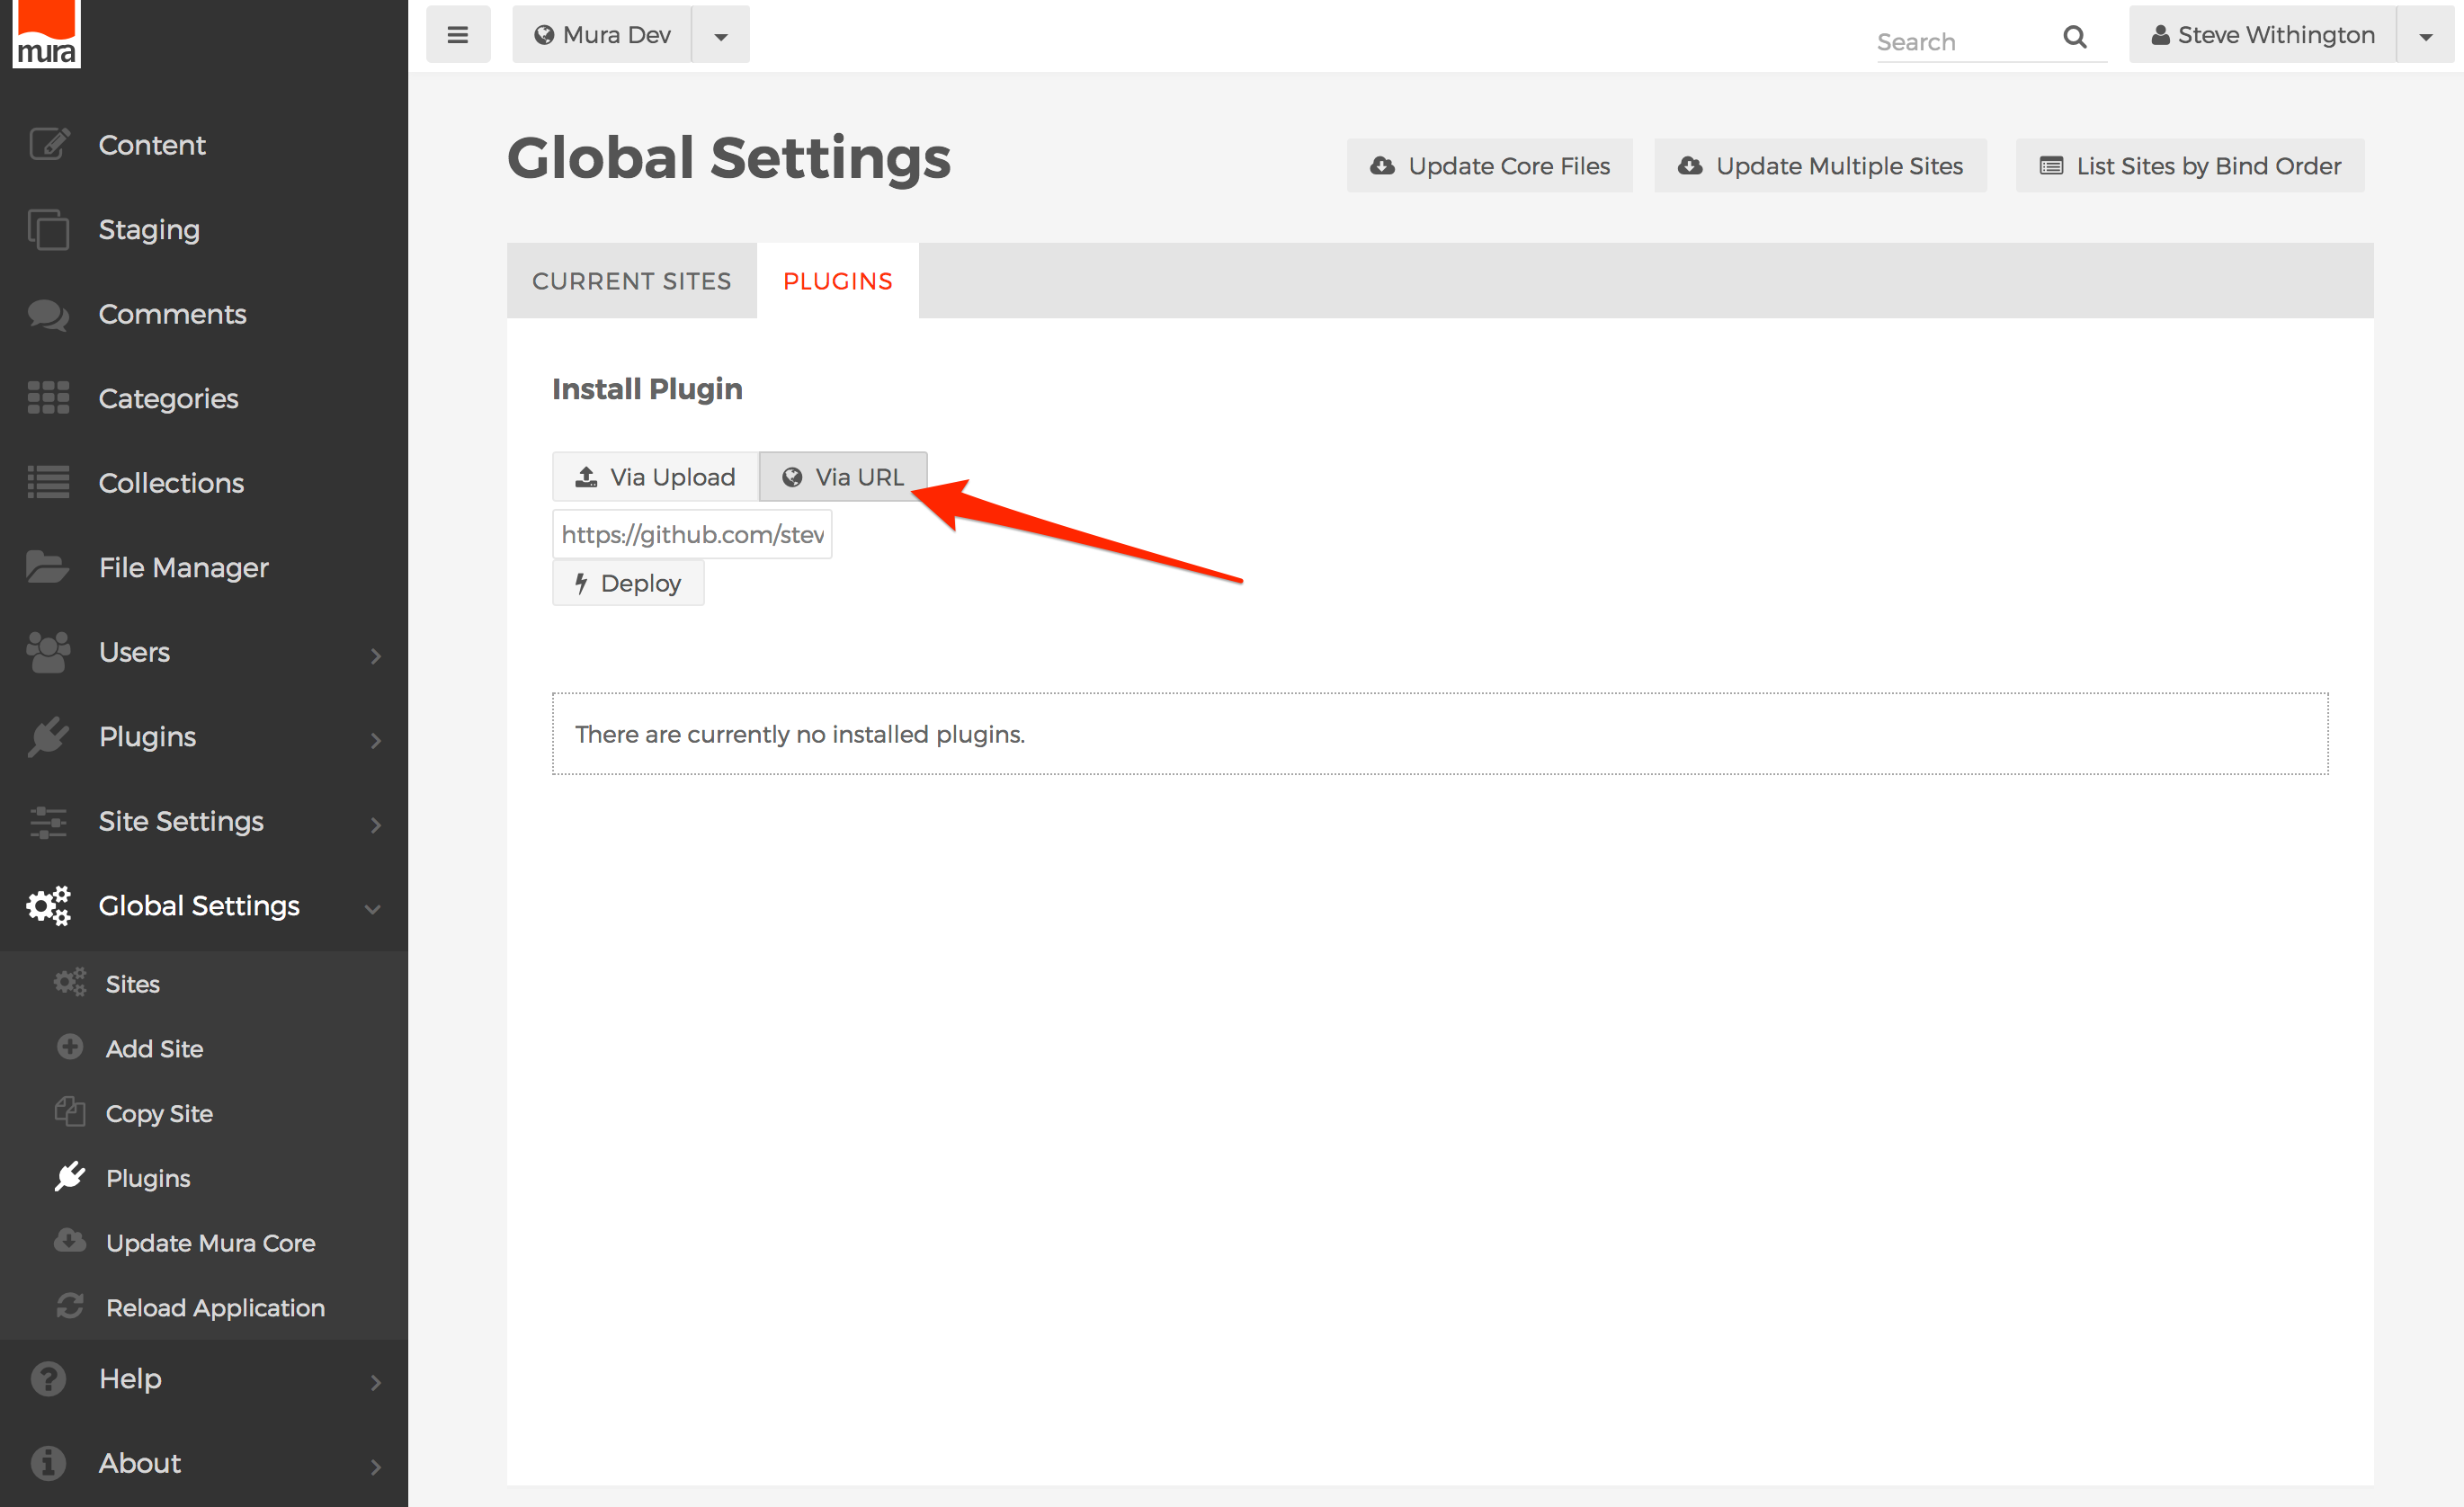
- Then, enter the full link to the plugin. For example, https://github.com/stevewithington/MuraPlugin/archive/develop.zip
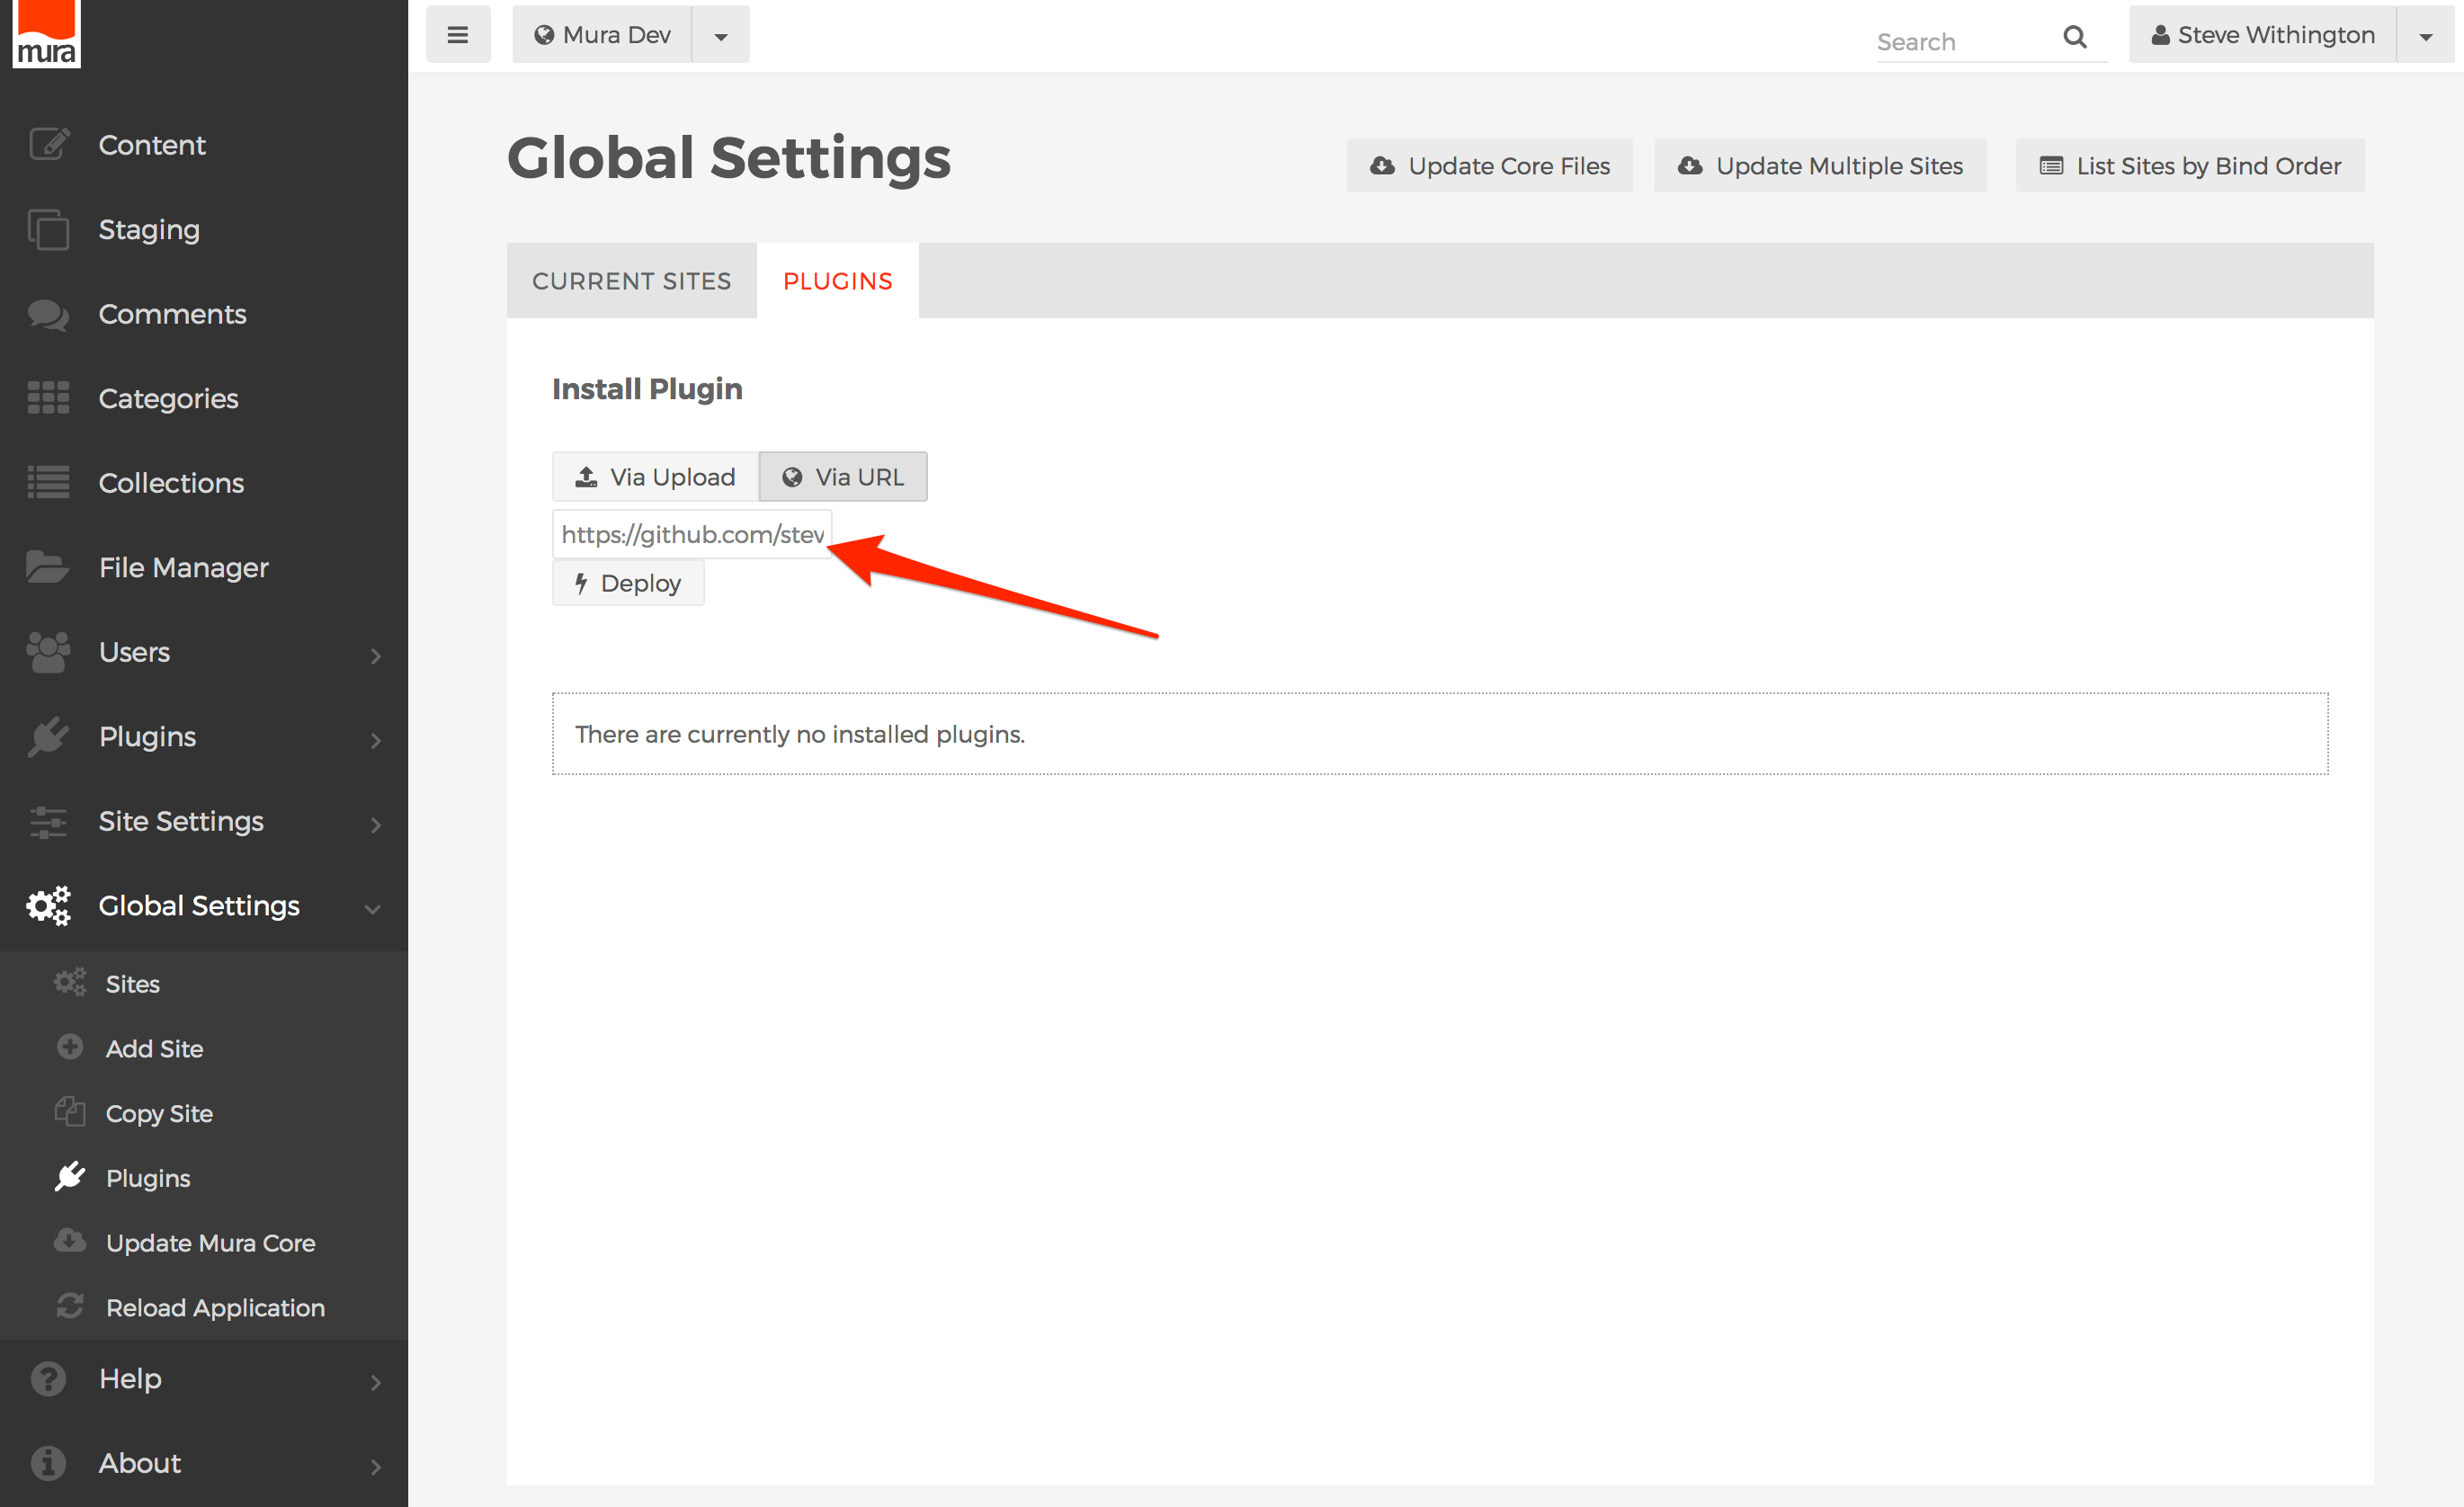
- When ready to deploy the plugin, select the "Deploy" button, then continue to the next step.
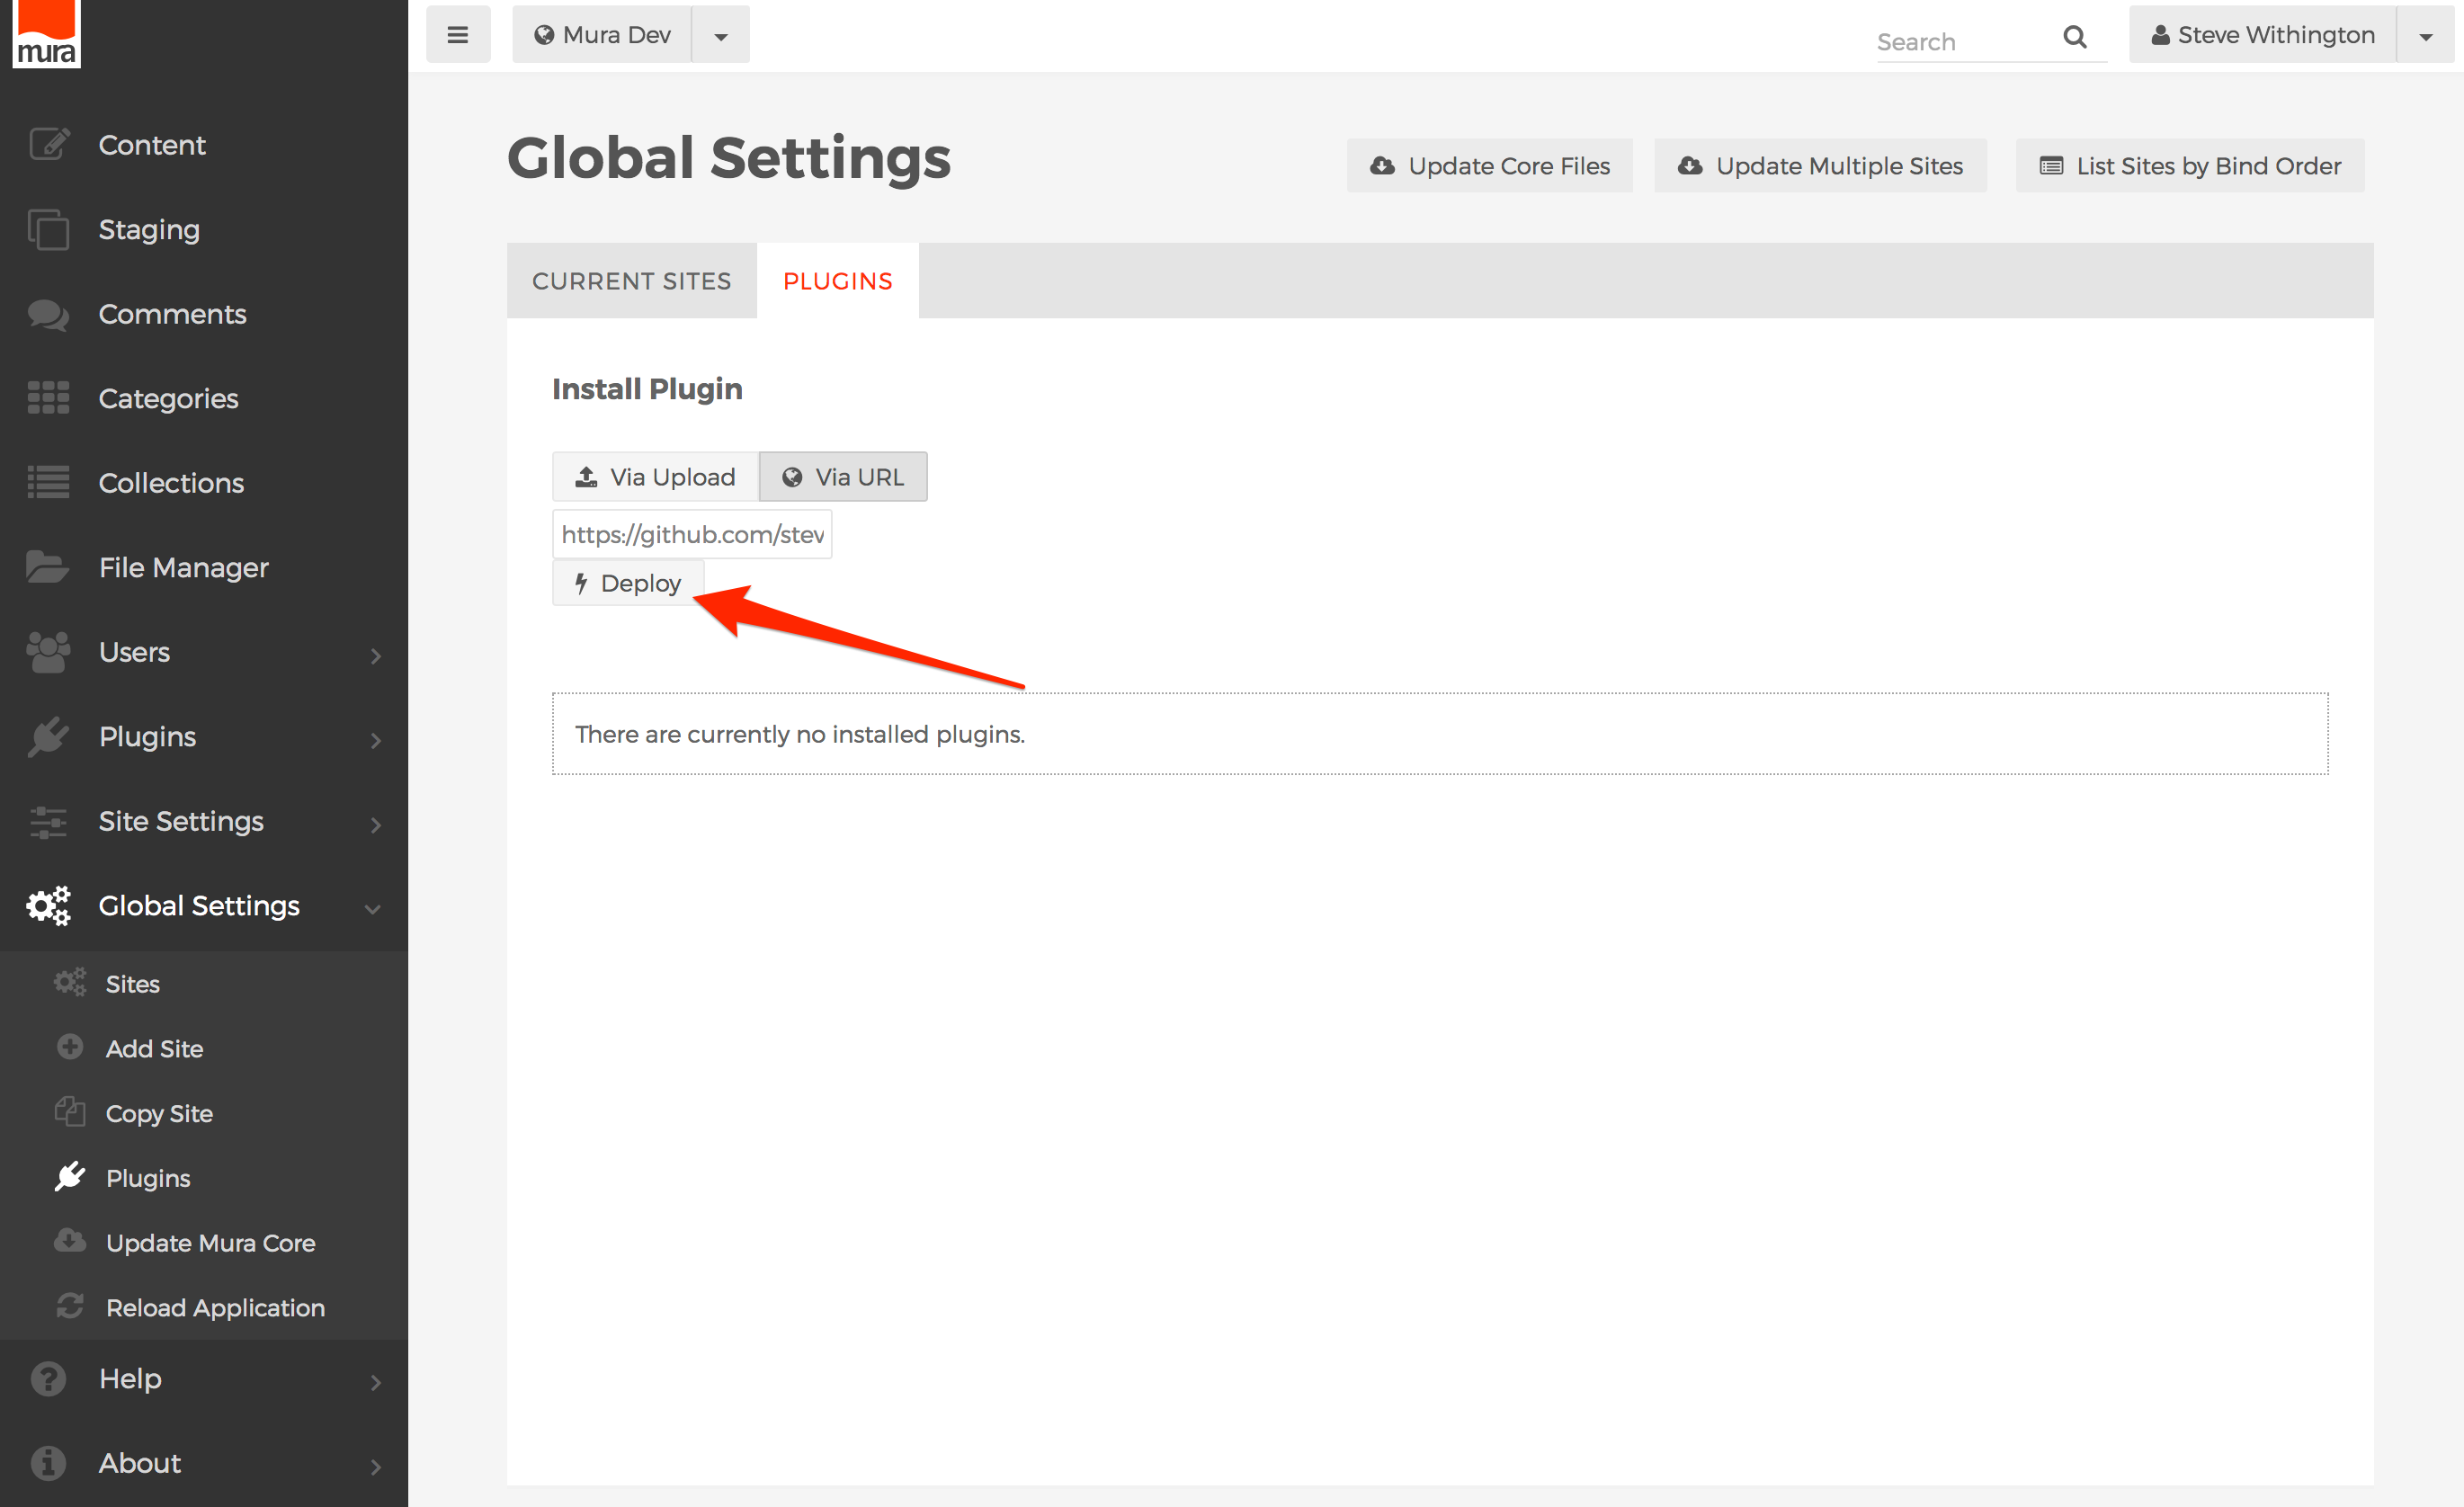
- Select this option if you have a URL to the
- Via Upload
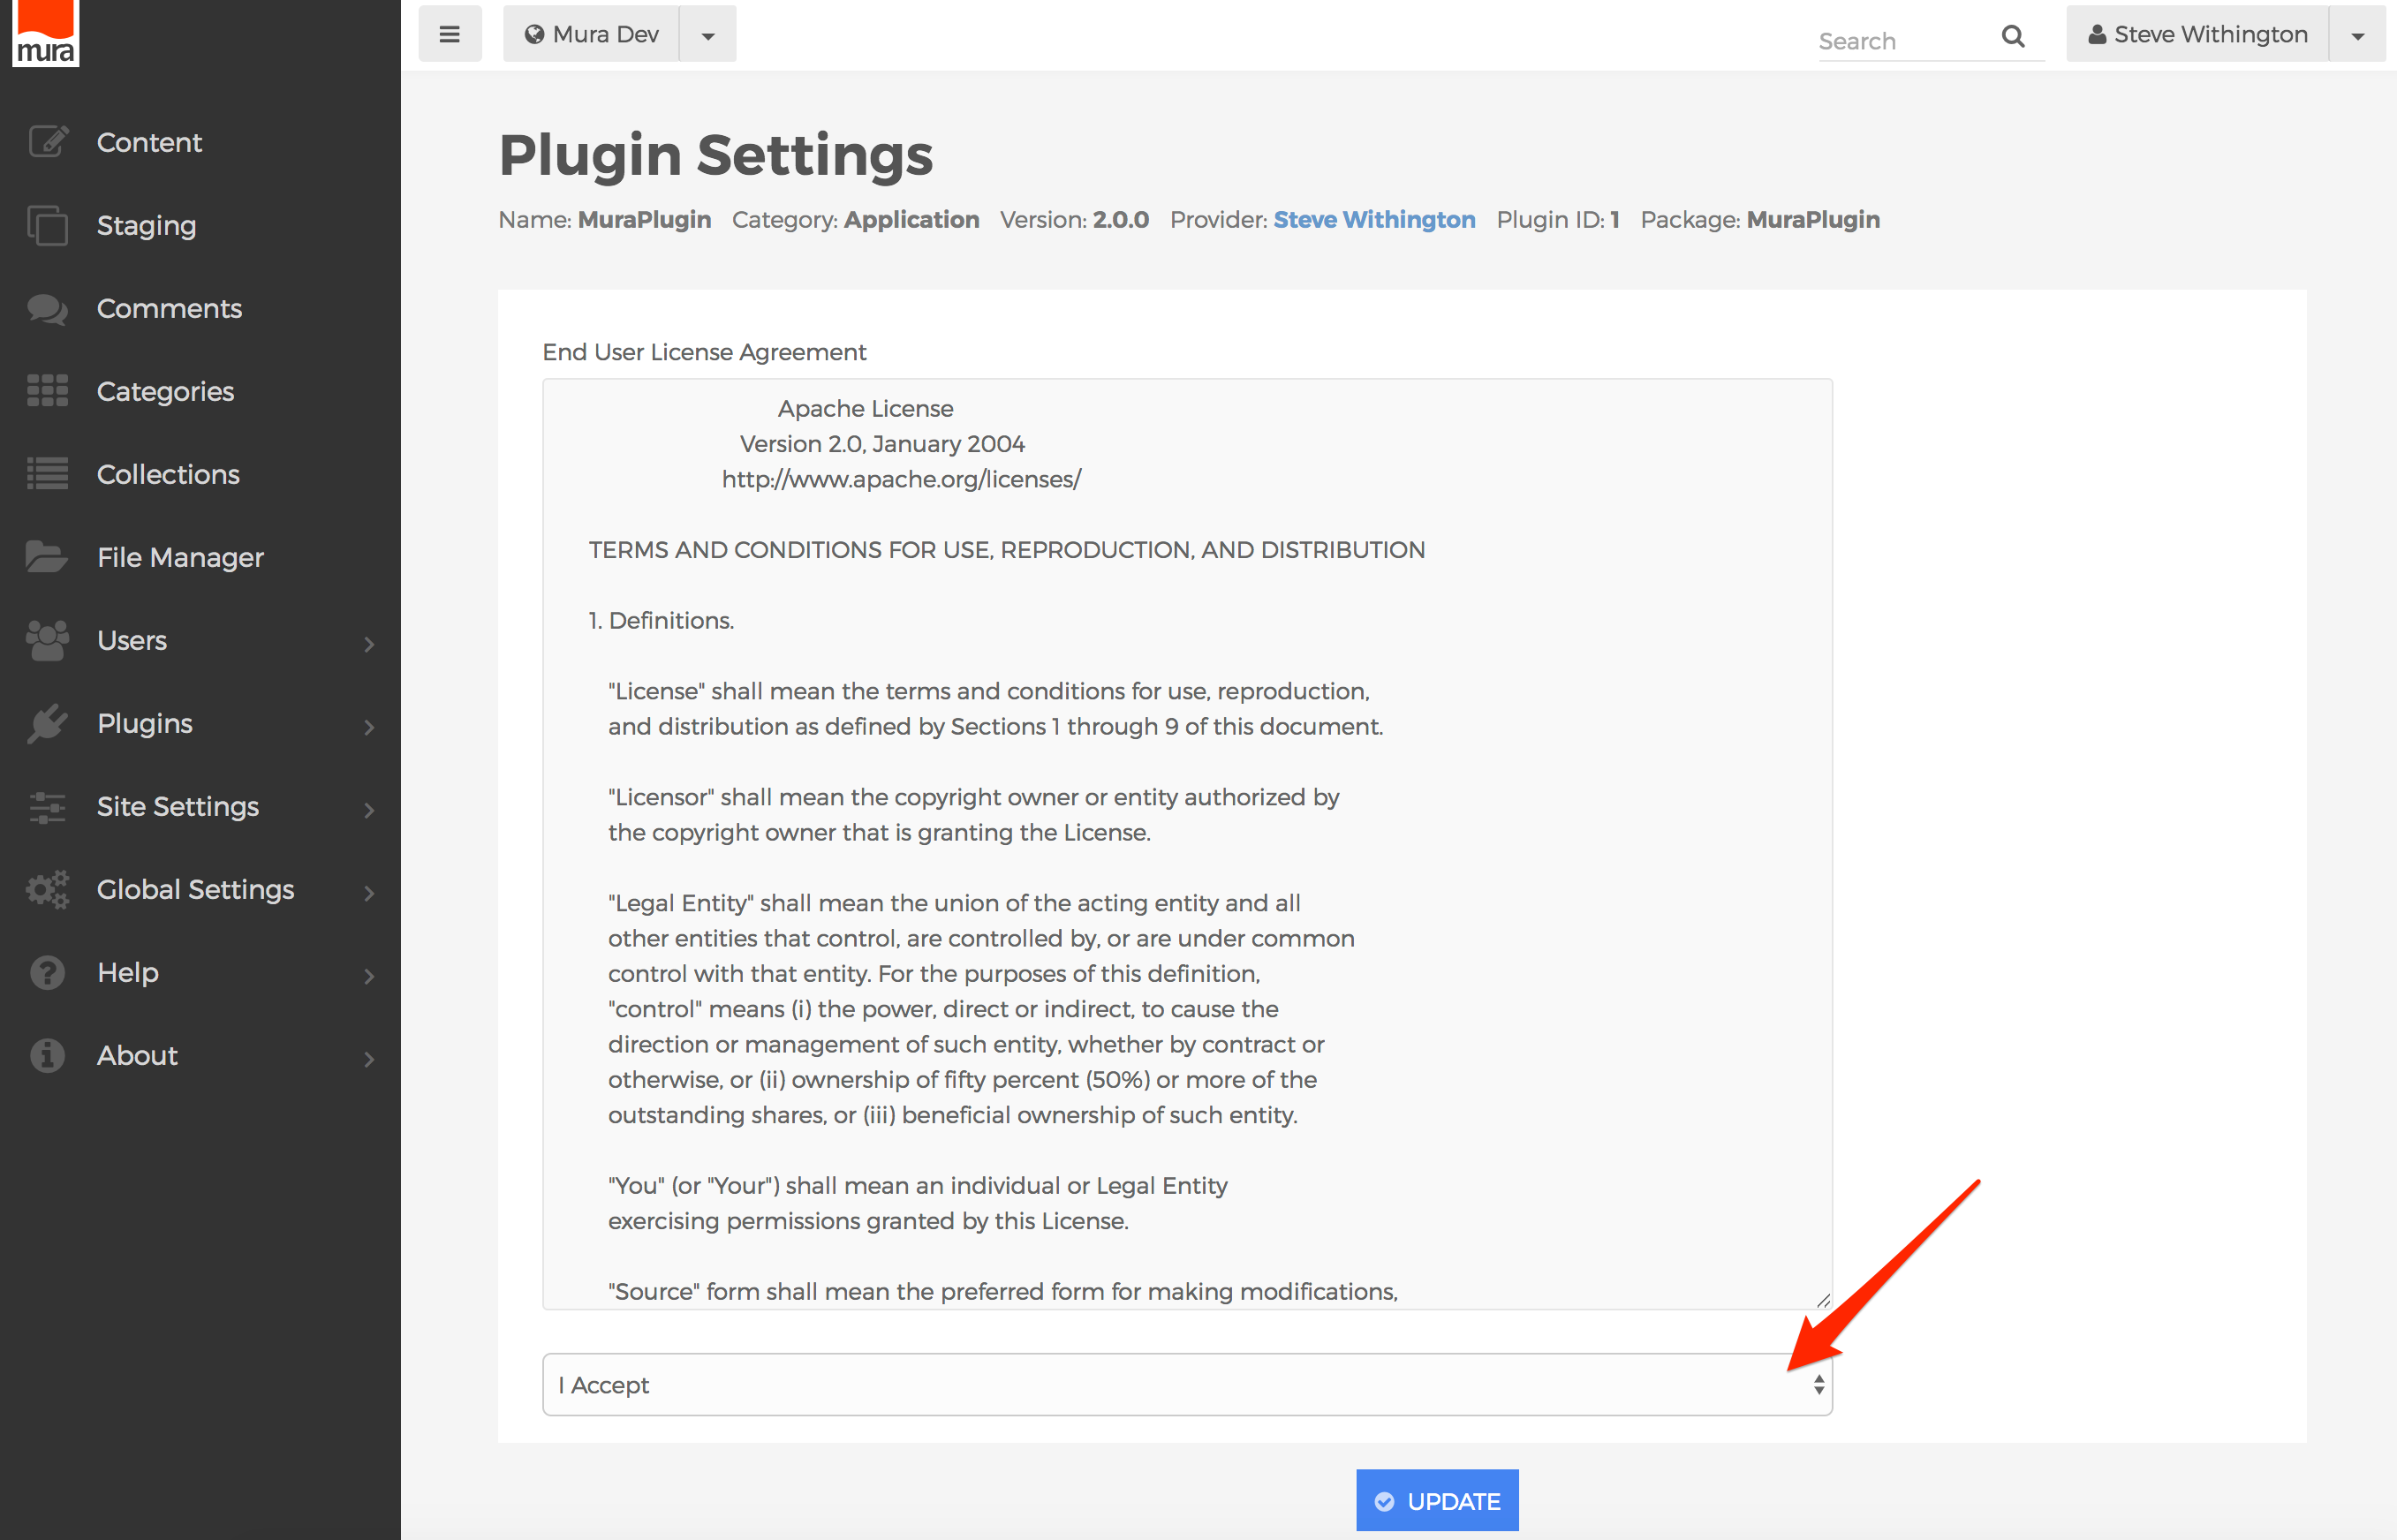
- After you select "Deploy", if your plugin includes an End User License Agreement (EULA), the license will be displayed. In order to use the plugin, you will need to select "I Accept" in order to see the rest of the plugin installation and configuration settings.
- You may need to scroll down to see the rest of the installation/configuration form. The main form fields are outlined below. However, plugins may include a number of additional configuration settings, and vary by plugin.
- Plugin Name (Alias)
- The default value entered by the developer will be used here. However, administrators also have the ability to rename the plugin to something more meaningful, if desired.
- Load Priority
- This setting is used only during Mura's "
onApplicationLoad" event. This is useful for plugin dependency issues that may arise. For example, Plugin2 might be dependent upon Plugin1 functionality, and so Plugin1 should have a higher Load Priority than Plugin2.
- This setting is used only during Mura's "
- Site Assignment
- Select which site(s) you wish to enable the plugin for.
- Event Handlers
- In most cases, only one Event Handler is listed, "
onApplicationLoad". However, all of the plugin's registered event handler methods will be listed here.
- In most cases, only one Event Handler is listed, "
- Plugin Name (Alias)
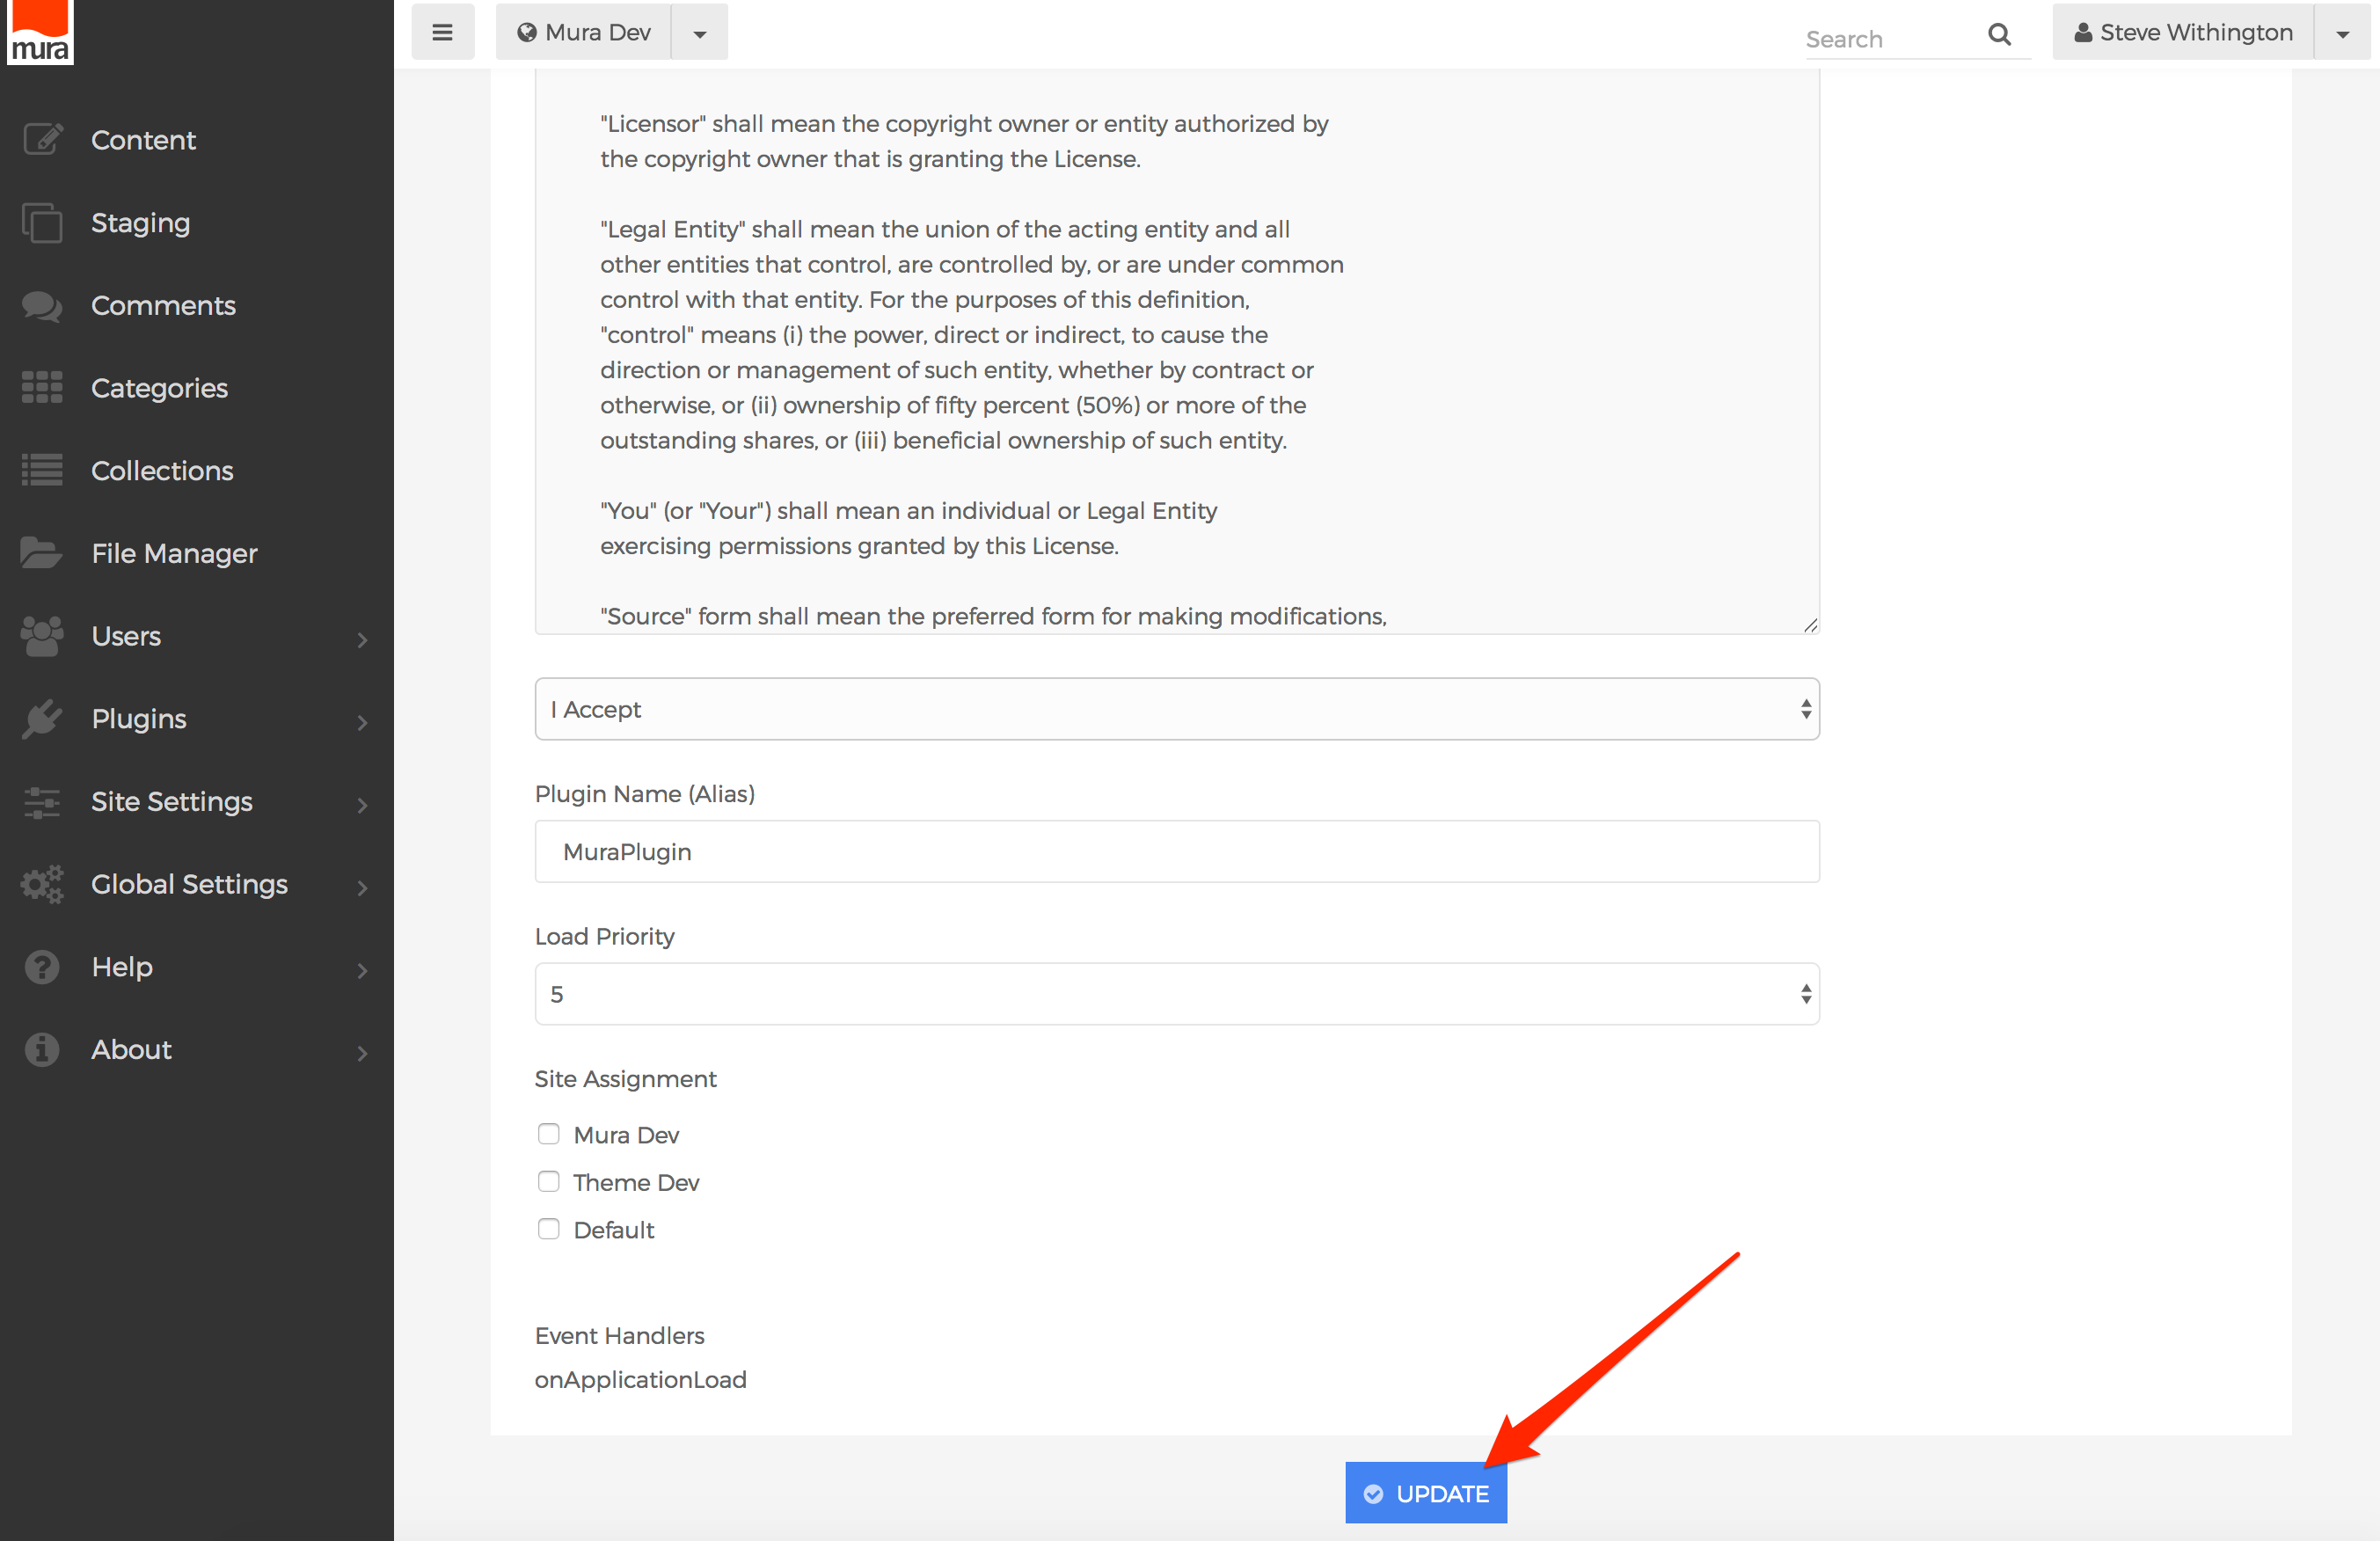
- When finished completing the plugin's configuration settings information, simply click "Update" to save the changes.
- The plugin should now be listed under "Current Plugins".