Installing a Mura Bundle
When transferring a Mura site, you may be starting with a Mura Bundle. Mura Bundles are a way of packaging your entire Mura site, including all of your site and theme files, as well as your site architecture and content.
If you have a .zip file of your Mura Bundle, use the following steps:
- In your Mura admin, select the site you would like to deploy your bundle to. If are deploying on a new site, go to Settings > Add Site
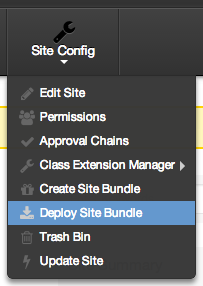
- Once you have your site selected, go to Site Config > Deploy Site Bundle
- Determine if you are restoring from a backup bundle:
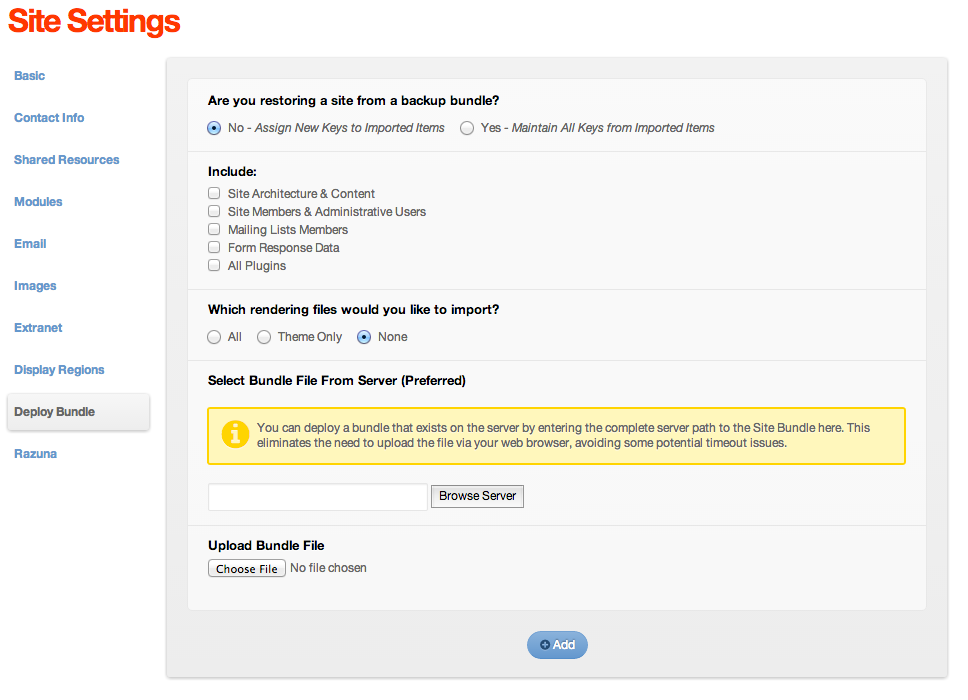
No: will assign new keys to all of your content. You will typically want to use this if you are deploying to another Mura instance with already existing content.
Yes: Will keep all content keys. You can use this if this is the only site on the new Mura instance, or you are replacing a previous version of this site on the same instance. - Select the content you would like to include:
- Site Architecture & Content: All of your pages in Site Manager, Components, Feeds, Forms, Categories, etc
- Site Members & Administrative Users: All of your users
- Mailing List Members: If you are using Mura's internal email broadcaster
- Form Response Data: All of the submissions from any Mura forms you have.
- All Plugins: Any plugins that have been bundled with your site
Note: Not all plugins are built to work with Mura Bundles and may not deploy properly
- Select which rendering files you would like to import:
- All: Will include both your site directory as well as your theme
- Theme Only: Will not include any of your site assets in your site directory
- None: If you only want to import the site content
- Select the bundle from your server
To prevent browser timeout issues, we recommend you FTP your bundle zip file to the server before deploying. If the bundle is only a few megabytes in size, it should be fine to upload via the browser. - Click Update