Container
A "Container" allows you to add a division (<div>) or section to a page or portion of your site to group additional display objects. Hence, you can then include additional display objects within the container itself.
Follow the steps below to apply a Container to a page or section of your site.
- From the front-end public view of your site, hover over the pencil icon on the front-end toolbar and select Inline Edit.

- The inline edit panel should appear on the right-hand portion of your browser.
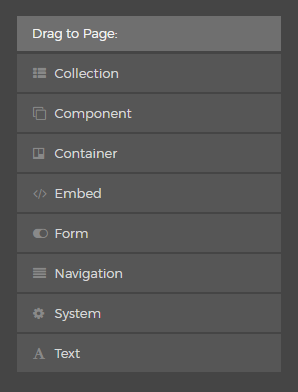
- Select the Container display object, and then drag it to your desired area, such as the right-hand column. As you drag the display object, drop zone target areas will highlight with either a red dotted box or red dotted line.
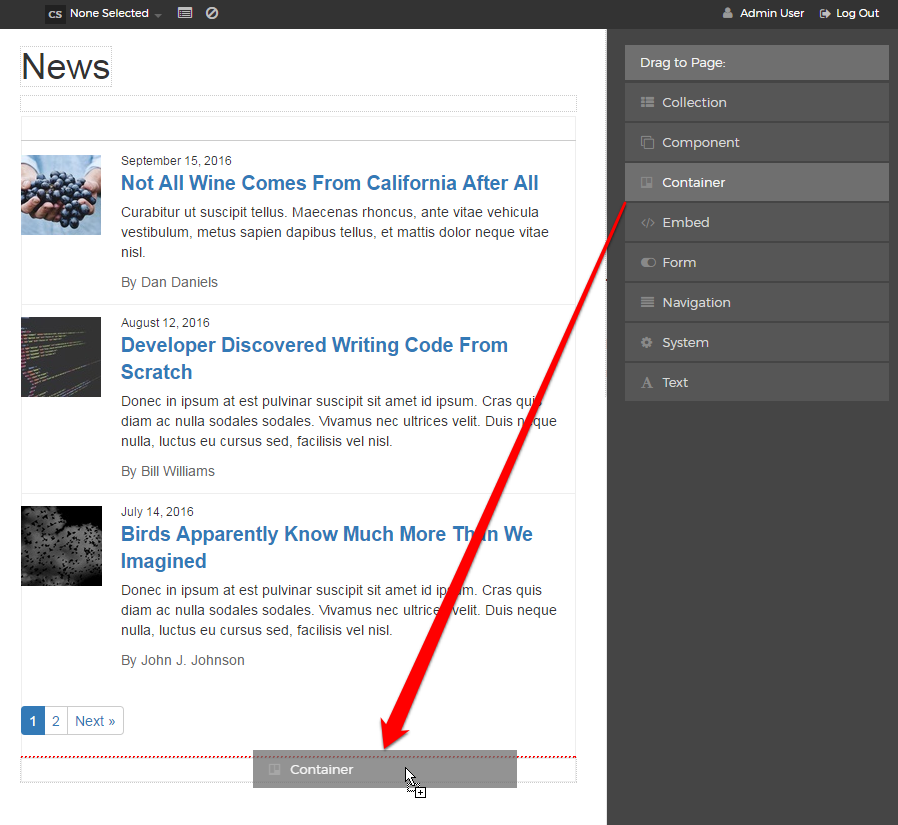
- When you release the mouse button, the display object should appear on your screen, and the inline edit panel should display a form with configuration options.
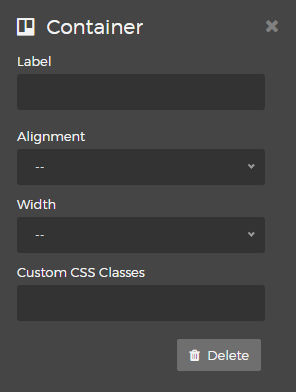
- Label
Optionally enter a label to appear above the Container. - Alignment
You may select an "Alignment" from one of the options listed below:- Left
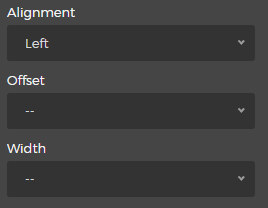
- Selecting the "Left" option will reveal the "Offset" and "Width" menus. Simply select your desired Offset and Width.
- Right
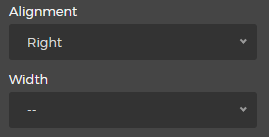
- Selecting the "Right" option will reveal the "Width" menu. Simply select your desired Width.
- Left
- Custom CSS Classes
Enter the name of the custom CSS class.
- Select the Delete button if you wish to remove the Container from the layout.
- Label
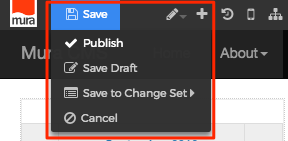
- When you're done making edits, select your desired publishing option to save your changes.
