Creating a Contact Form
There are two methods in Mura CMS you can use to create a form to collect information and store the data in a database. You can create forms using either the normal content editor, or an easy-to-use, drag-and-drop Form Builder. In this exercise, we will use the Form Builder to create a basic contact form for the Contact Us page.
Building the Form
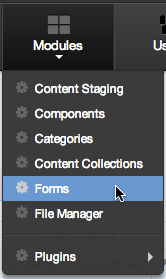
- Select Modules > Forms from the primary admin navigation.
- This brings you to the Forms Manager screen.
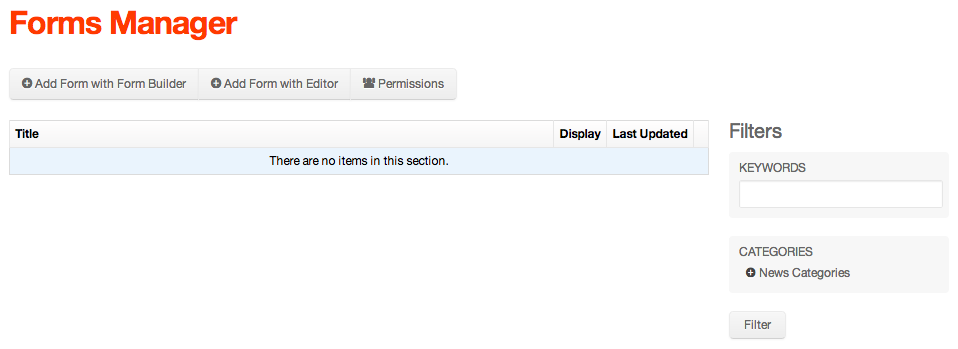
- Click Add Form with Form Builder.
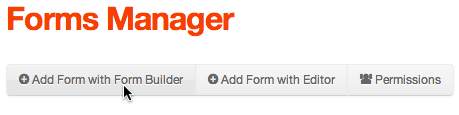
- This will take you to the Edit Form screen.
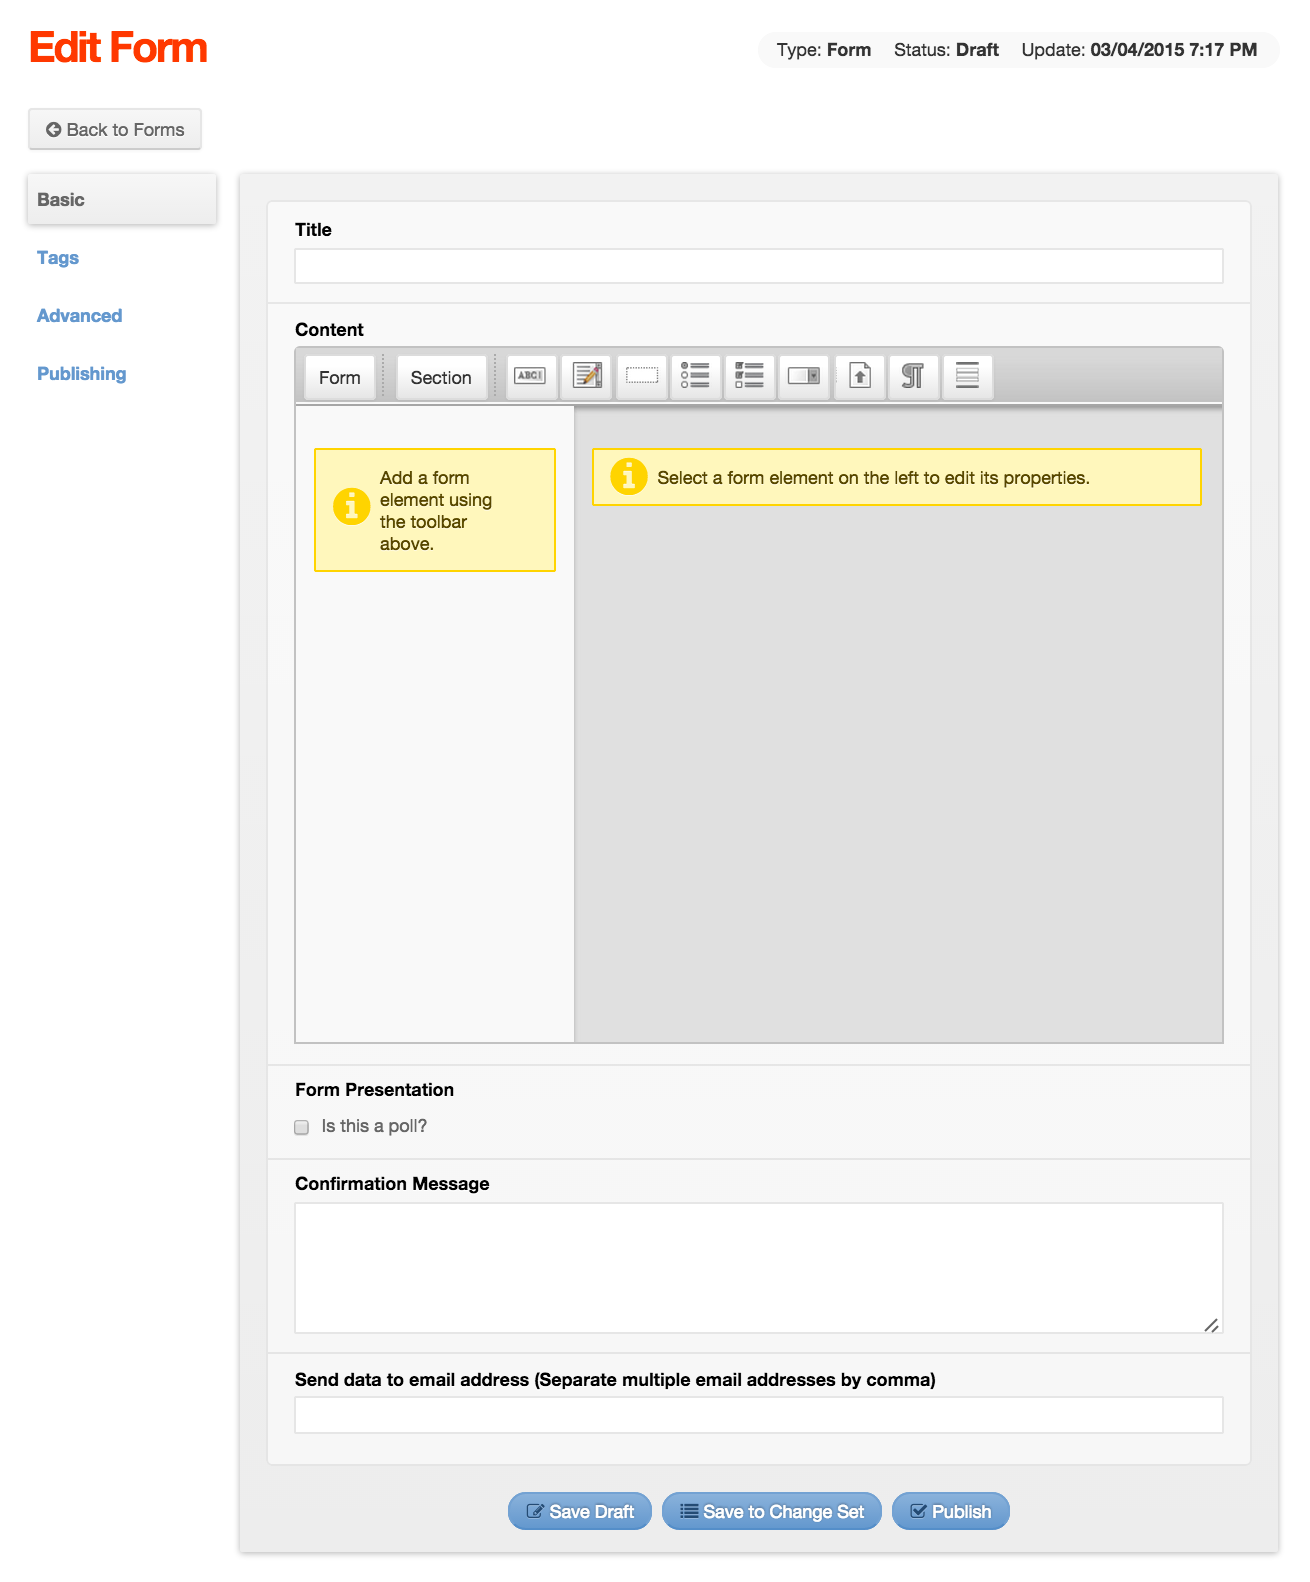
- Enter a Title for the form (e.g., Information Request Form)
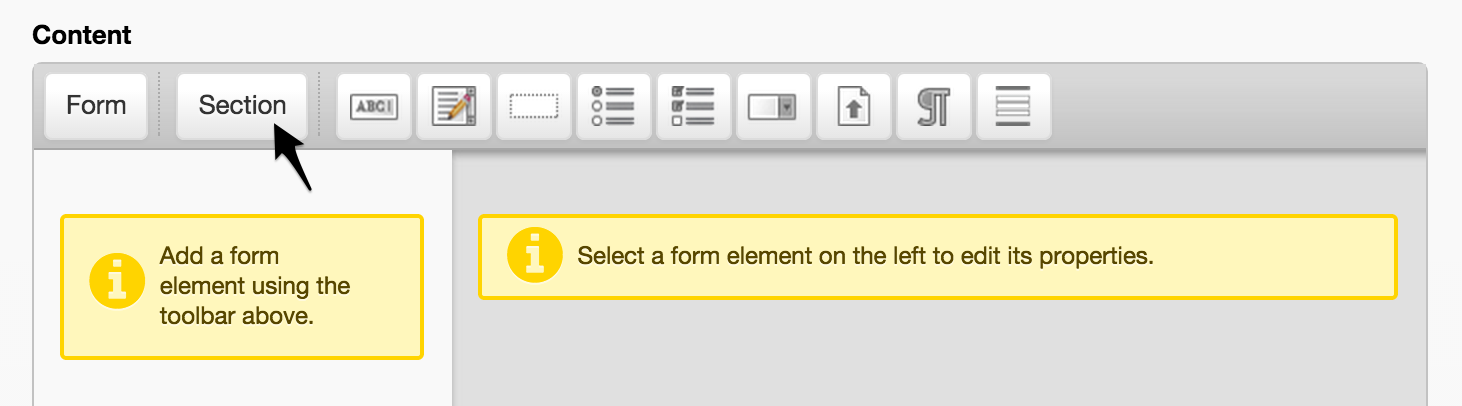
- Click the Section button on the Content toolbar to add a new section to the form.
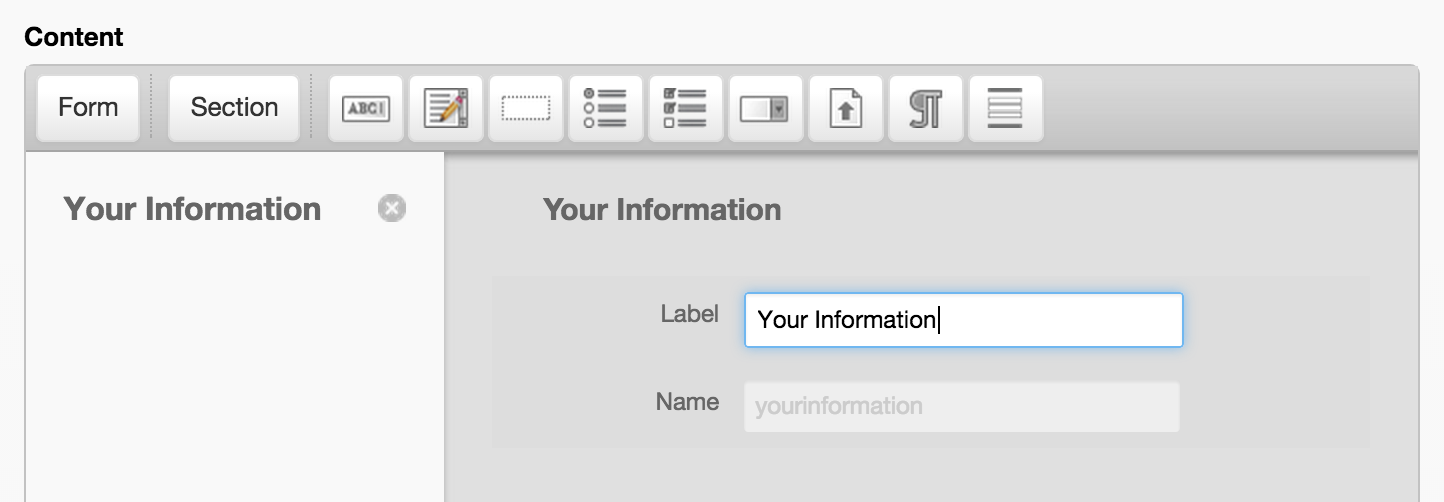
- Click on New Section in the left column of the Content area and enter Your Information in the Label field.
- Click the Text Field button on the Content toolbar to add a new Text Field to the form.

- Click on the New Text Field to reveal and edit the form field details.
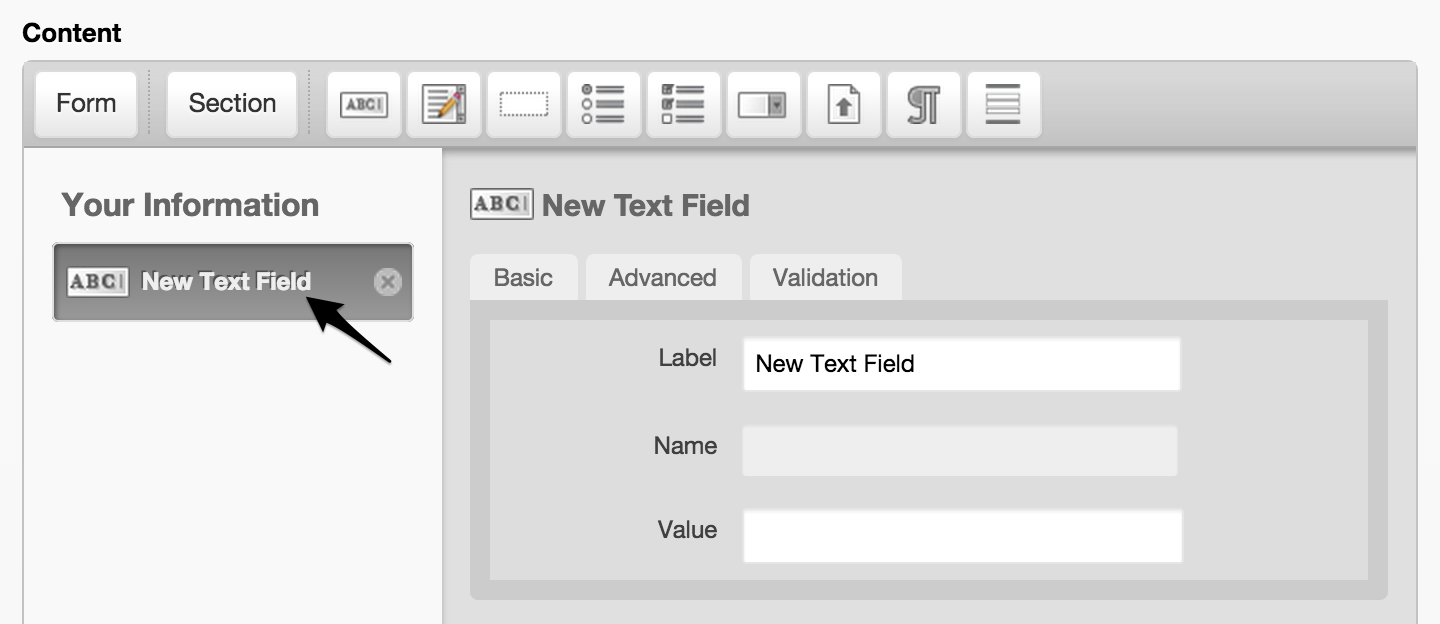
- Enter your desired text in the Label field (e.g., First Name)
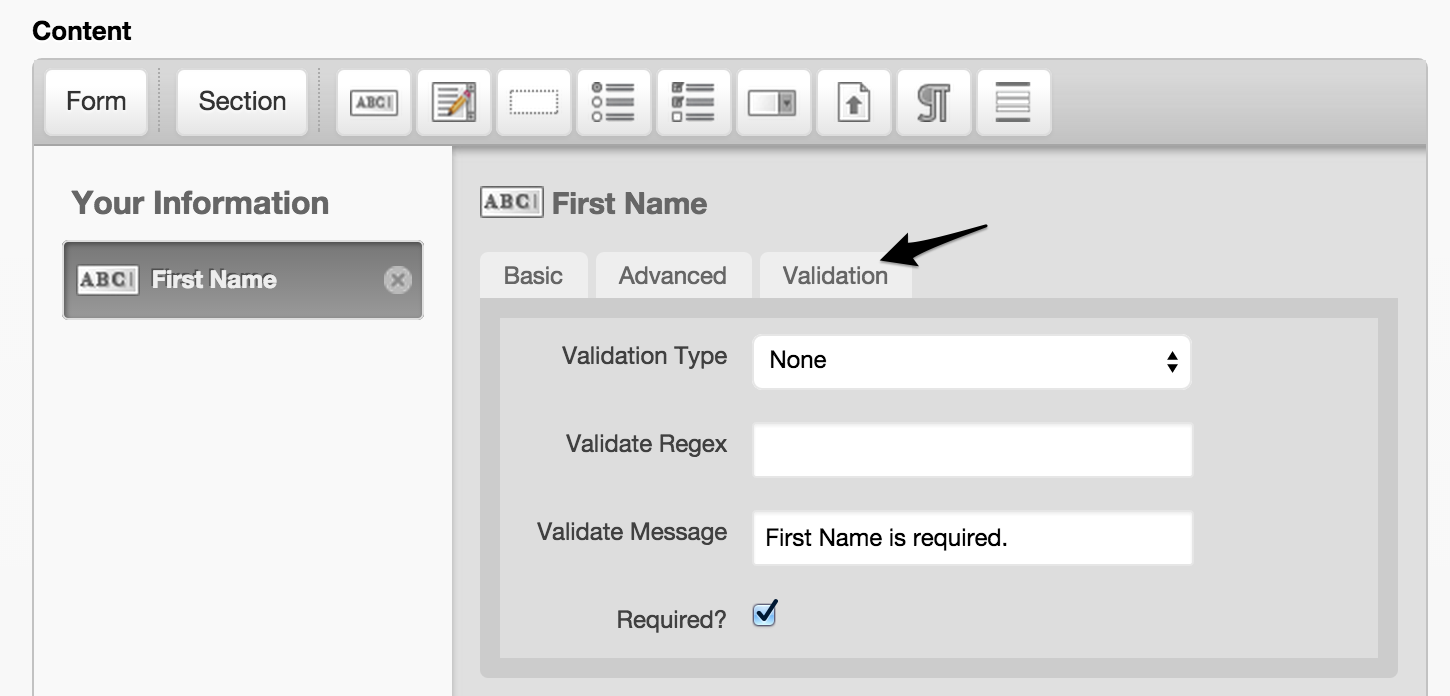
- Click the Validation tab, and if you wish to make the field required, simply click the checkbox next to Required? You can also enter a custom message in the Validate Message field that will appear to the end user if they don't complete it.
- There are several other field types such as TextArea, Hidden, Radio Group, Checkbox, Select menus, and File upload. The paragraph symbol (¶) allows you to enter blocks of text in the form, such as instructions, for end users as they complete the form.
- The last icon on the toolbar allows you to "nest" another form within the form itself. This is useful for creating forms which have common form fields such as First Name, Last Name, Email, Phone, etc.

- When you click on the Nested form, you can enter a Label, and select any form from the available options to be nested within your new form.
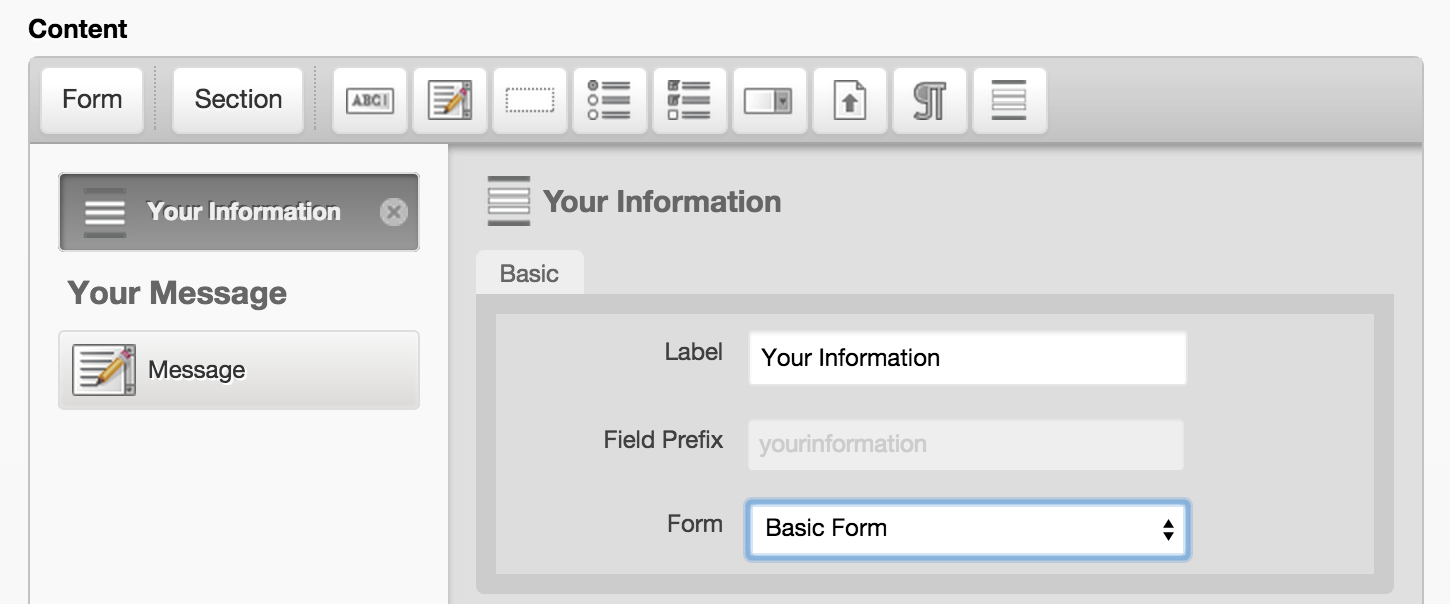
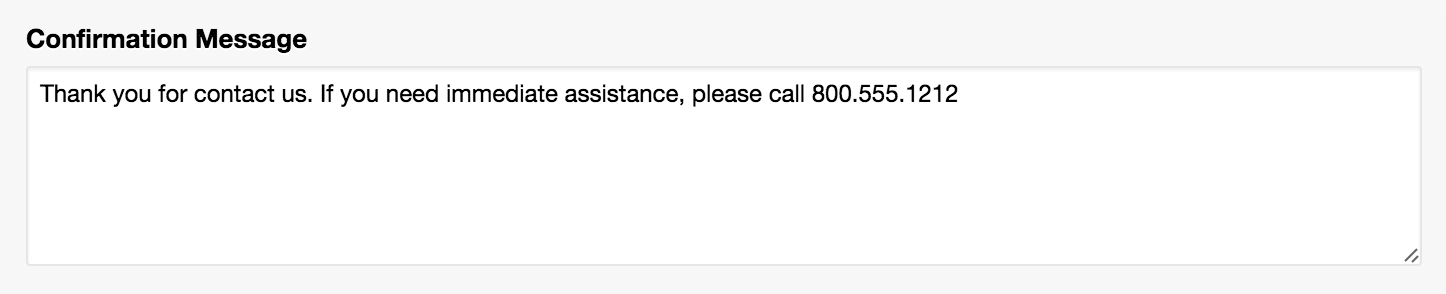
- The Confirmation Message field is where you create a custom message to appear to end users after the form has been successfully submitted.
- The Send data to email address field, allows you to enter a comma-separated list of email addresses to receive form submission data. However, all form data is stored in Mura regardless of whether the data is emailed or not.

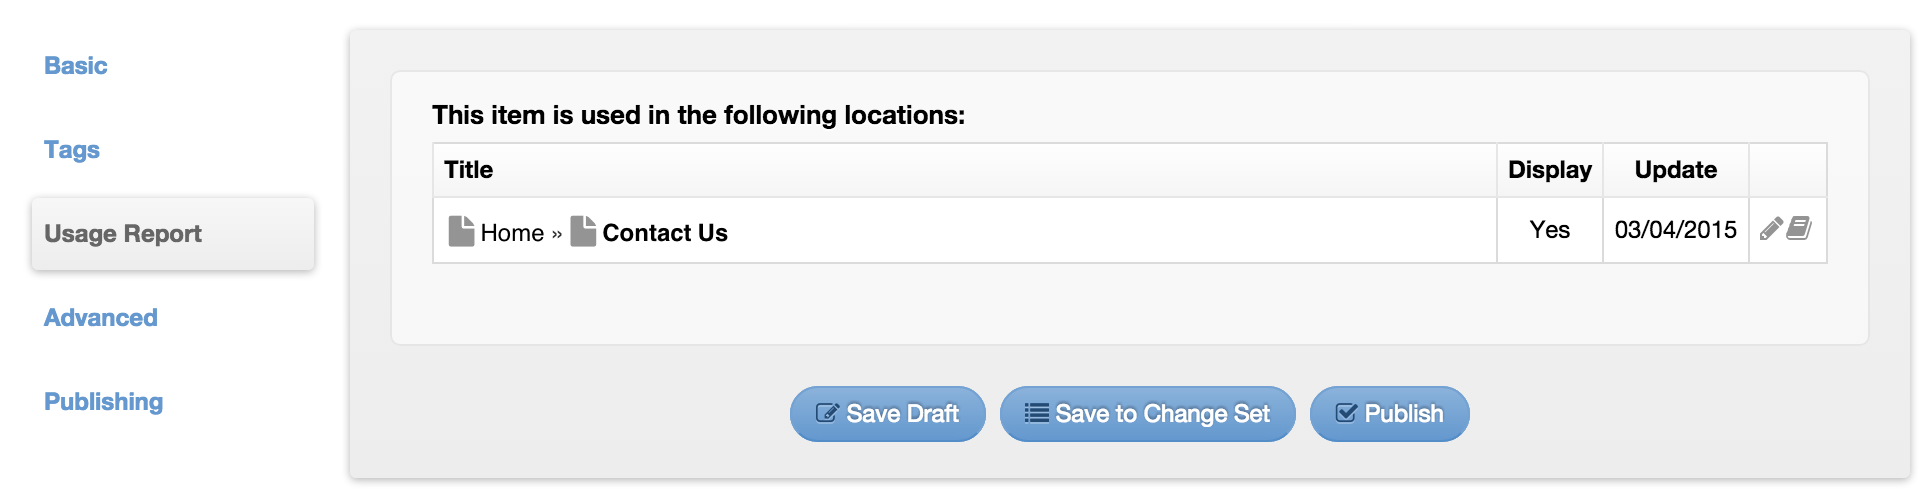
- There are several options available on the other tabs. For example, the Usage Report tab lists where the form is being used on the front end of your site.
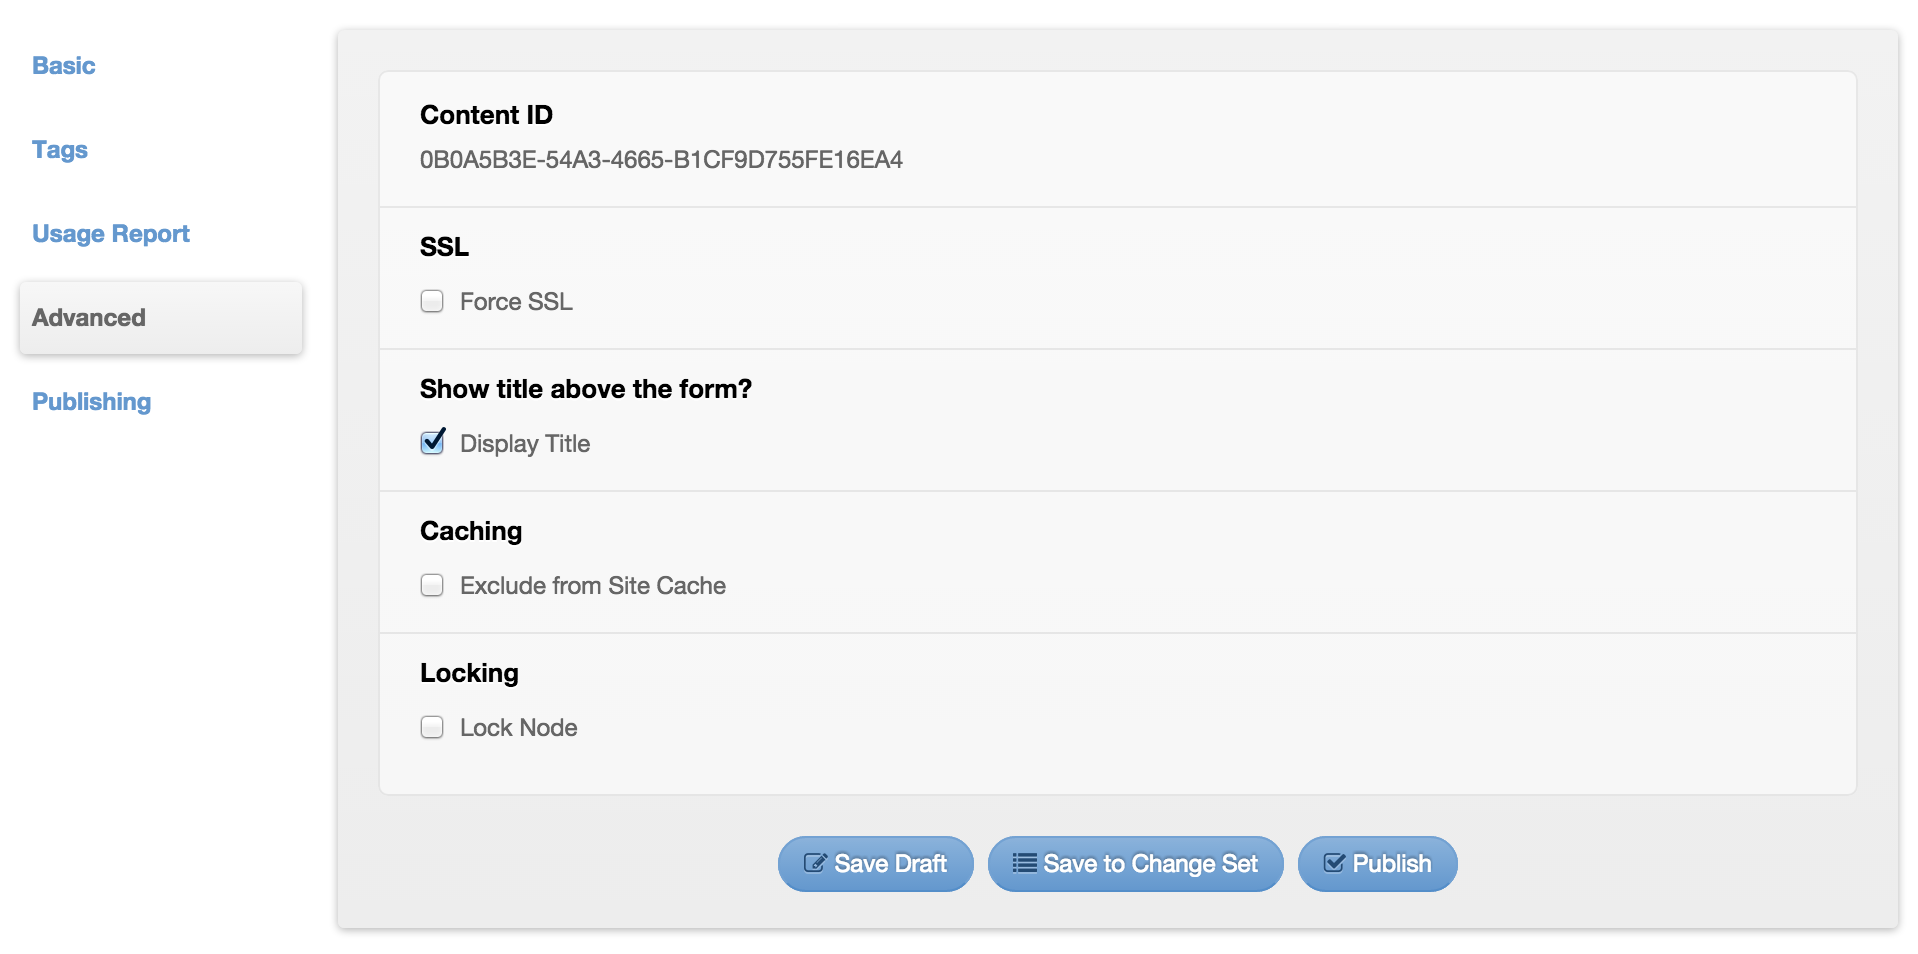
- You can choose whether or not to Display the title above the form on the Advanced tab, along with other options.
- On the Publishing tab, you can choose to various Display options such as Yes, No, or Per Start and Stop Dates.
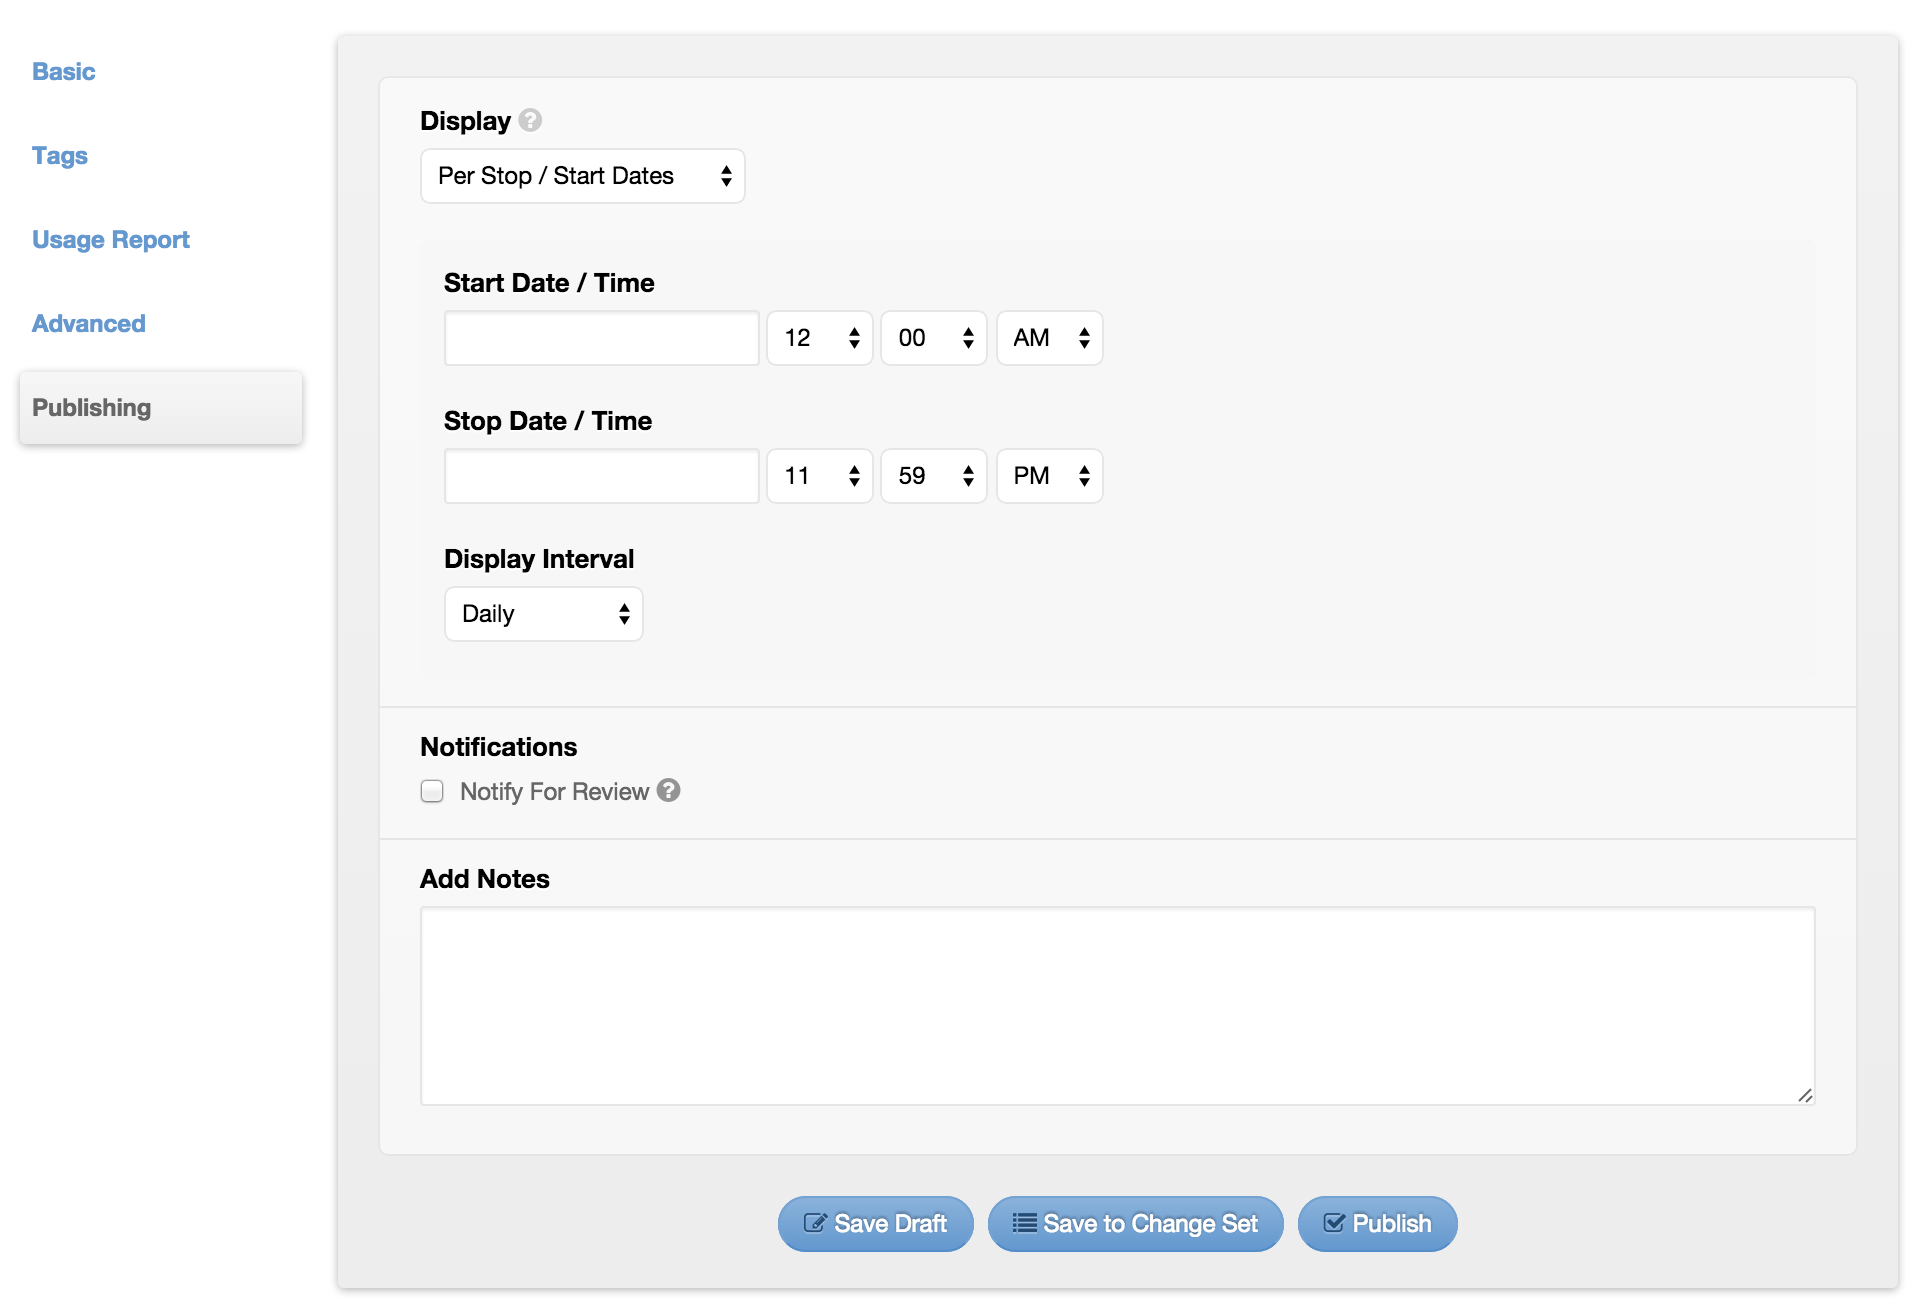
- When finished, click Publish to save the form.