Custom System Groups
Creating custom System Groups allows you to assign content editing permissions to one or more specific group(s) for specific areas of the site. However, it is important to note that when adding custom System Groups, you need to explicitly allow the group access to the site, and let Mura know what permissions the group has and/or does not have on various content nodes.
In short, creating custom System Groups is a multi-step process:
- Create Custom System Group(s).
- Add Users to Custom System Group(s).
- Enable the group access to the site (See CMS Permissions).
- Tell Mura what permissions the group has on various content nodes within the site (See CMS Permissions).
Create Custom System Group(s)
To create custom System Groups, follow these steps:
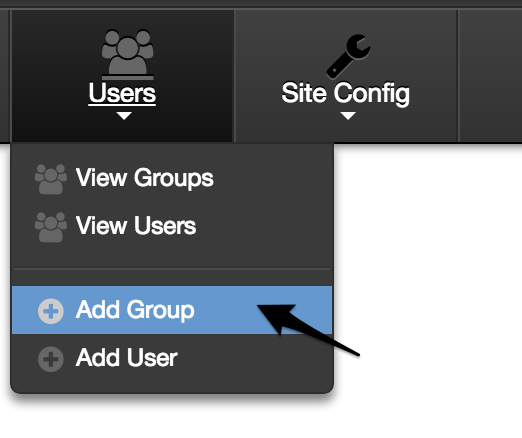
- From the primary admin navigation, select Users > Add Group.
- Complete the information on the Group Maintenance Form:
- First, select System Group from the Group Type options.
- Group Name: Enter your desired group name (e.g., Human Resources).
- Email: If your organization has a group email address that would copy all members of that group, then you could enter that email address here (e.g., human.resources@email.com).
- Content Tab Assignments: Select which content tab(s) users who belong to this group should have access to when editing content. Simply <CTRL>+Click (PC) or <Command>+Click (Mac) to select more than one tab assignment.
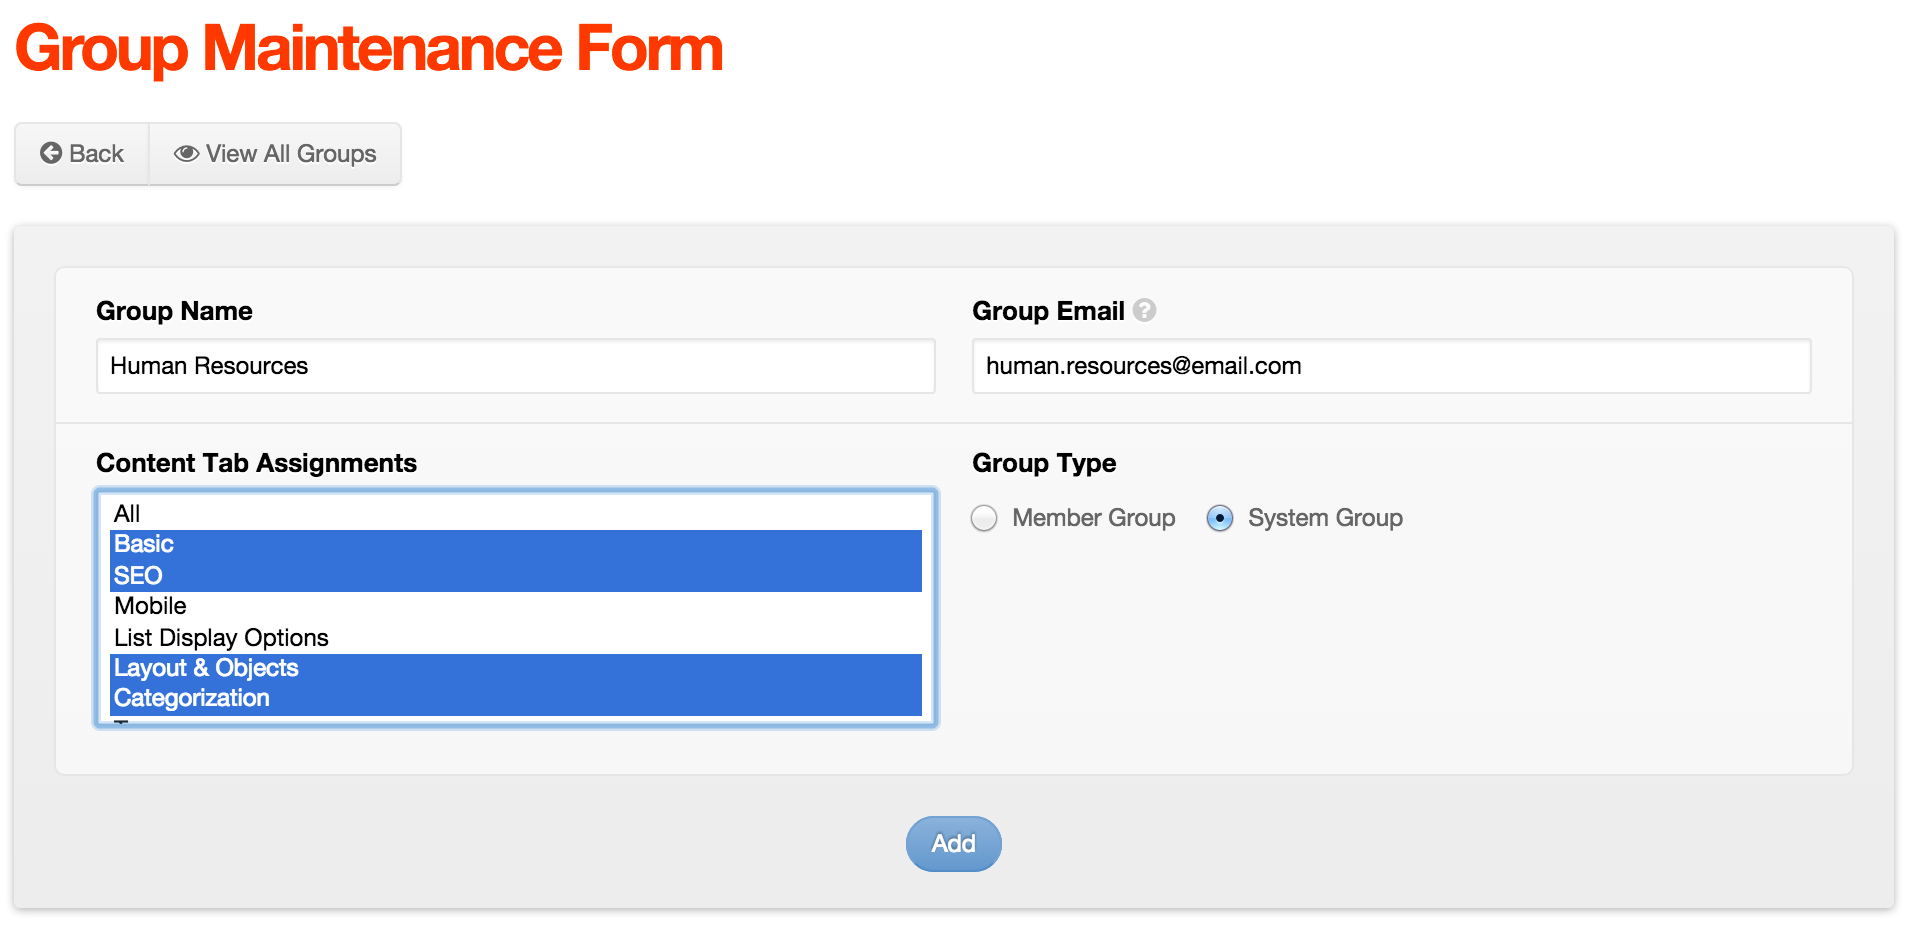
- Click Add.
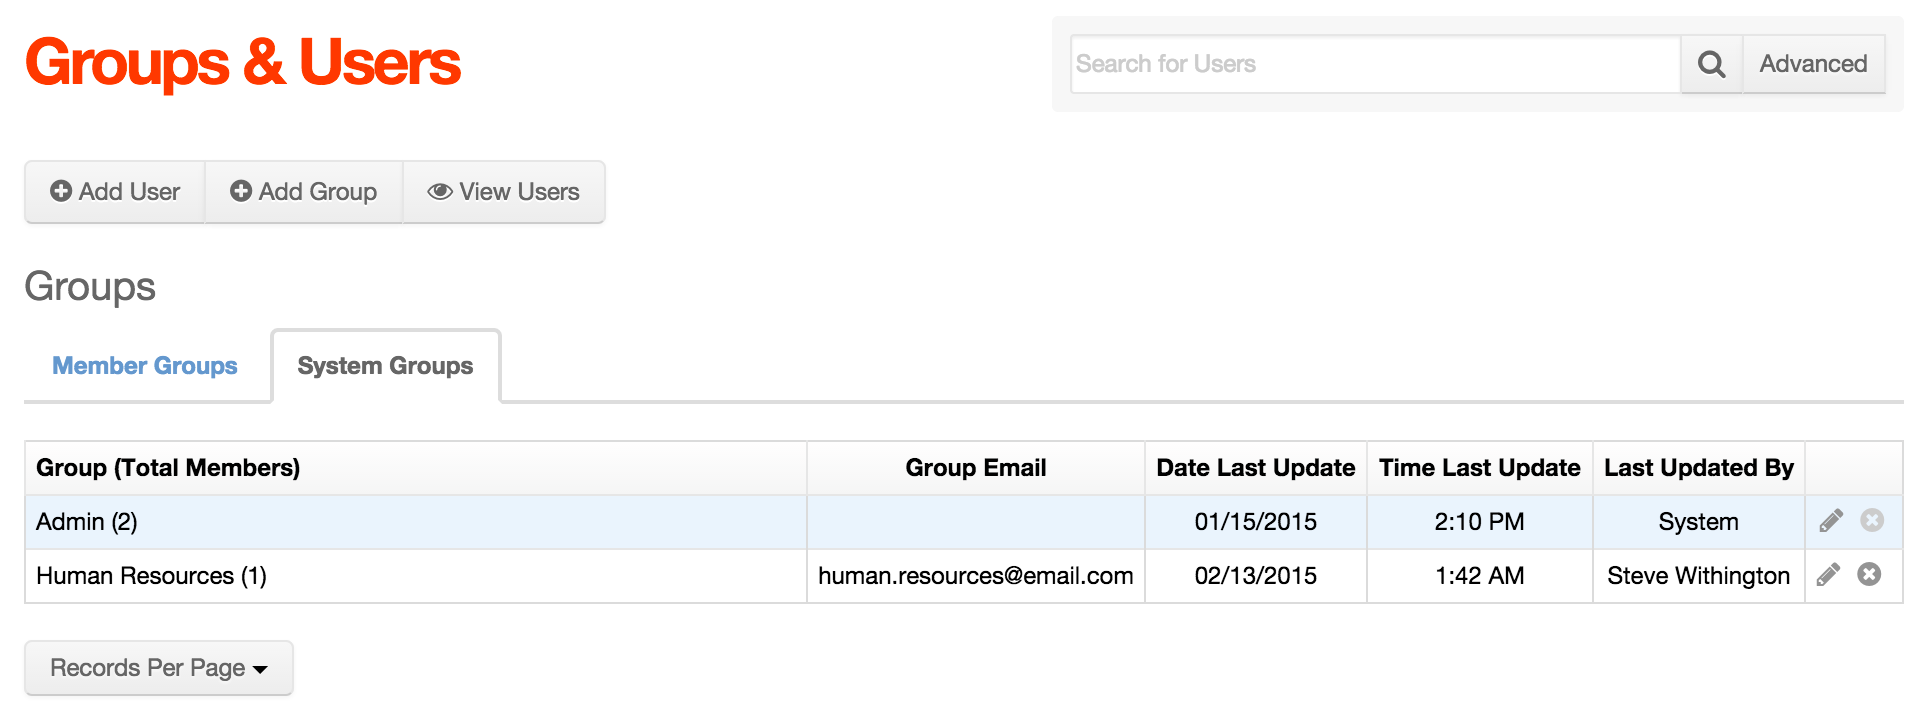
- The group should now appear on the Groups & Users screen.
Add Users to Custom System Group(s)
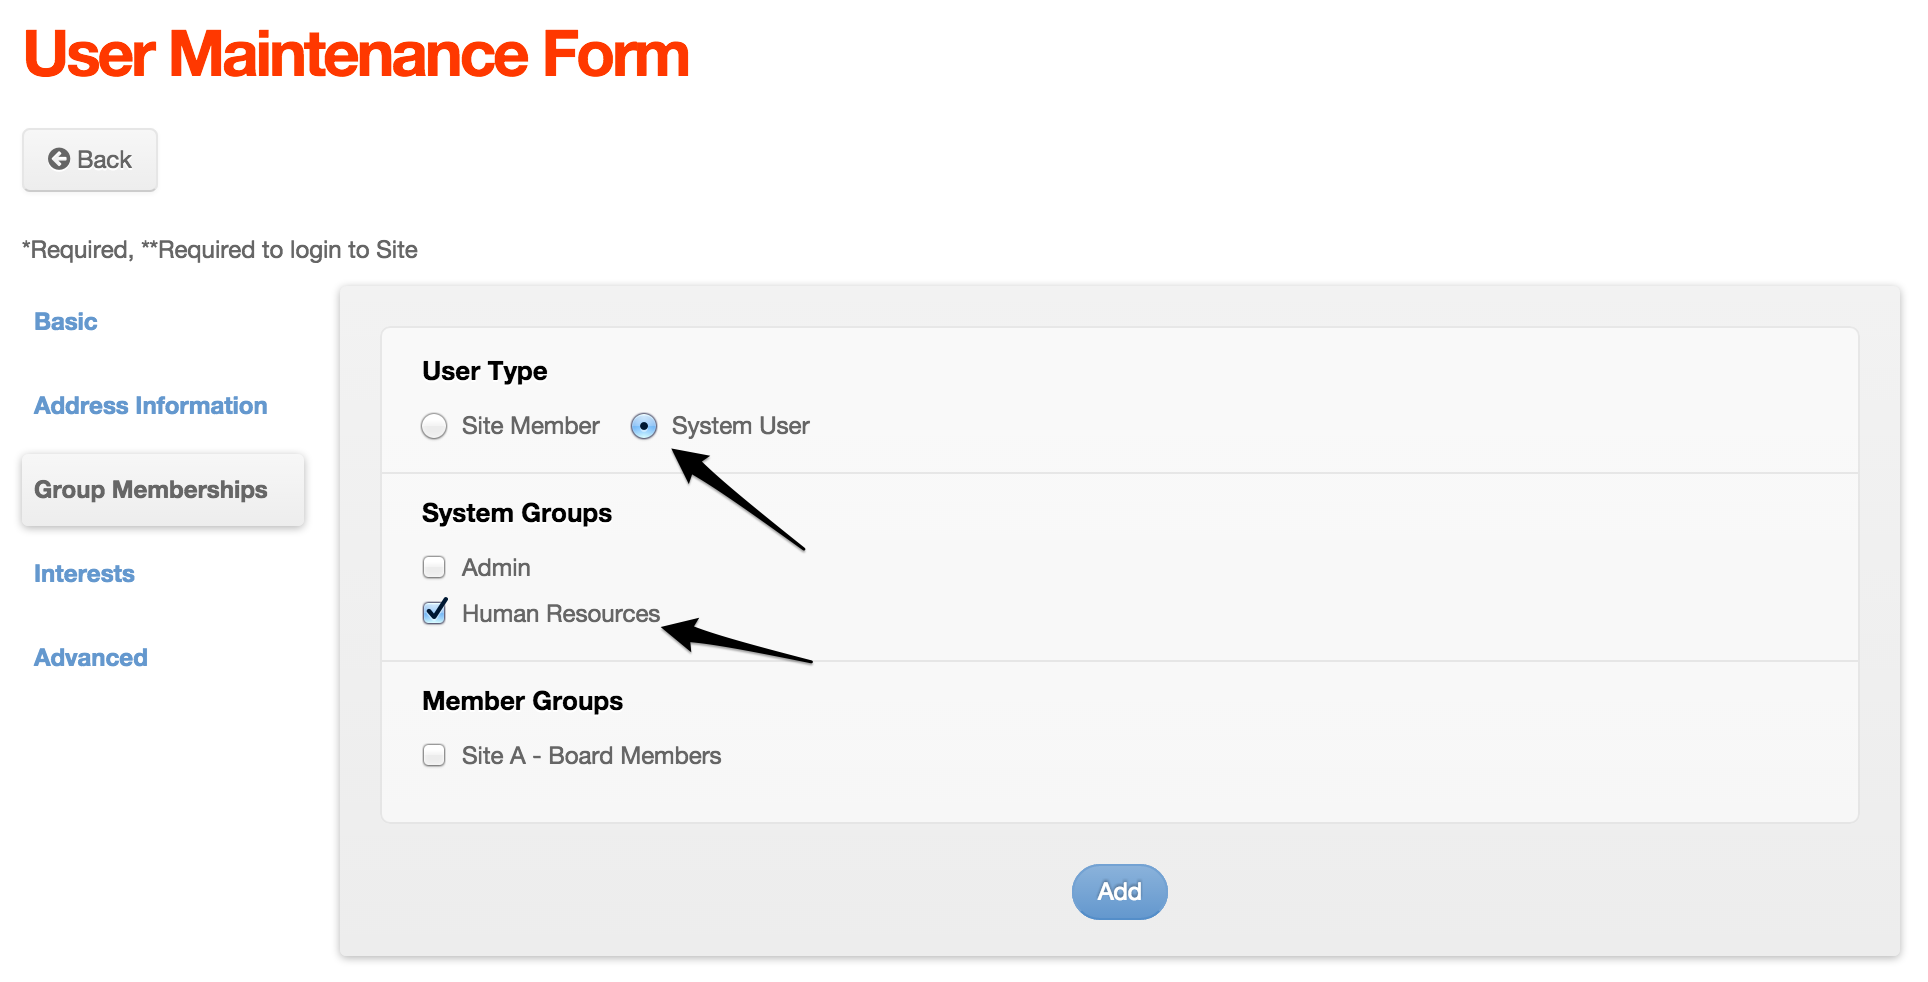
To add users to a custom System Group, simply follow the steps from either the Add New Users to an Admin System Group or Add Existing Users to an Admin System Group section. Then, on the Group Memberships tab, select the desired User Type and custom group(s) you desire the user(s) to be assigned to.
For example, try adding a new user with the following details to the newly created Human Resources System Group:
- First Name: Marvin
- Last Name: Manager
- Company: Blue River
- Email: marvin.manager@email.com
- Username: marvin.manager@email.com
- Password: enter any password you wish.
- Confirm Password: enter the same value you entered in the Password field.
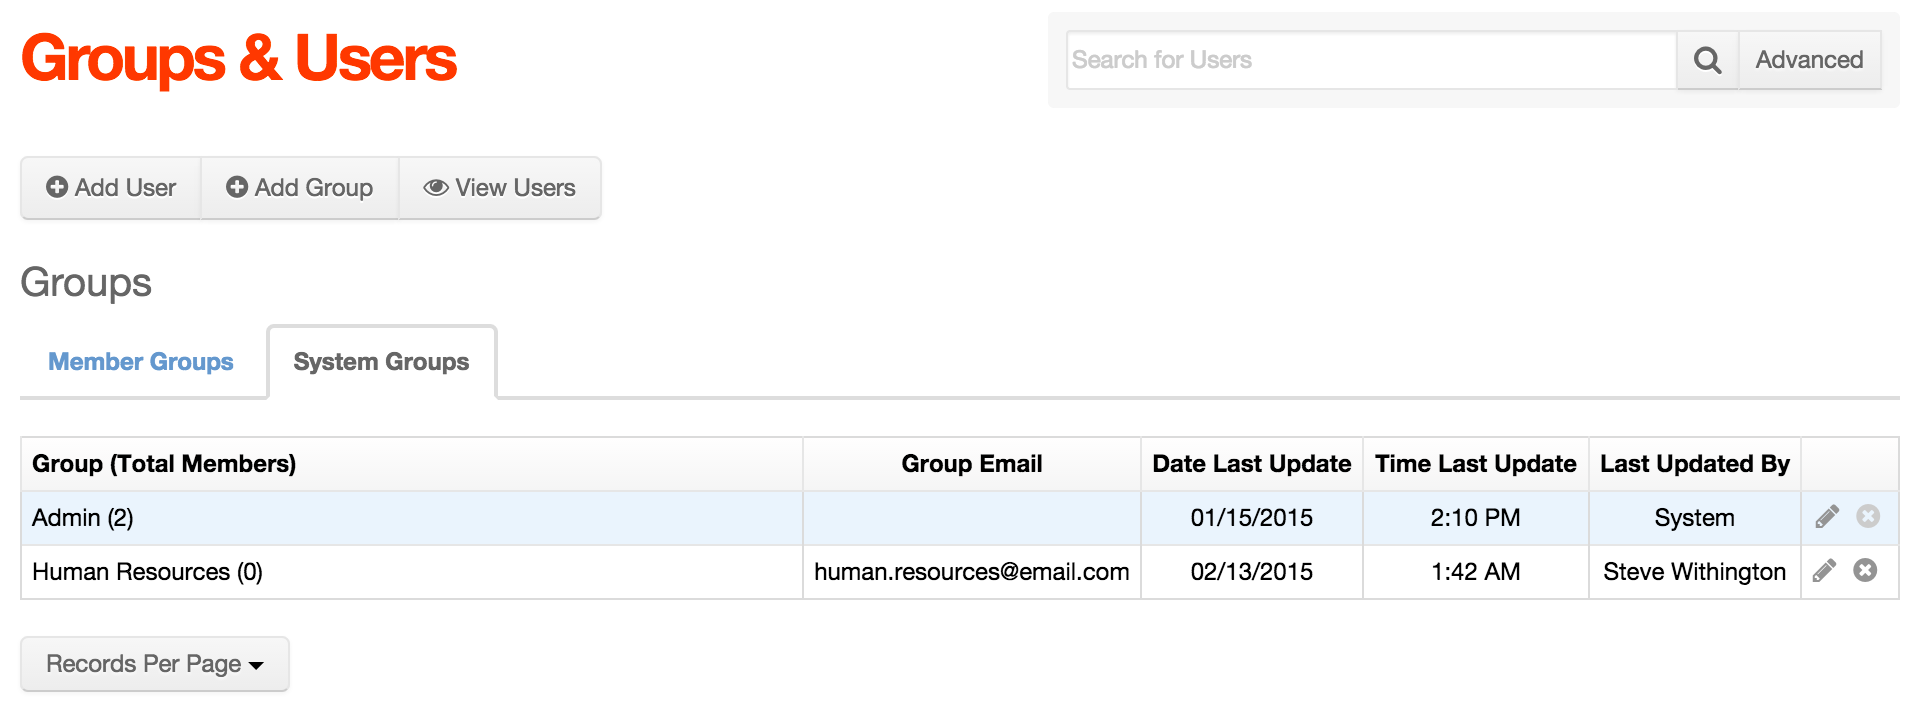
- When completed, the Groups & Users > System Groups screen should look similar to the following: