Adding Images to Content
The about-us-landing.doc file includes an image. To add those to the content, follow these steps:
- On the Basic tab, scroll down to the Content field.
- Place your cursor in the location you would like to place the image.
- Select the image icon
 from the editing toolbar.
 - This will launch the Image Properties dialog window. Click Browse Server.
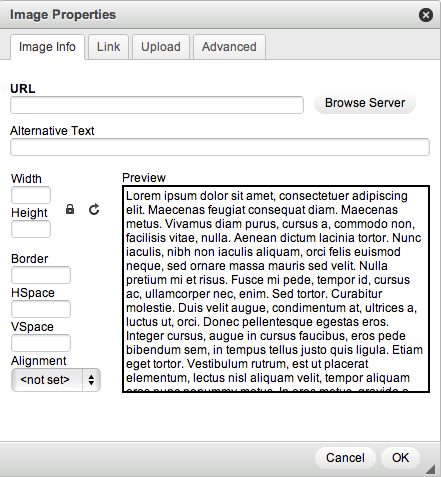
-
The Images folder should open and any images that have been uploaded by this method, will be displayed here.
Note: This is not the same as the Associated Image field and any images uploaded as a primary associated image will not be displayed here. - If it does not exist, you can Upload images through here to use in your content.
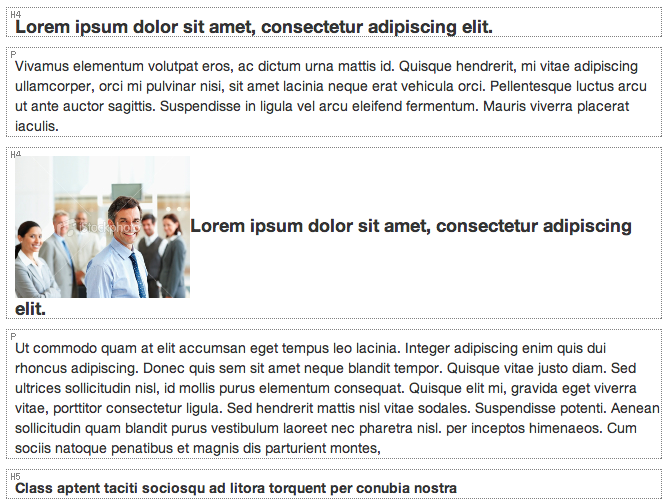
- If you have not already done so, upload the about-us-landing1.jpg file located in the /1-mura-admin/sample-content/about-us/ directory.
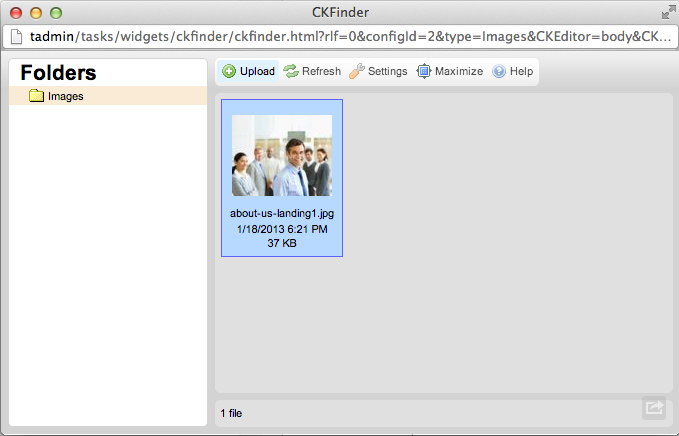
- Once the image is uploaded, then you can select it by double-clicking on it.
- The image should appear in the Preview window within the Image Properties form.
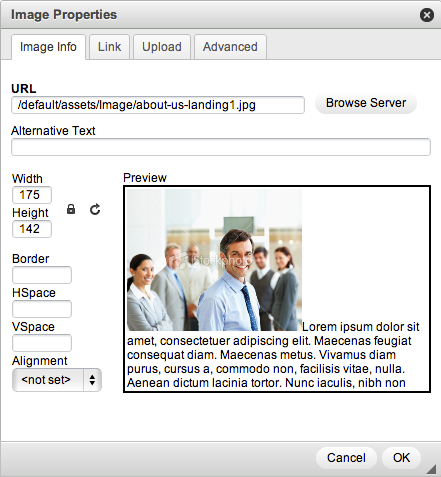
- You can add Alternative Text (alt tags) for the image as well as adjust the Height and Width of the image.
- Click OK to insert the image into your content.
- The image will be inserted in the location of your cursor.
- To align the image correctly, click on the image in the content field and select Align Image Right from the Styles drop down.
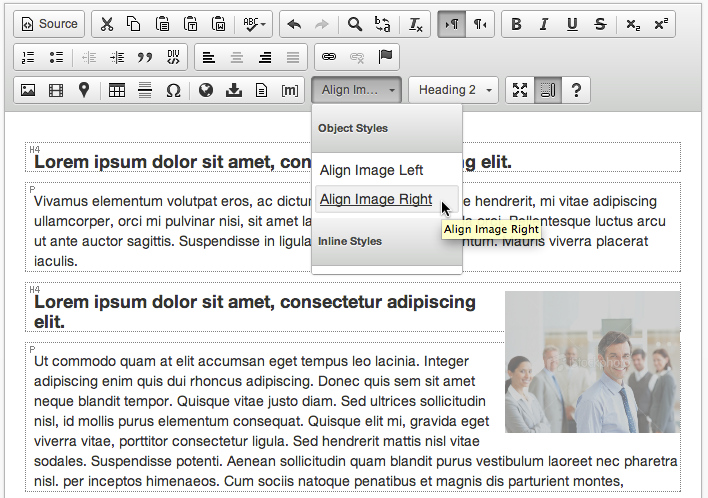
- The image should now be right-aligned within the content.
- Click Publish, then preview the page.